Just for Fun

Learning Futures Podcast: Sc(AI)ry Stories

Unveiling the "Spooky" Halloween Special of the Learning Futures Podcast: Tales of Generative AI

This Halloween, prepare to be both enlightened and frightened, as the Learning Futures Podcast takes you on a ghostly journey through the world of Generative AI technologies. Host Sean, with the mystical assistance of producer extraordinaire Jake, has conjured a special episode that's guaranteed to send shivers down your spine while igniting your curiosity about the future interplay of humanity and artificial intelligence.

Frightful Fables and Eerie Insights

Imagine an AI that knows your deepest fears, a digital ghost that whispers secrets from the future, or a machine learning algorithm that predicts things that haven't yet happened... on a night like Halloween. The Learning Futures Podcast's special episode is not just entertainment—it’s a thought experiment set within the realms of what could be.

The Gathering of Ghostly Tales

In a unique twist to celebrating the spookiest time of the year, we threw down the gauntlet and issued a challenge: create an original short story involving Generative AI. These stories, limited to a brief yet impactful 500 words or less (or under 5 minutes of recording time), were to be set in the spirit of Halloween—spooky, funny, creepy, suspenseful, thought-provoking, thoughtful, or a bewitching mix of all.

A Cauldron of Creations

The response was a wonderful range of creative stories, proving that when it comes to blending AI with the arcane, our colleagues and listeners are imaginative and daring. The submitted stories took us on a rollercoaster ride through genres and plot twists, each a reflection of the storyteller's unique vision.

The AI Oracle

With every tale, we not only entertain but also explore the profound implications of Generative AI. How might these emerging technologies shape our lives, our ethics, and our understanding of what it means to be human? These stories may be short, but they are packed with the power to both spook and stimulate.

Dare to Listen

So, this Halloween, we invite you to tune in. Allow yourself to be swept into the digital depths of your imagination. Listen to the tales spun by enthusiasts and skeptics, scientists and artists, all united under the eerie glow of the Halloween moon.

As the boundary between the supernatural and the technological blurs, the Learning Futures Podcast's Halloween special will leave you pondering long after the echoes of the last story fade. It's a treat (with just a hint of trick) that you won't want to miss.

Before the Clock Strikes Midnight...

The "Spooky" Halloween special is available now, but like a ghostly apparition, it won't last forever. Tune in to this one-of-a-kind episode, and dive into the uncanny valley where AI and phantoms play.

Listen now... if you dare. And who knows? You might just find that the future is even more thrilling and mysterious than any ghost story ever told.

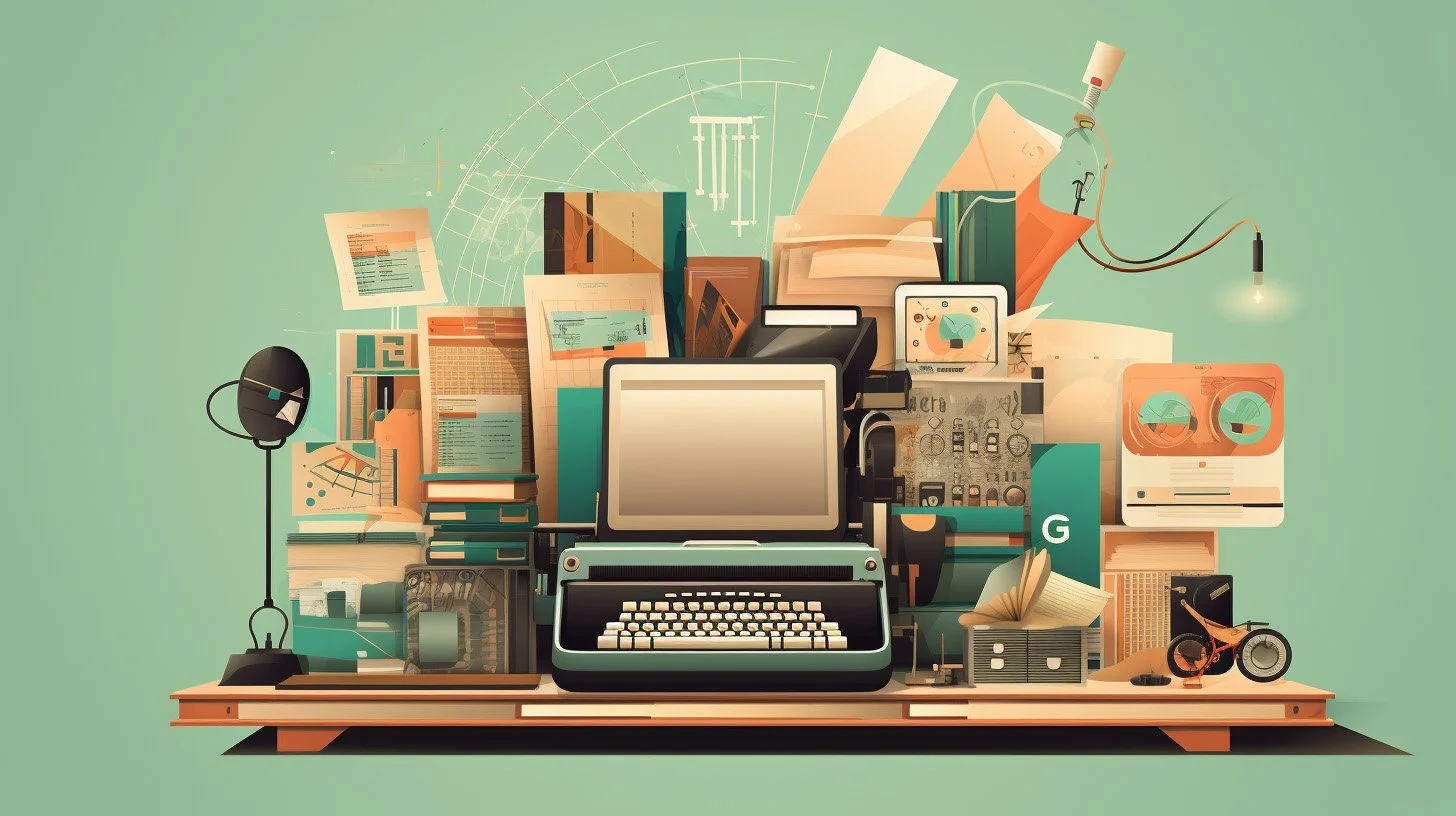
Happy Halloween from all of us at the Learning Futures Podcast! 🎃👻🖥️

Raspberry Pi Touchscreen Build

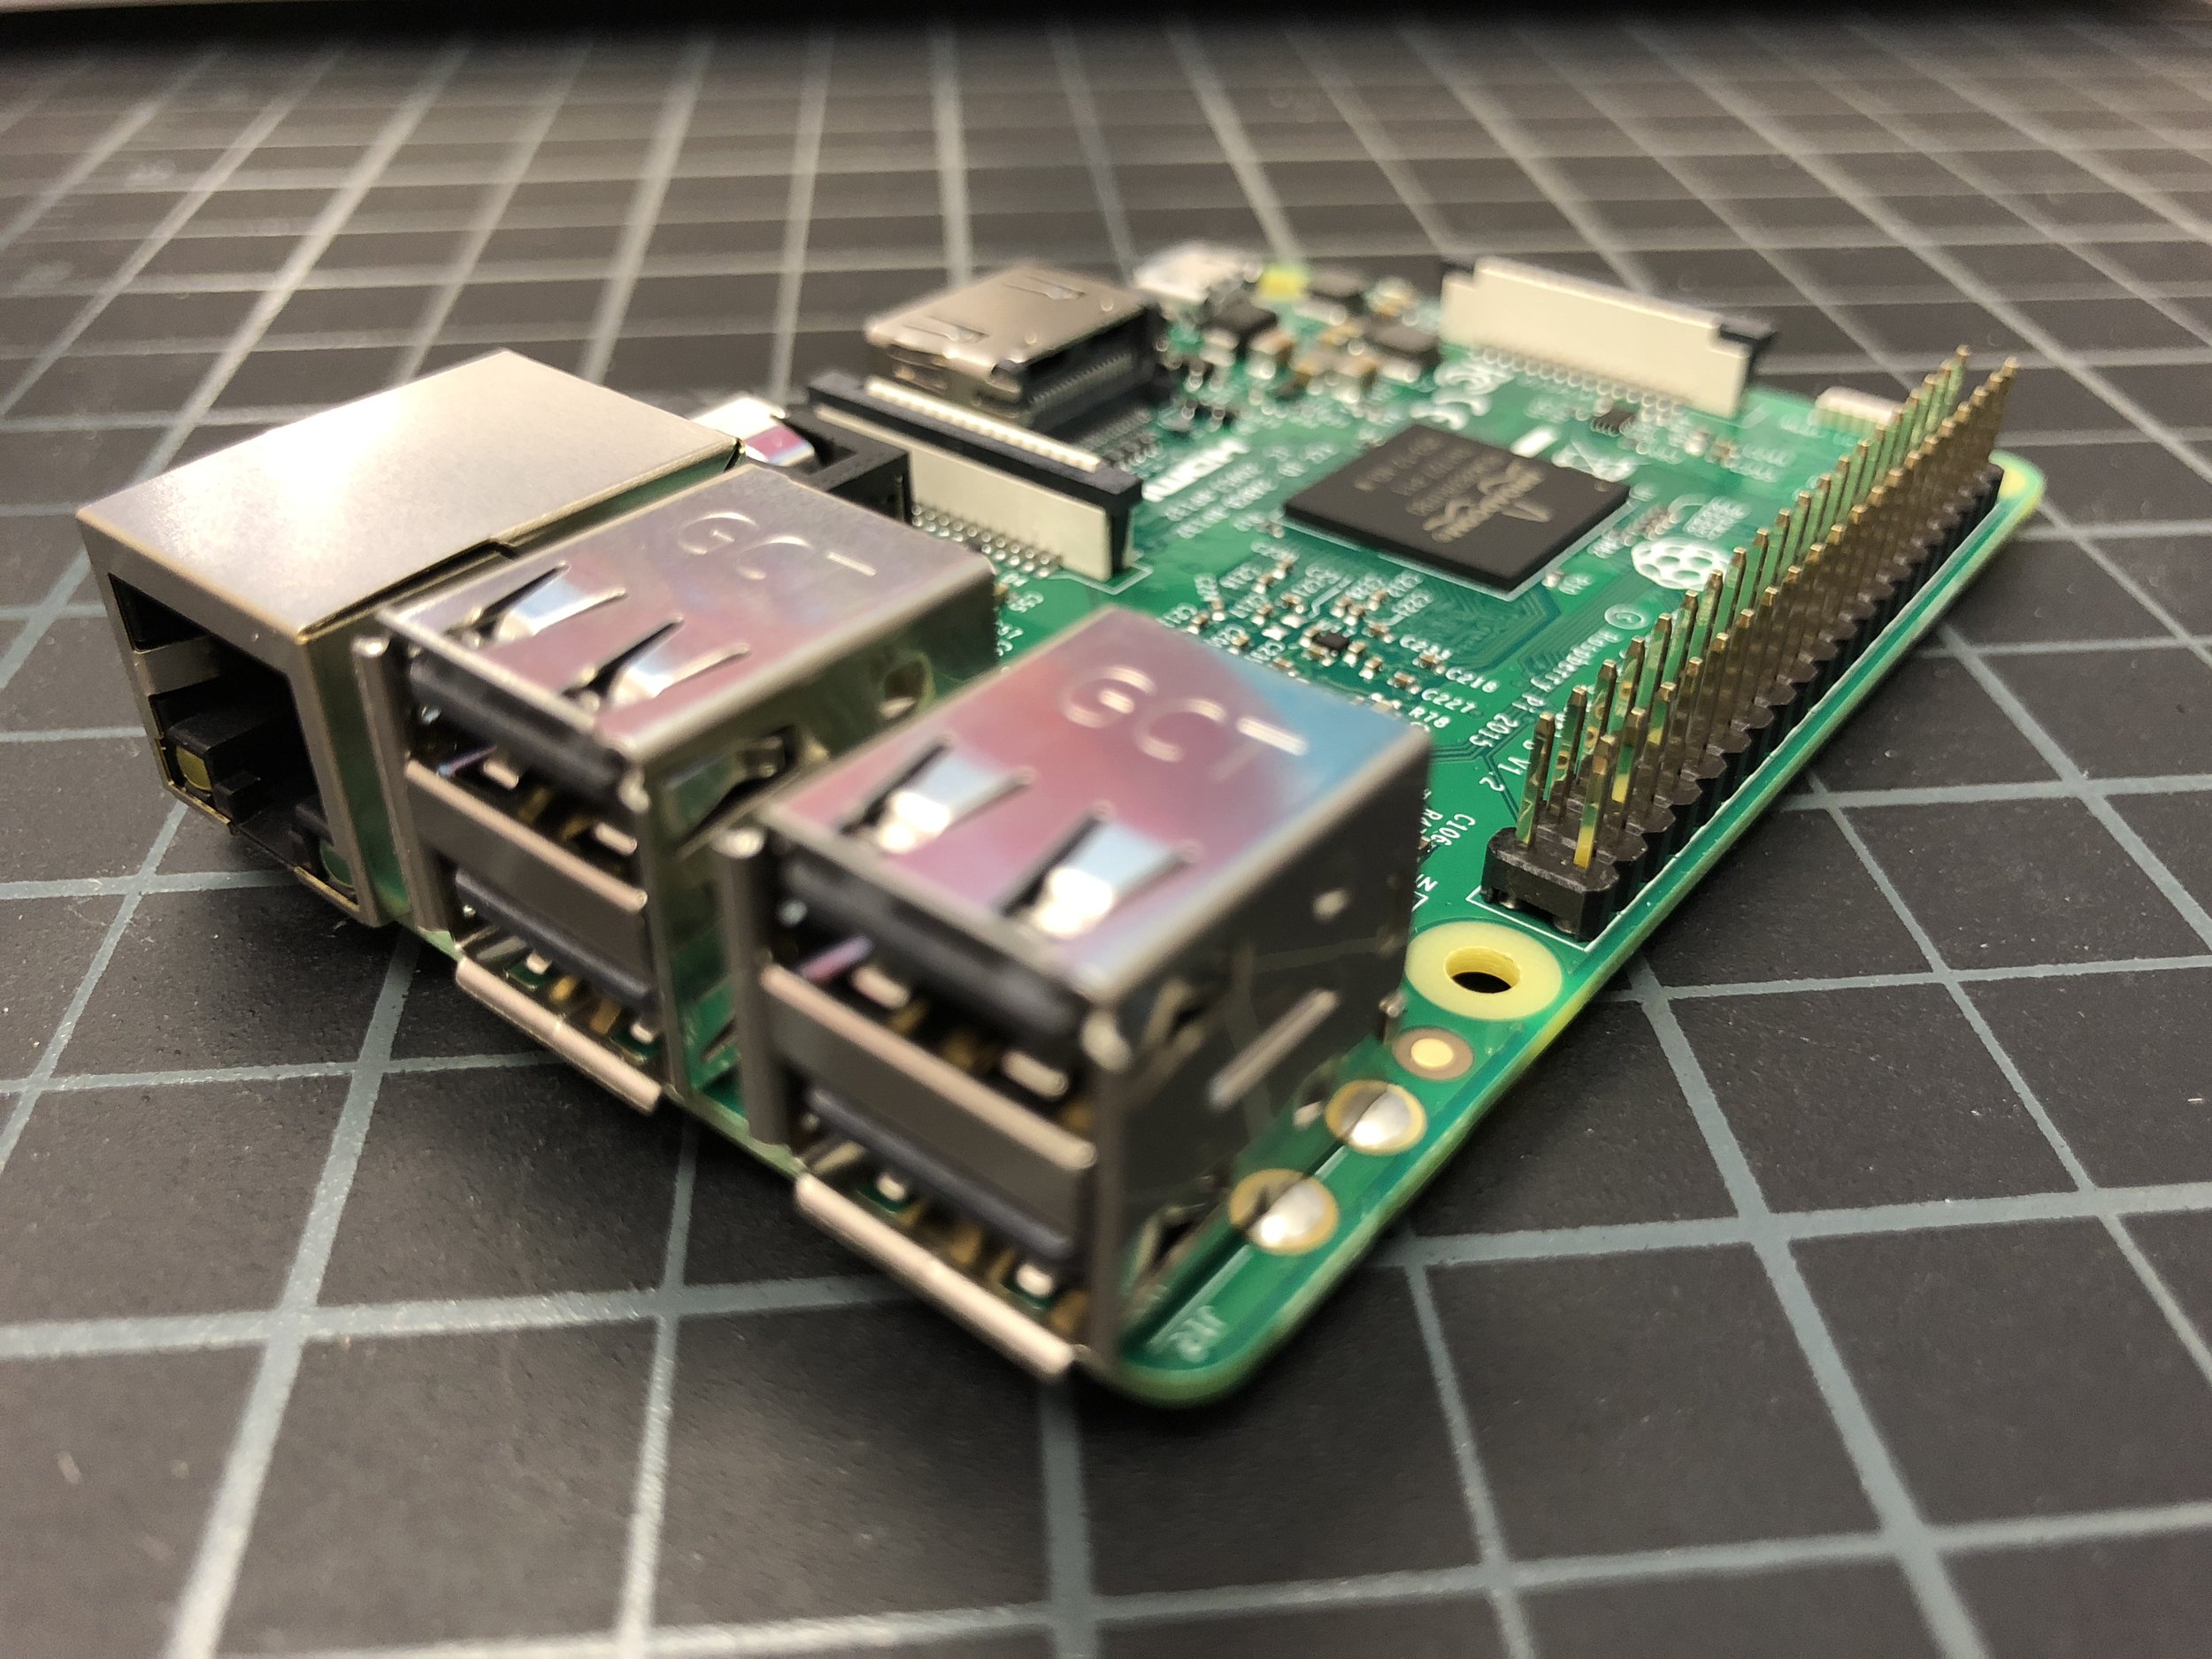
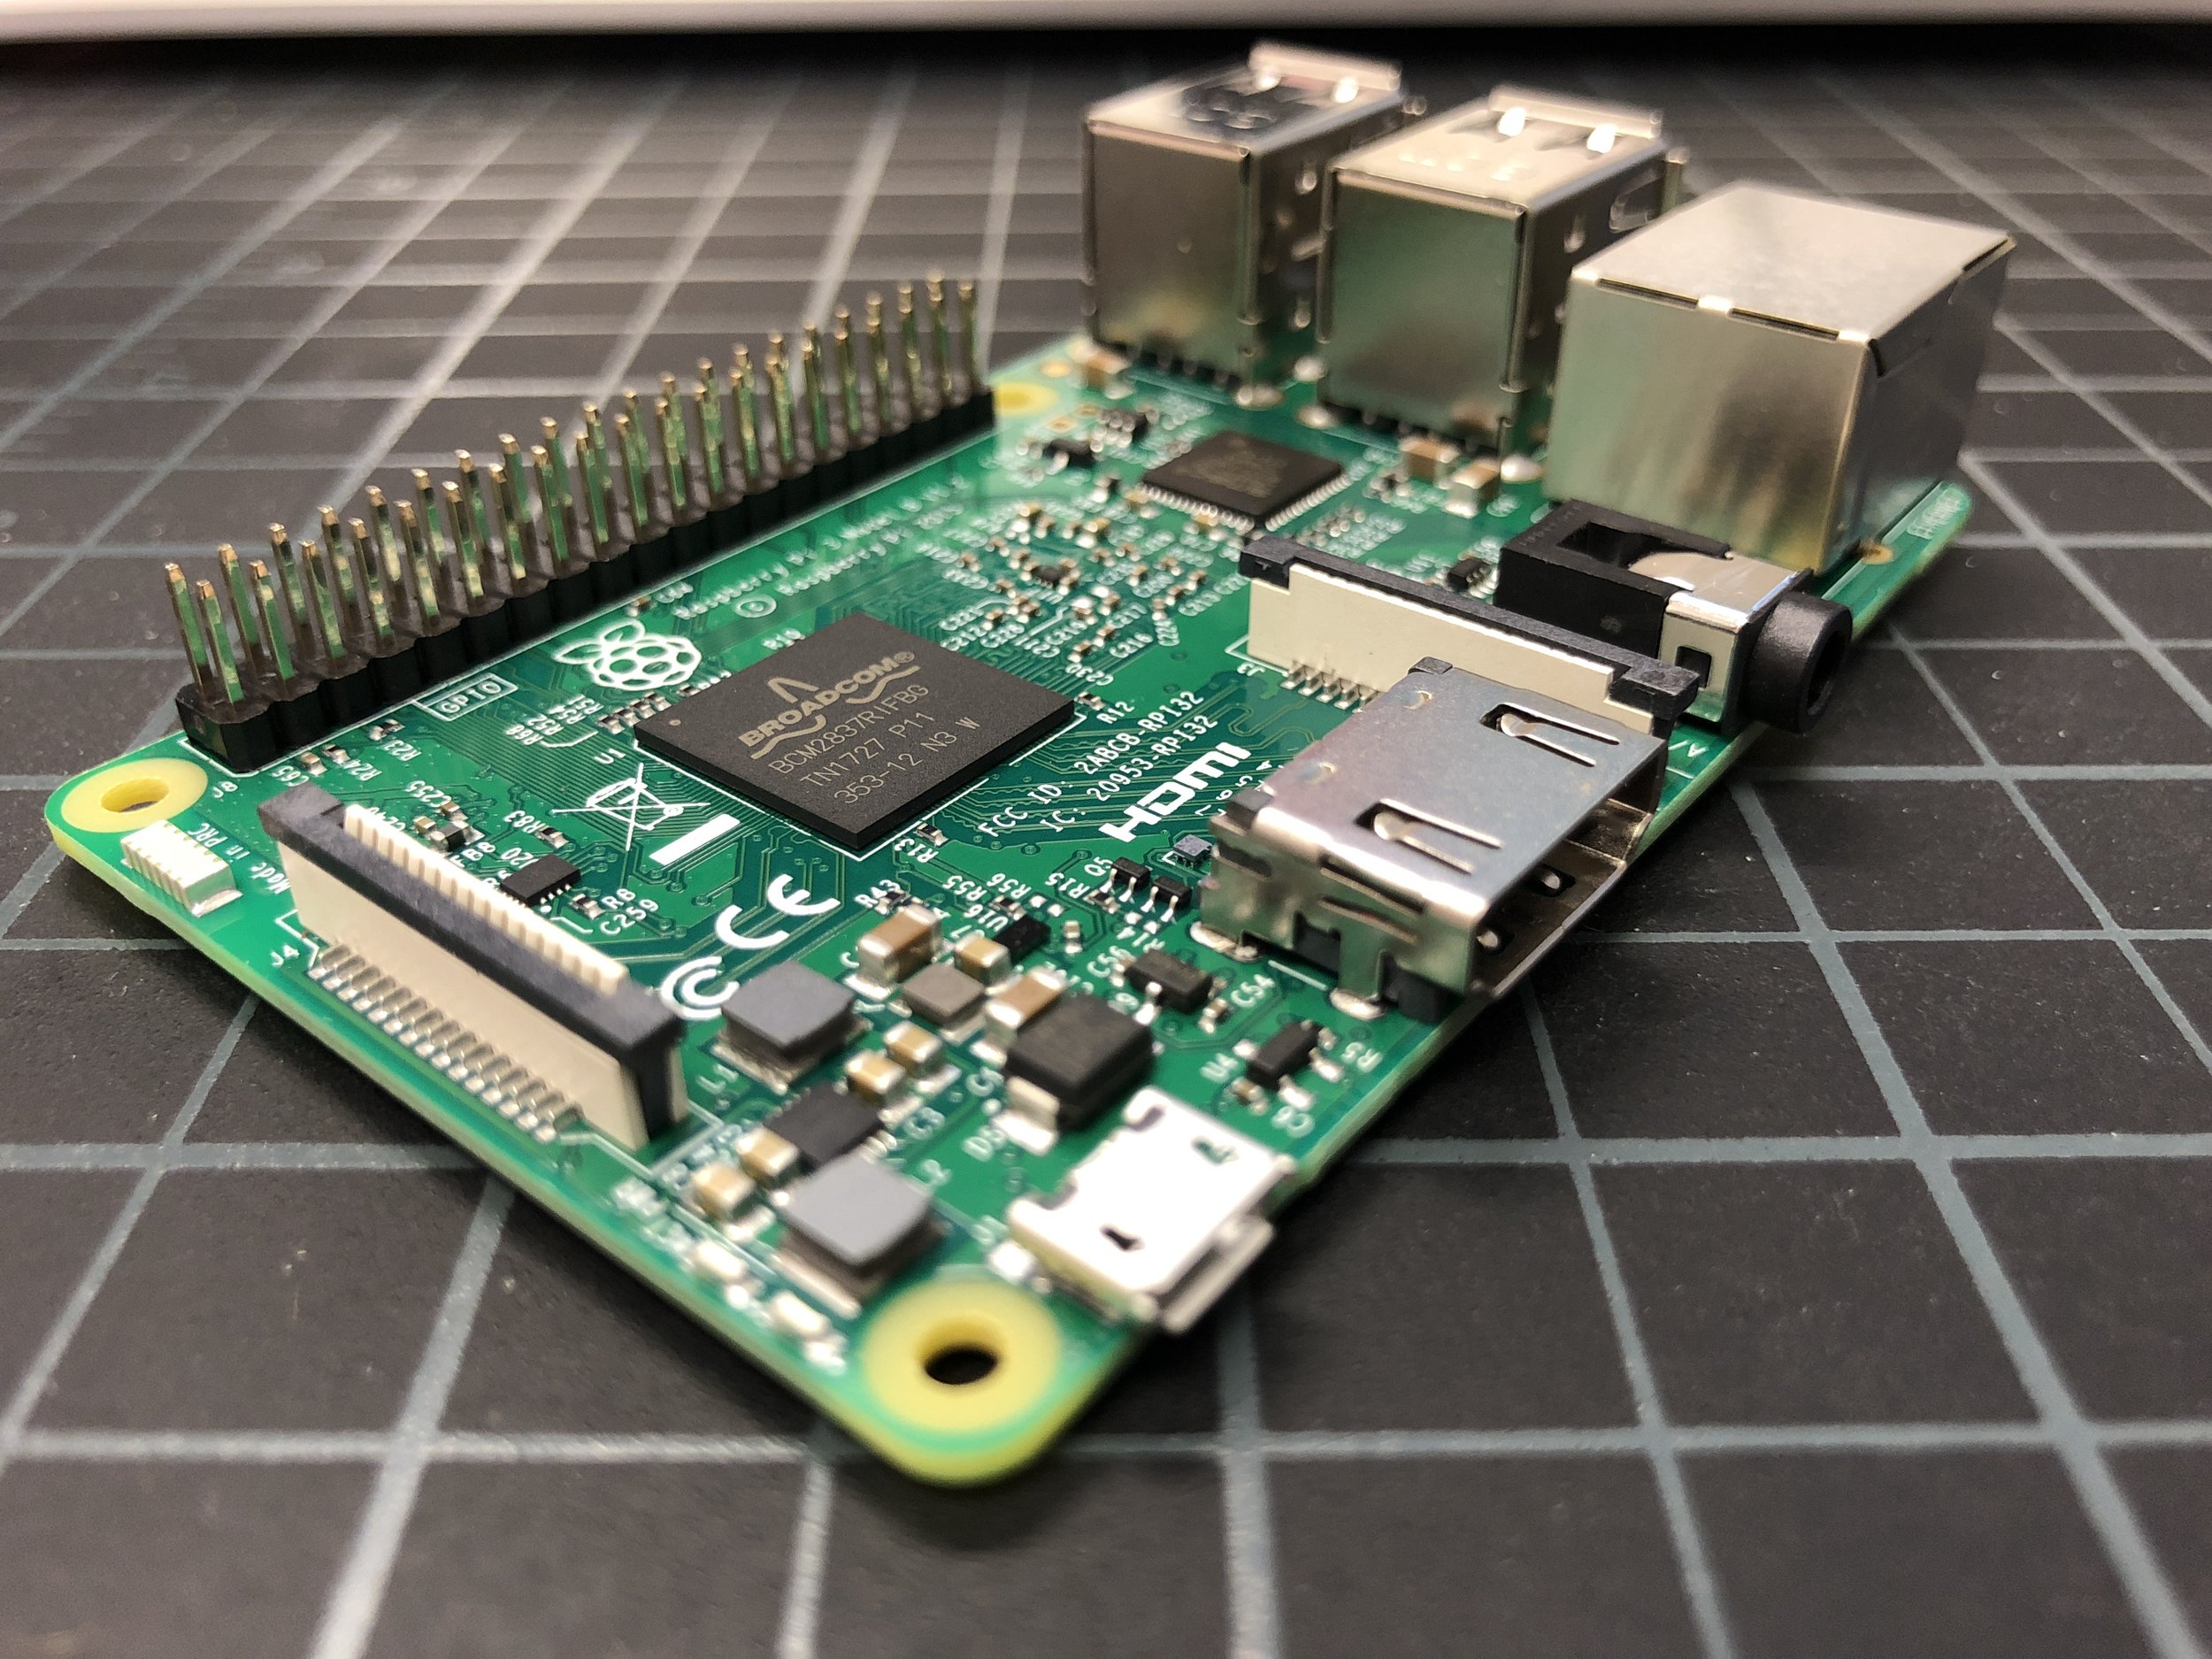
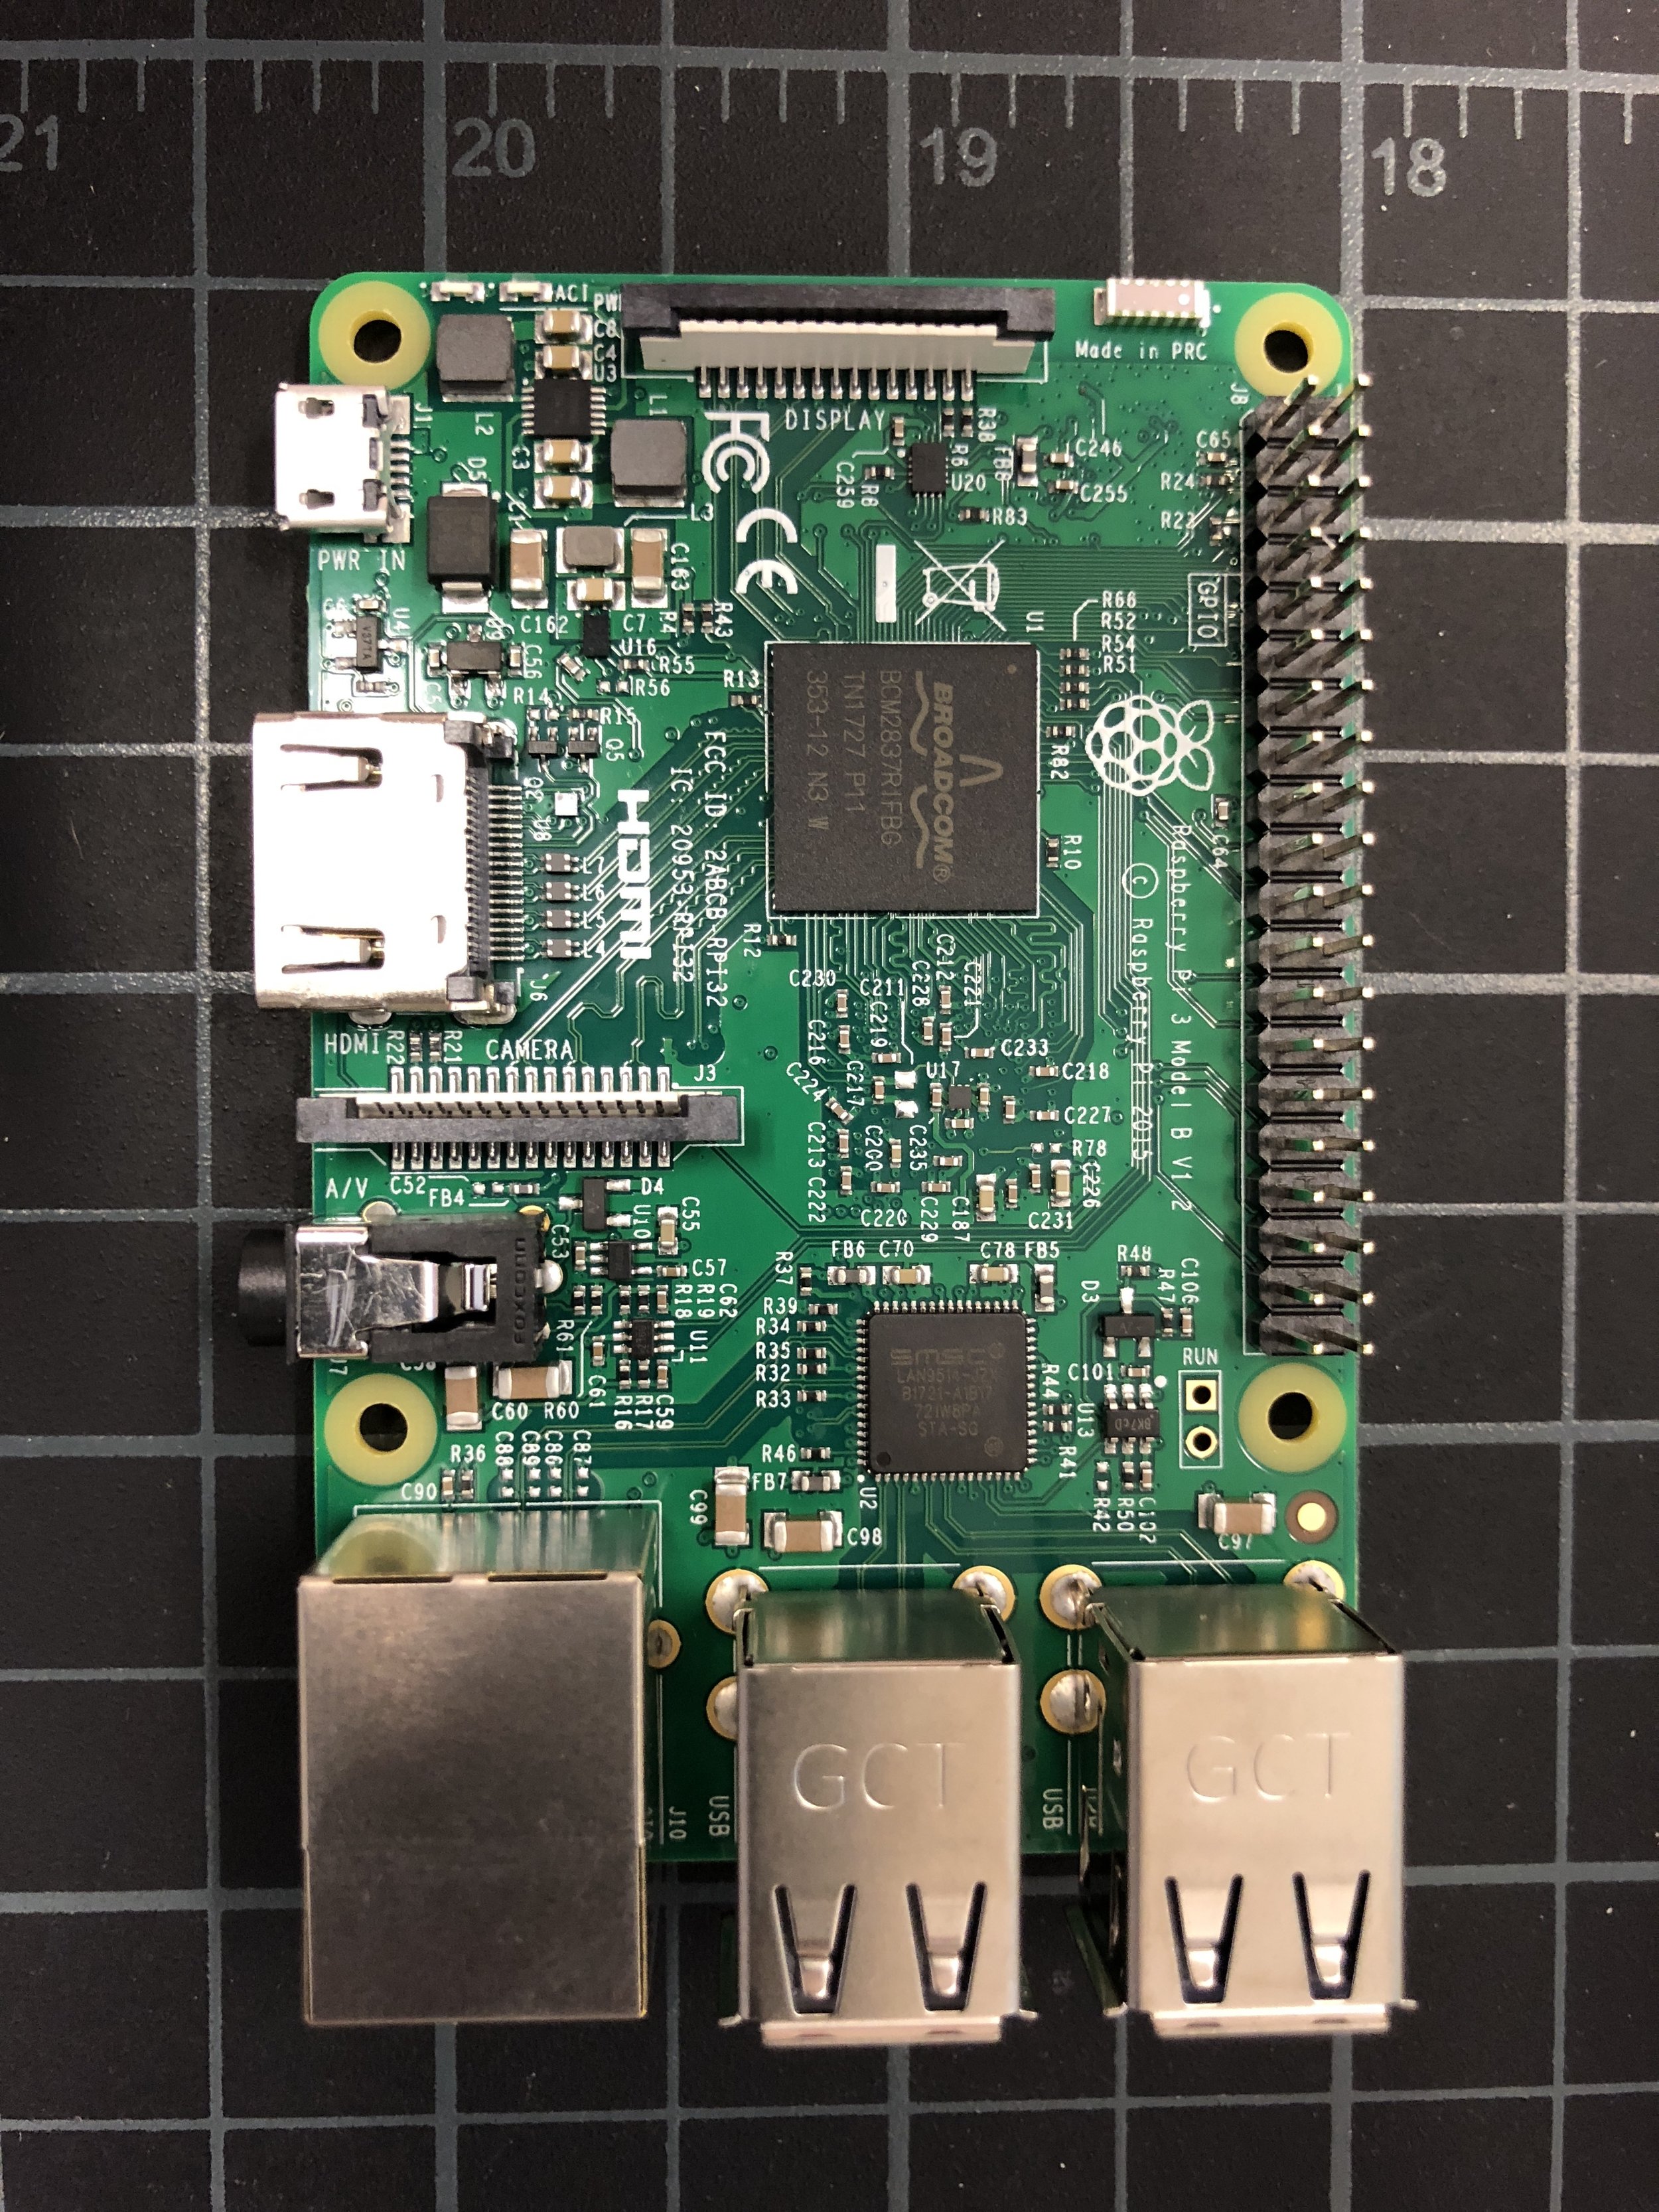
In an attempt to create a more engaging experience at a high profile event for the Mary Lou Fulton Teachers College, I suggested that instead of using iPads or laptops, that we build and deploy several Raspberry Pi's to act as participant feedback/input stations.

Key aspects of the event

The event entitled Education by Design was held in the Phoenix Art Museum on February 6th, 2018. The event was focused on laying out the work the Mary Lou Fulton Teachers College is engaged in around several key areas of redesigning education as we know it. The event allowed for participants to roam through several educational design "vignettes" which included:

Education Workforce Development
How should we develop and deploy 21st-century educators?
                               
Community Design Labs
How can we work with schools and communities to tackle a wide range of problems?
                                  
Contextual Models
How can we prototype successful systems in schools?  

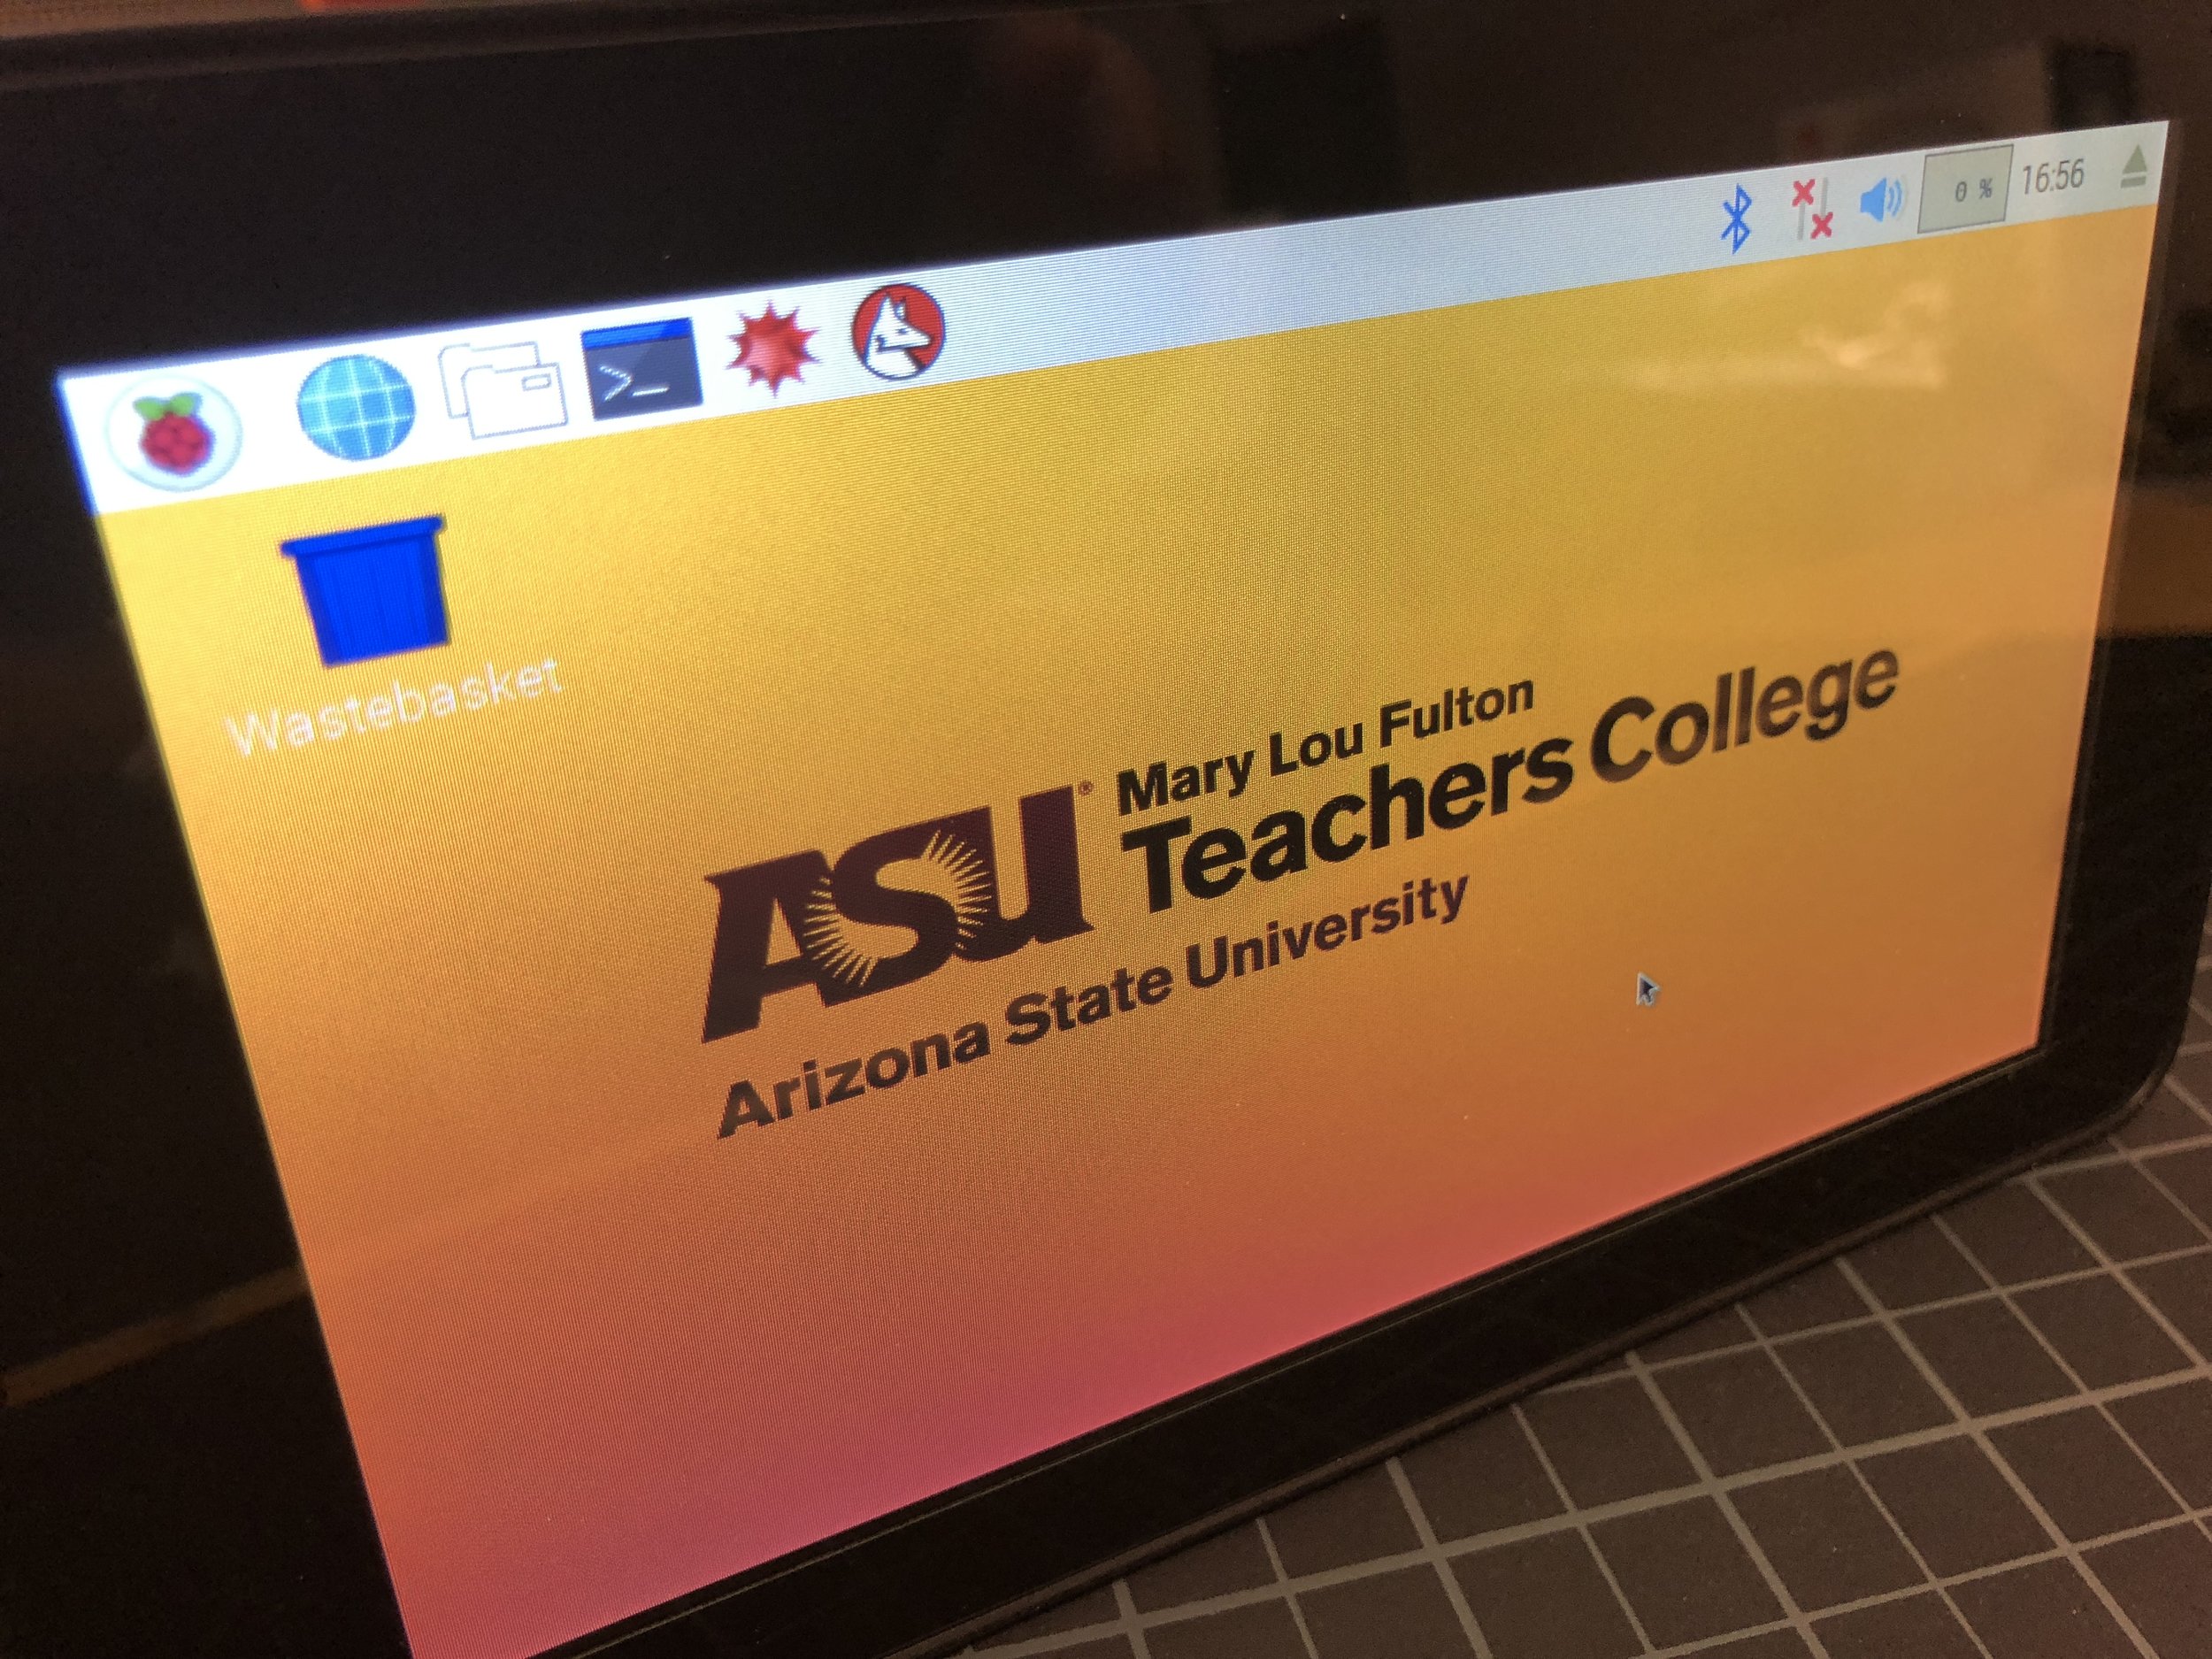
As an interactive element, participants walked through a hallway with several Raspberry Pi's configured to be small terminals that allowed for the attendees to leave their questions related to Education.  The Raspberry Pi's were intended to serve dual roles, first to simply act as a terminal to collect participant feedback, and secondly (and perhaps most importantly) to serve as an educational technology artifact. The latter purpose seemed to engage the most number of participants. Over the night I was engaged in many conversations exploring the variety of ways in which schools and districts might think about deploying technology [such as the Raspberry Pi's] throughout their schools in a technology infusion model as opposed to a more traditional and limited technology integration model.

Event participants were able to submit their questions using a web-based form on each of the Raspberry Pi's that were placed strategically around the room. The results were projected in real-time on the wall of the hallway so attendees could see the supplied questions pop-up in a chat bubble format when submitted.
For more detailed information on the event checkout the ASU Now online article: Education by Design, re-imagining the classroom.
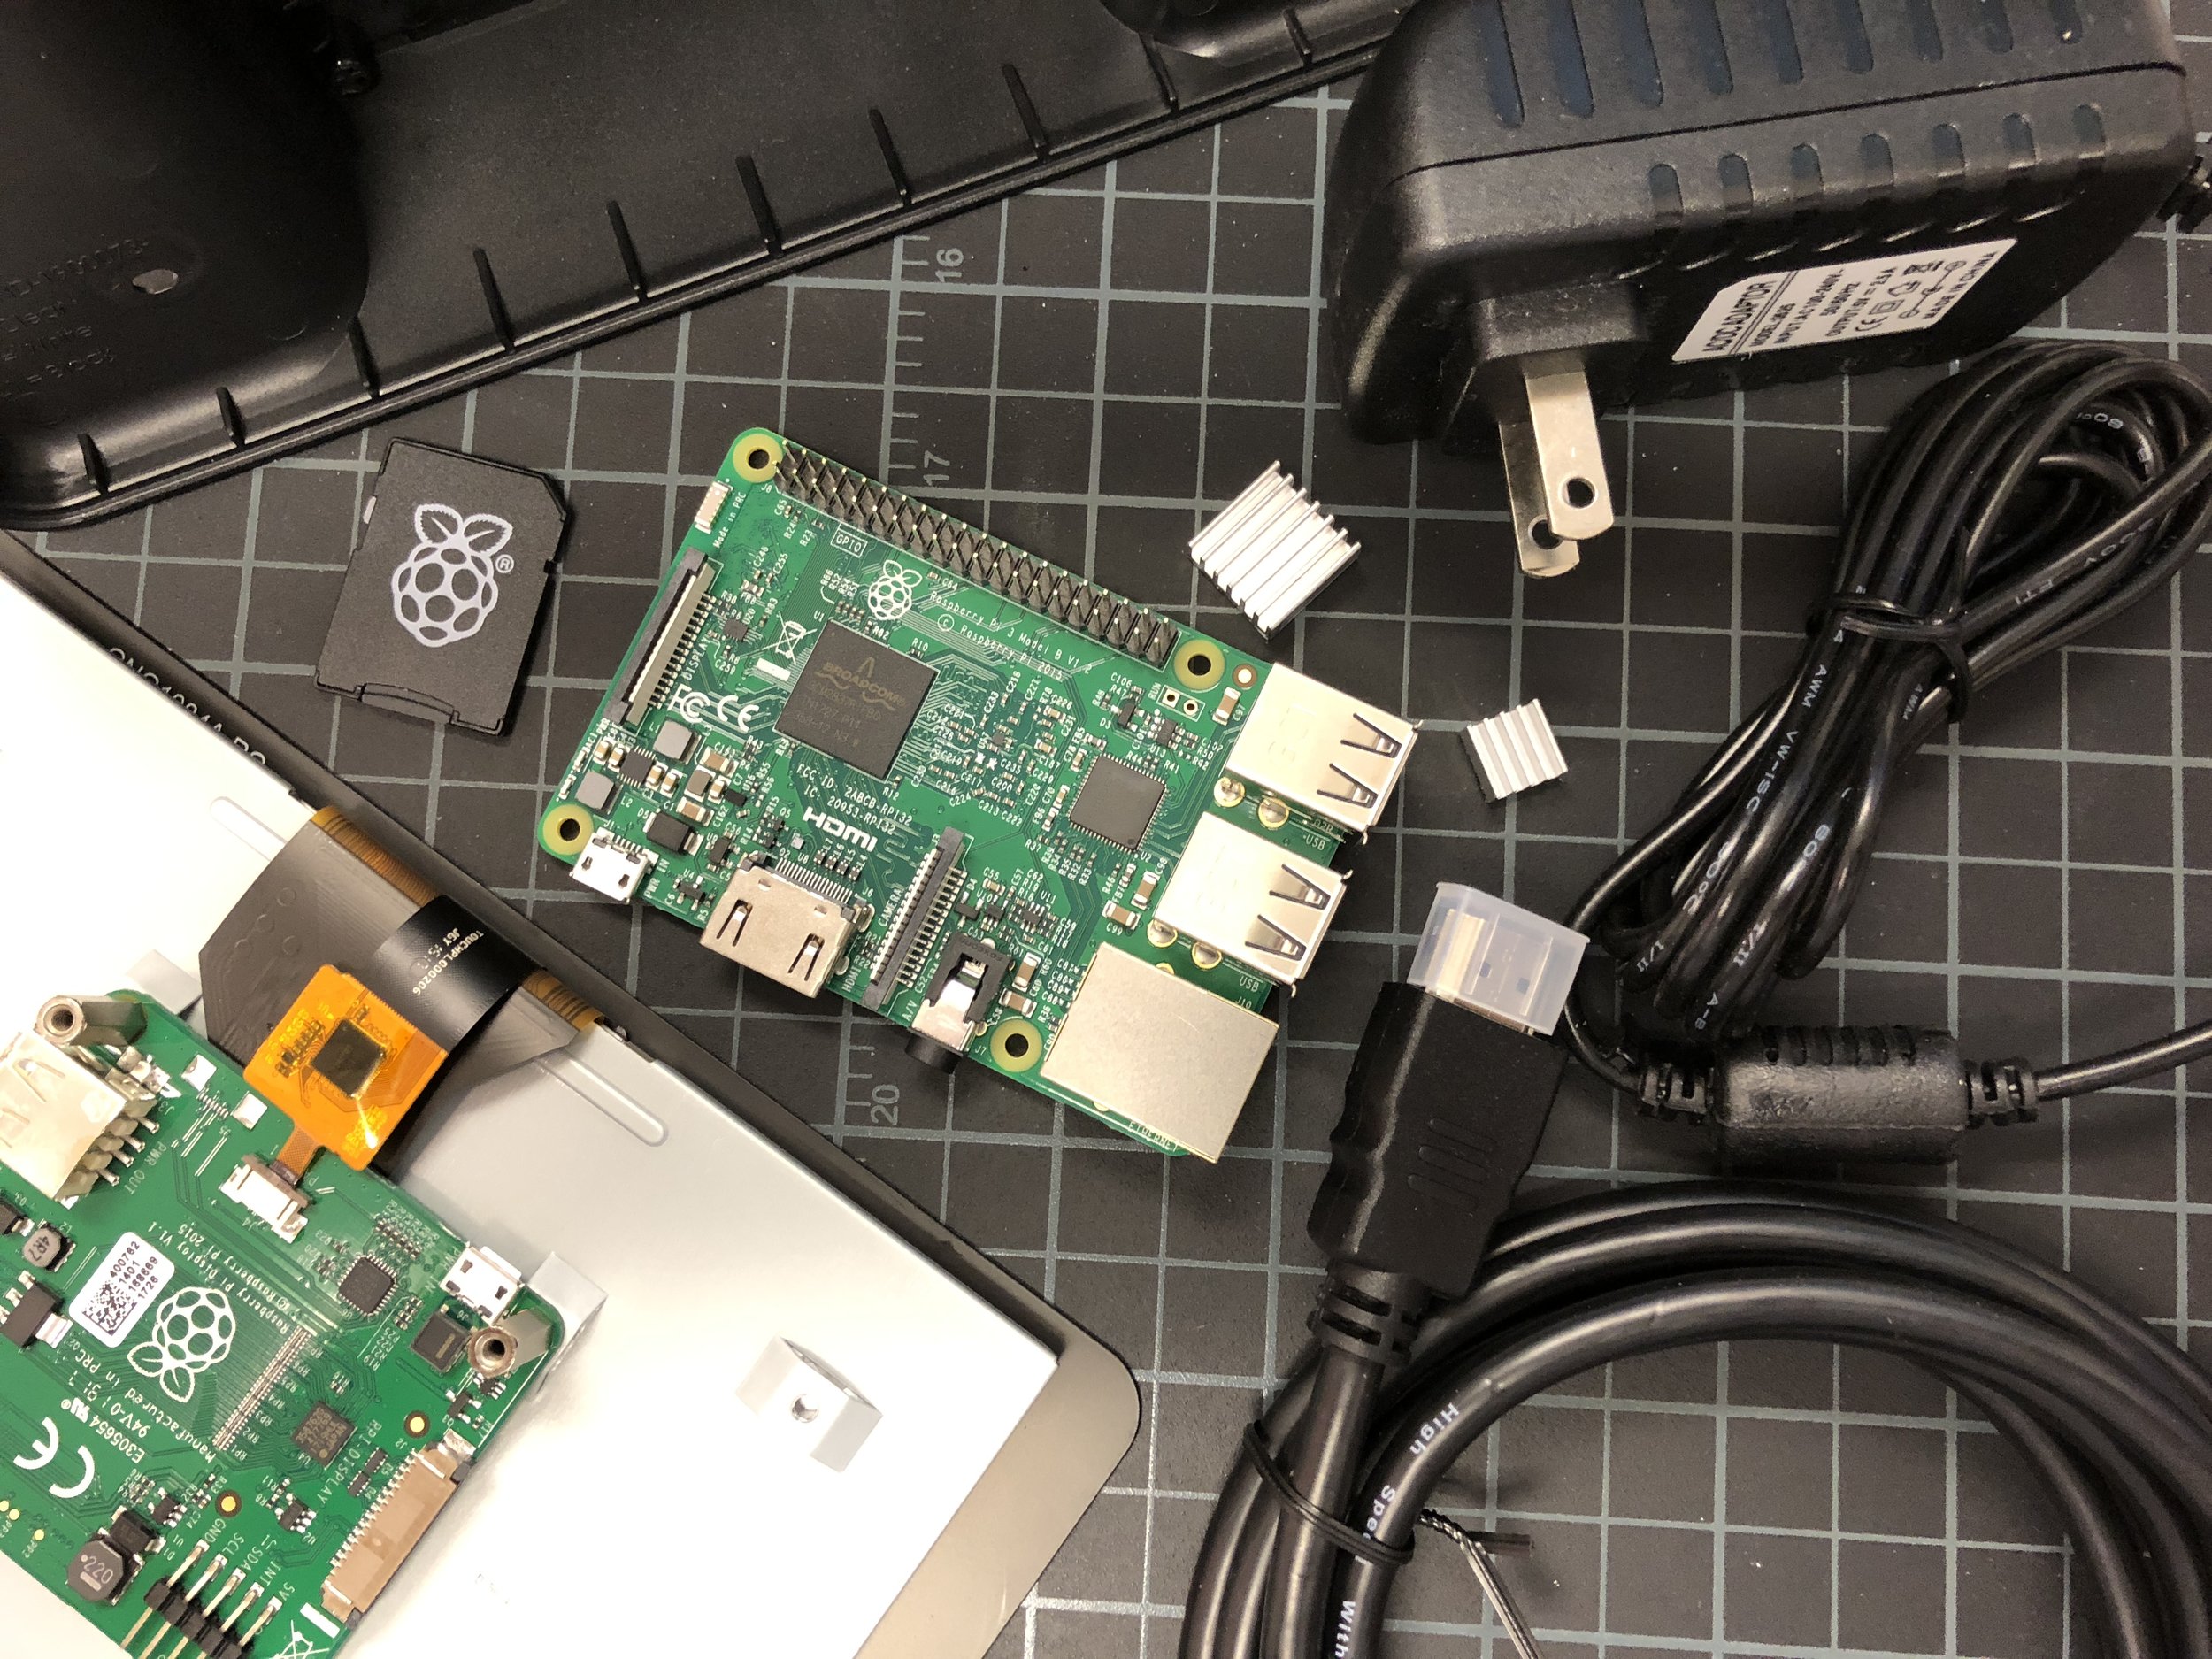
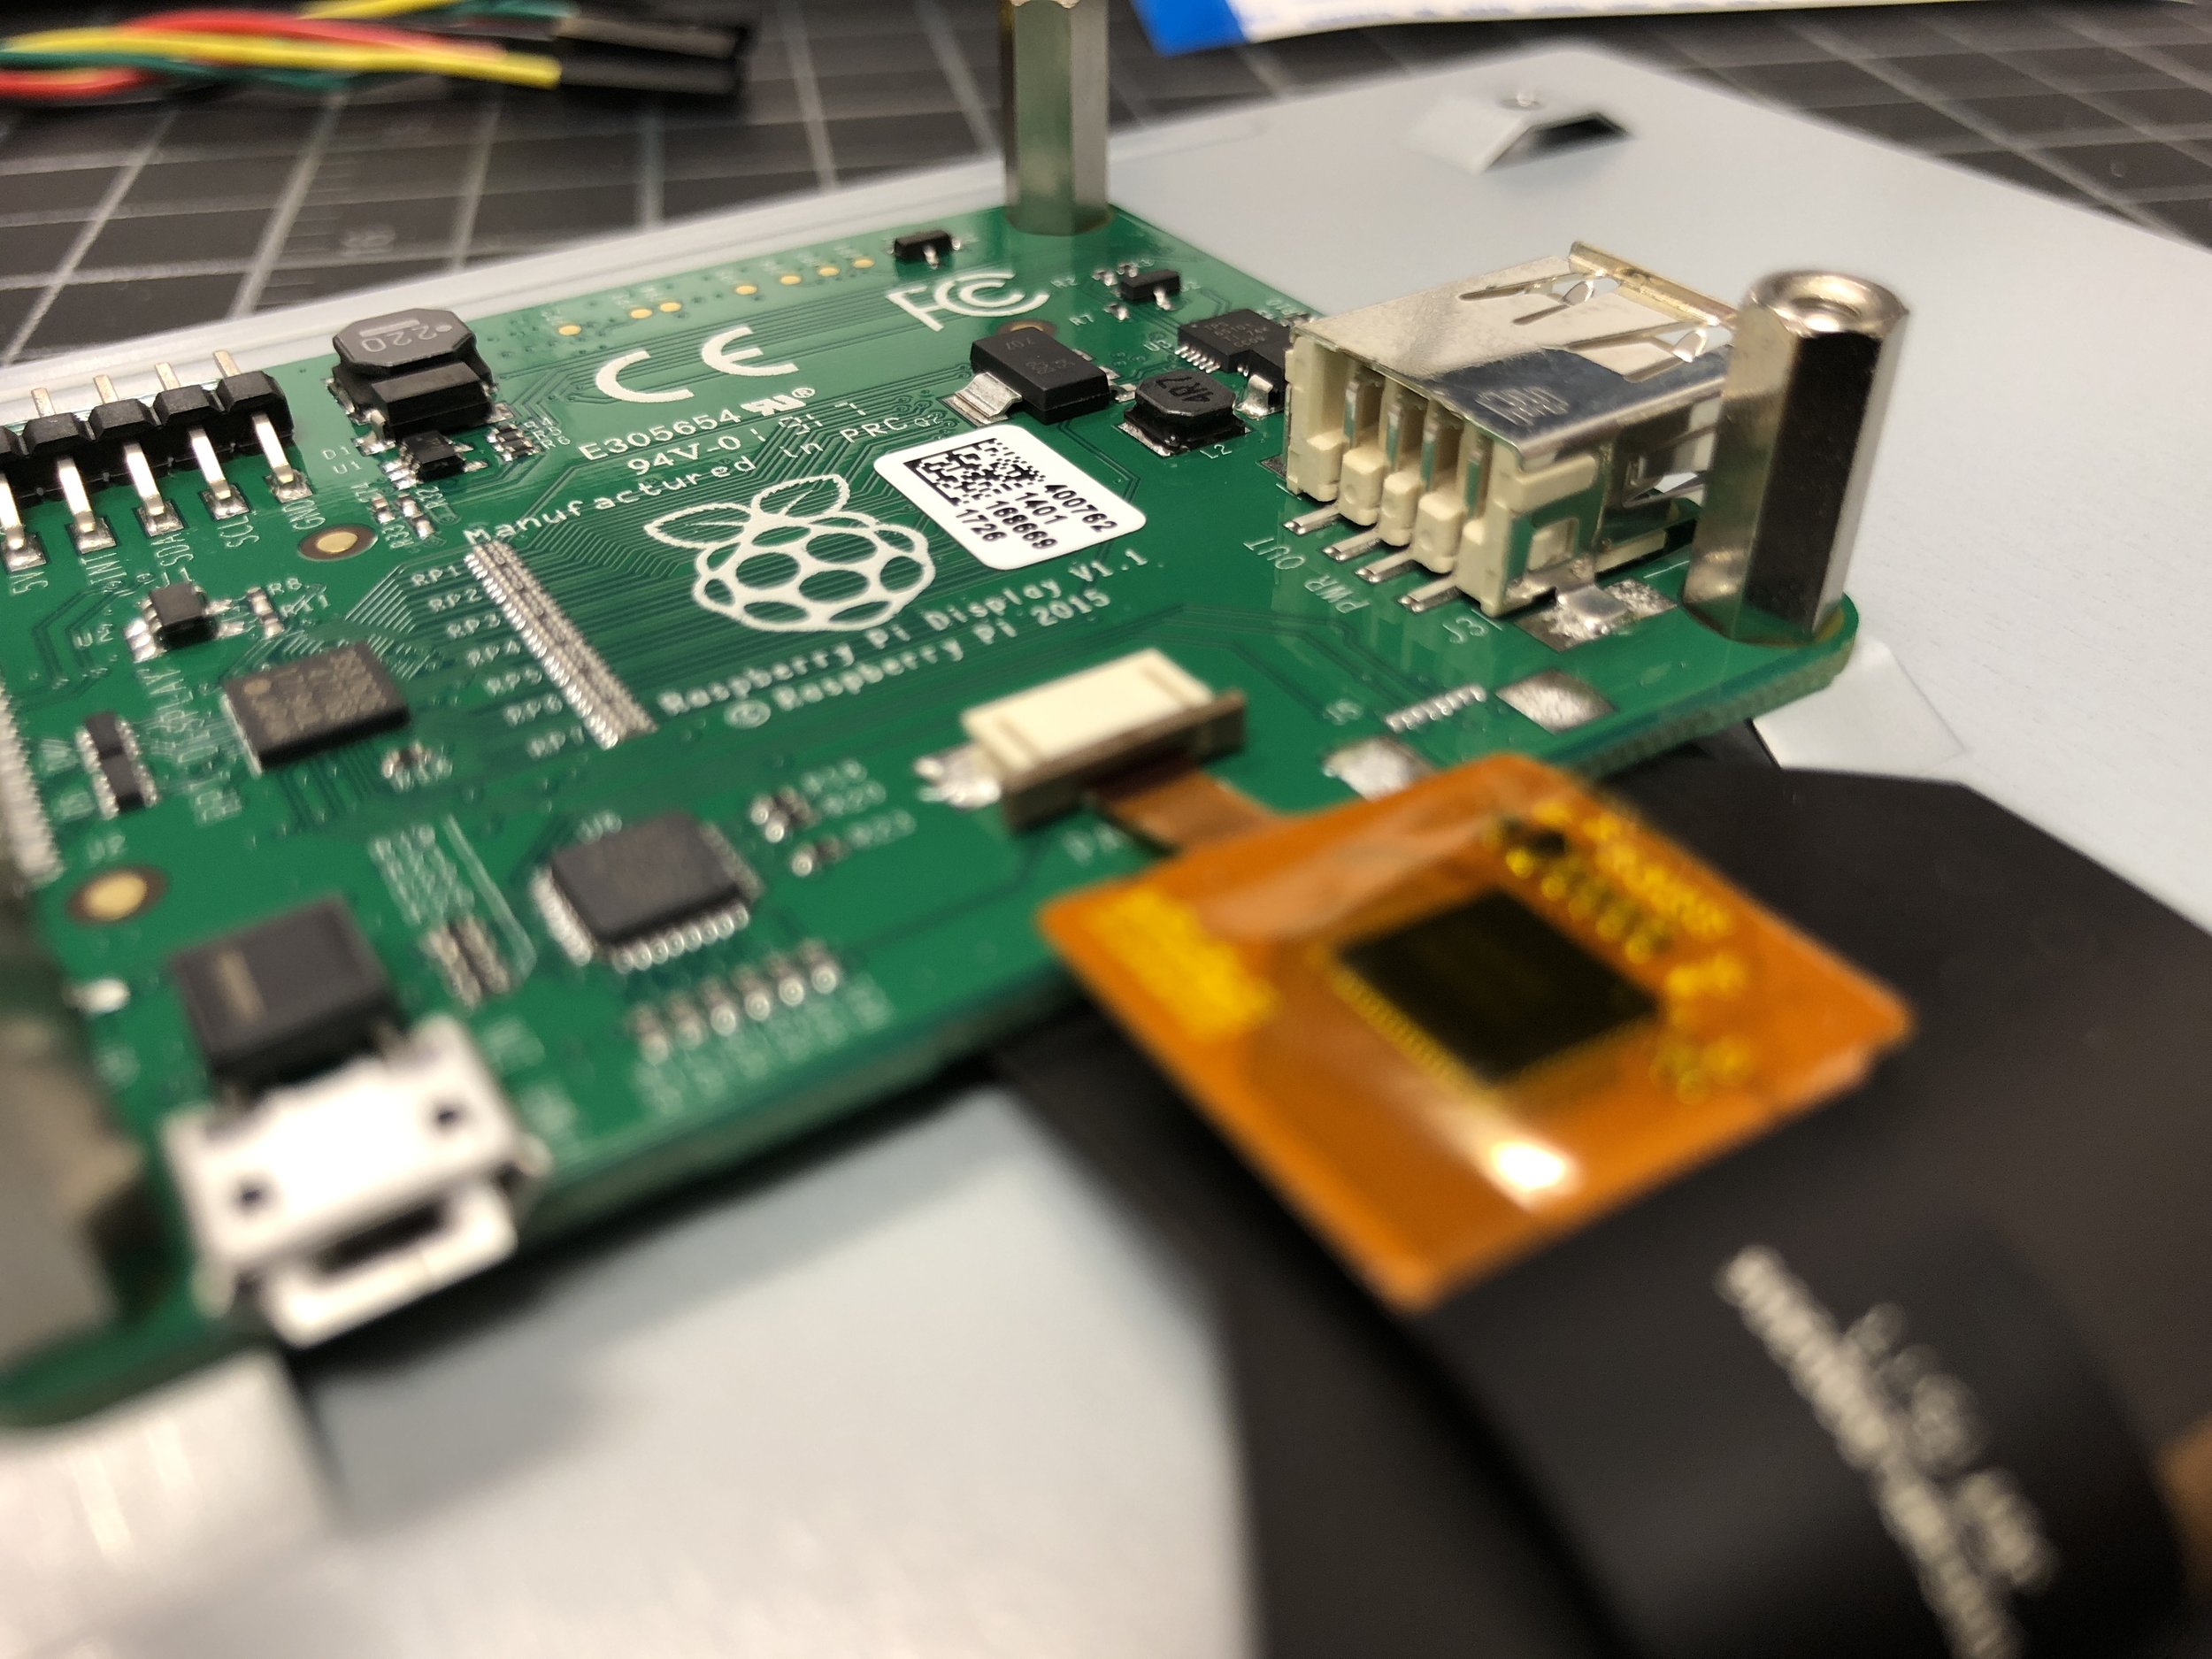
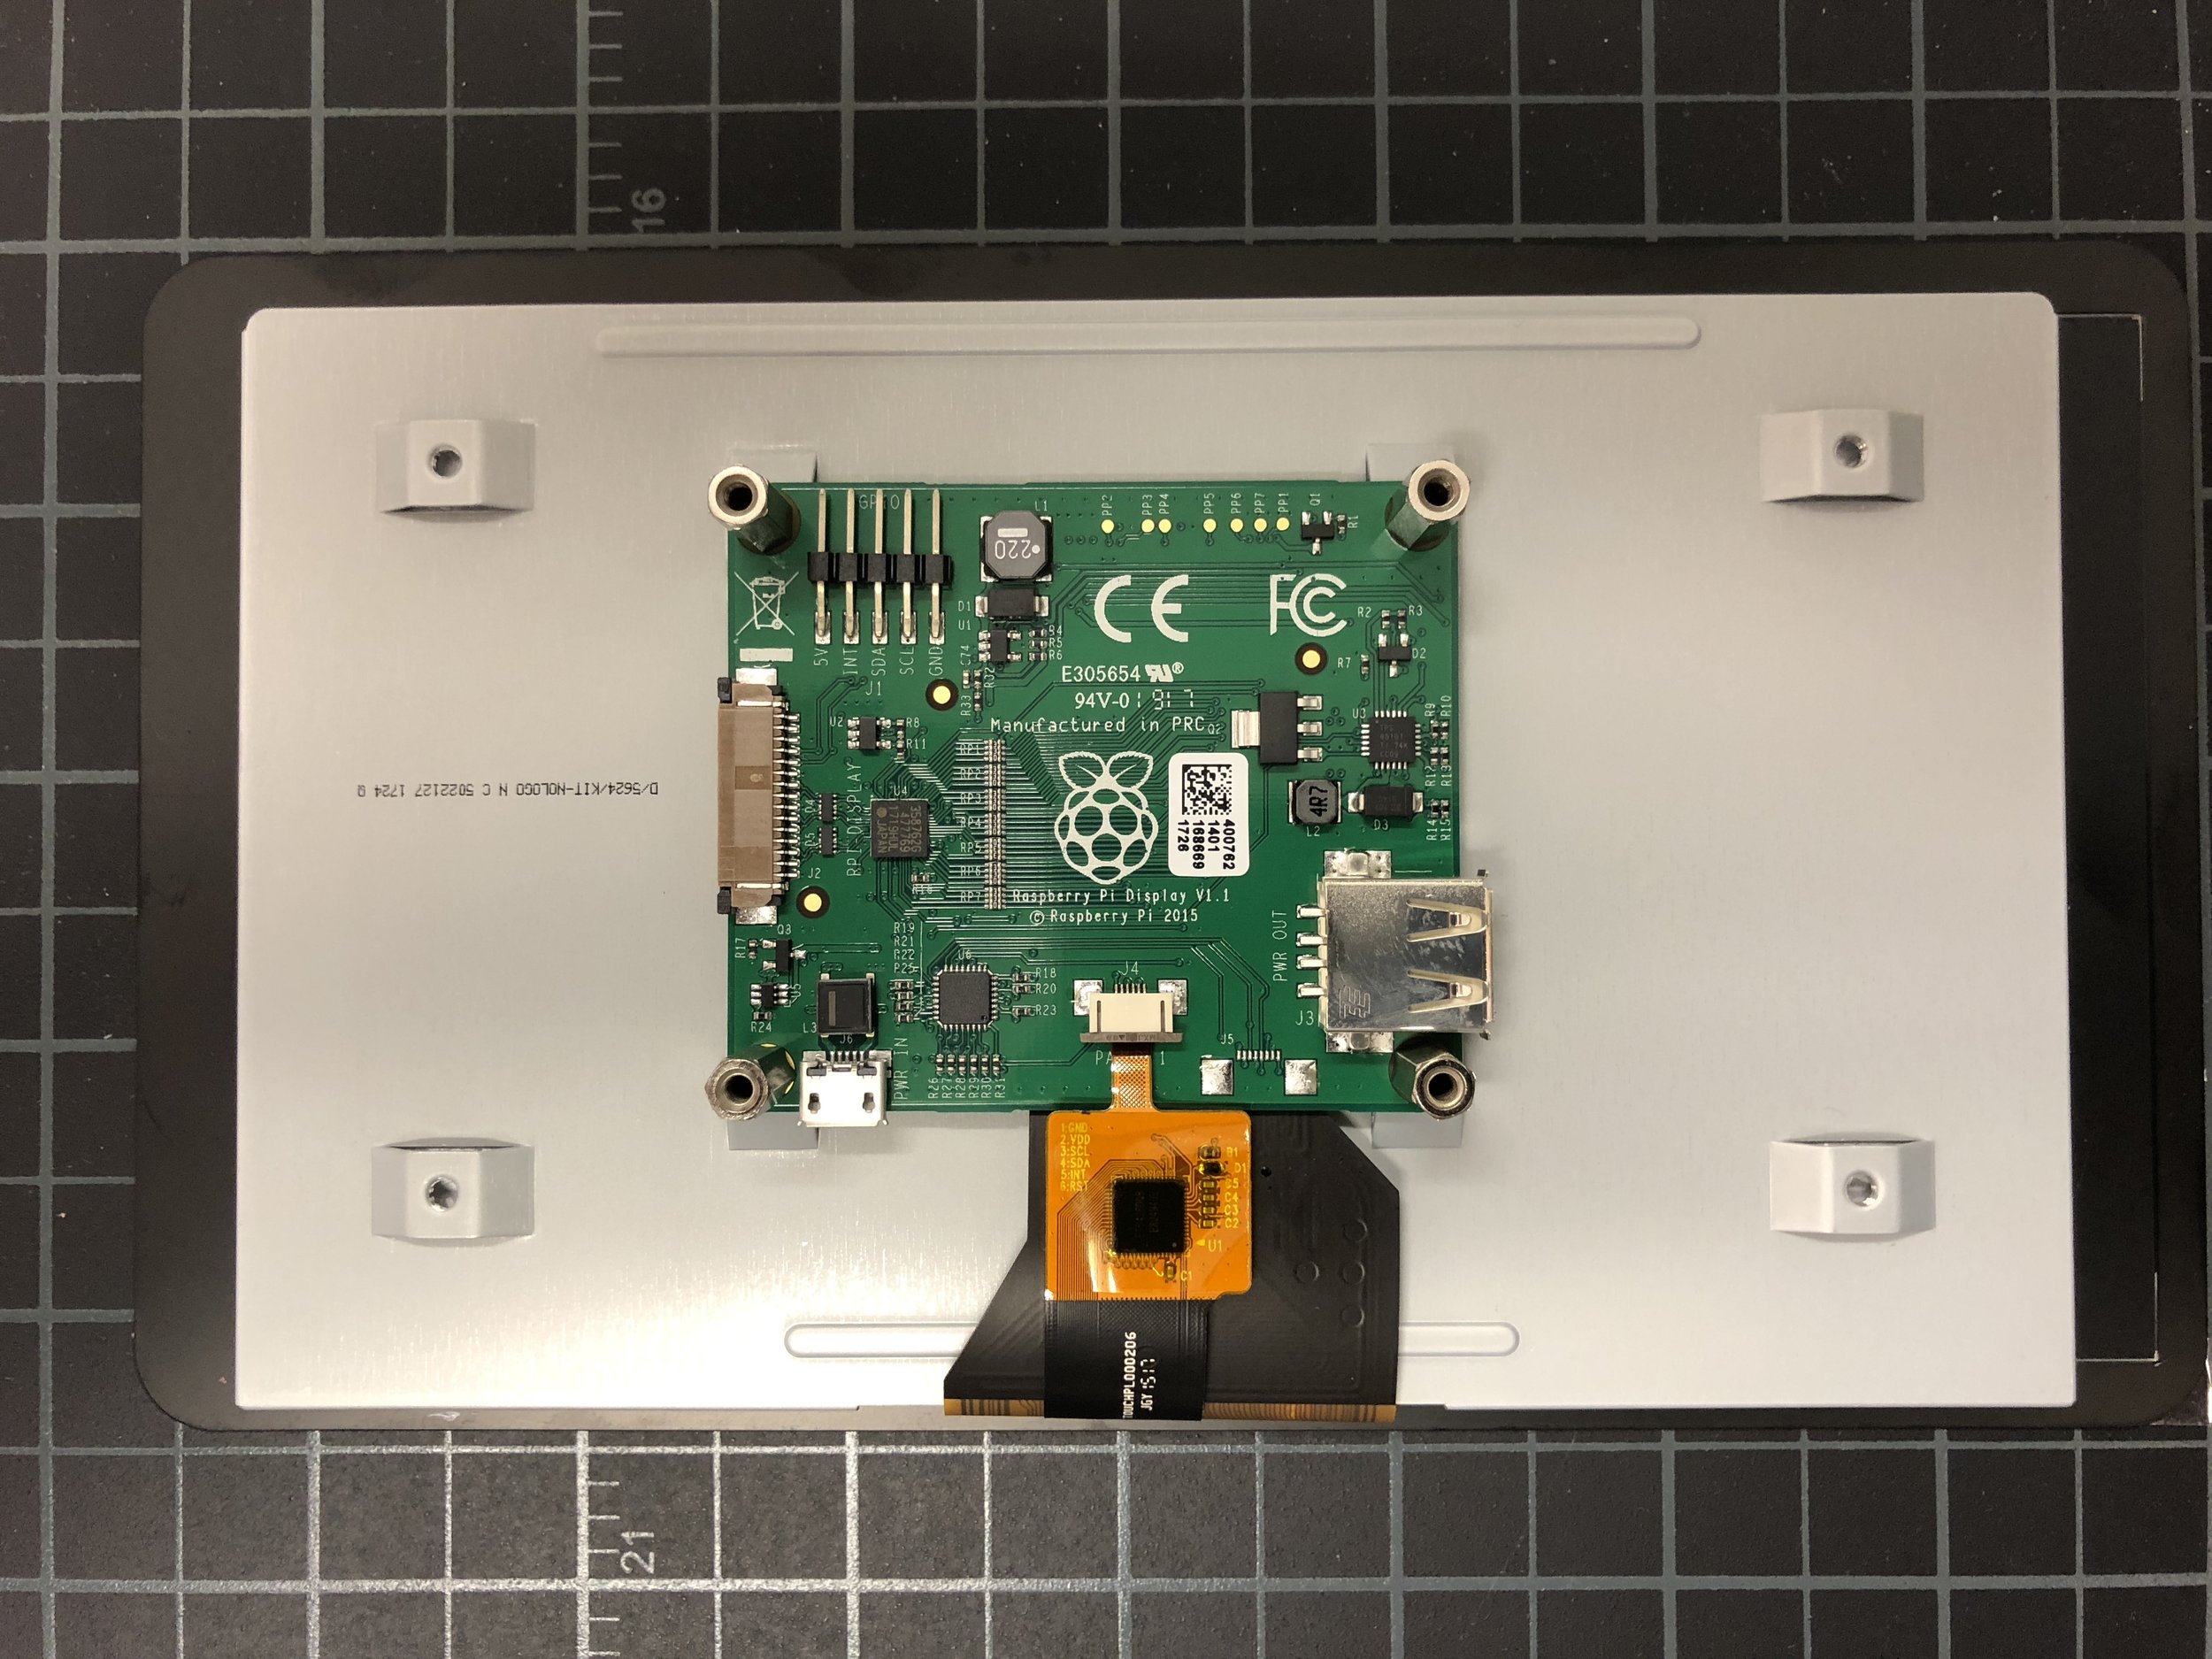
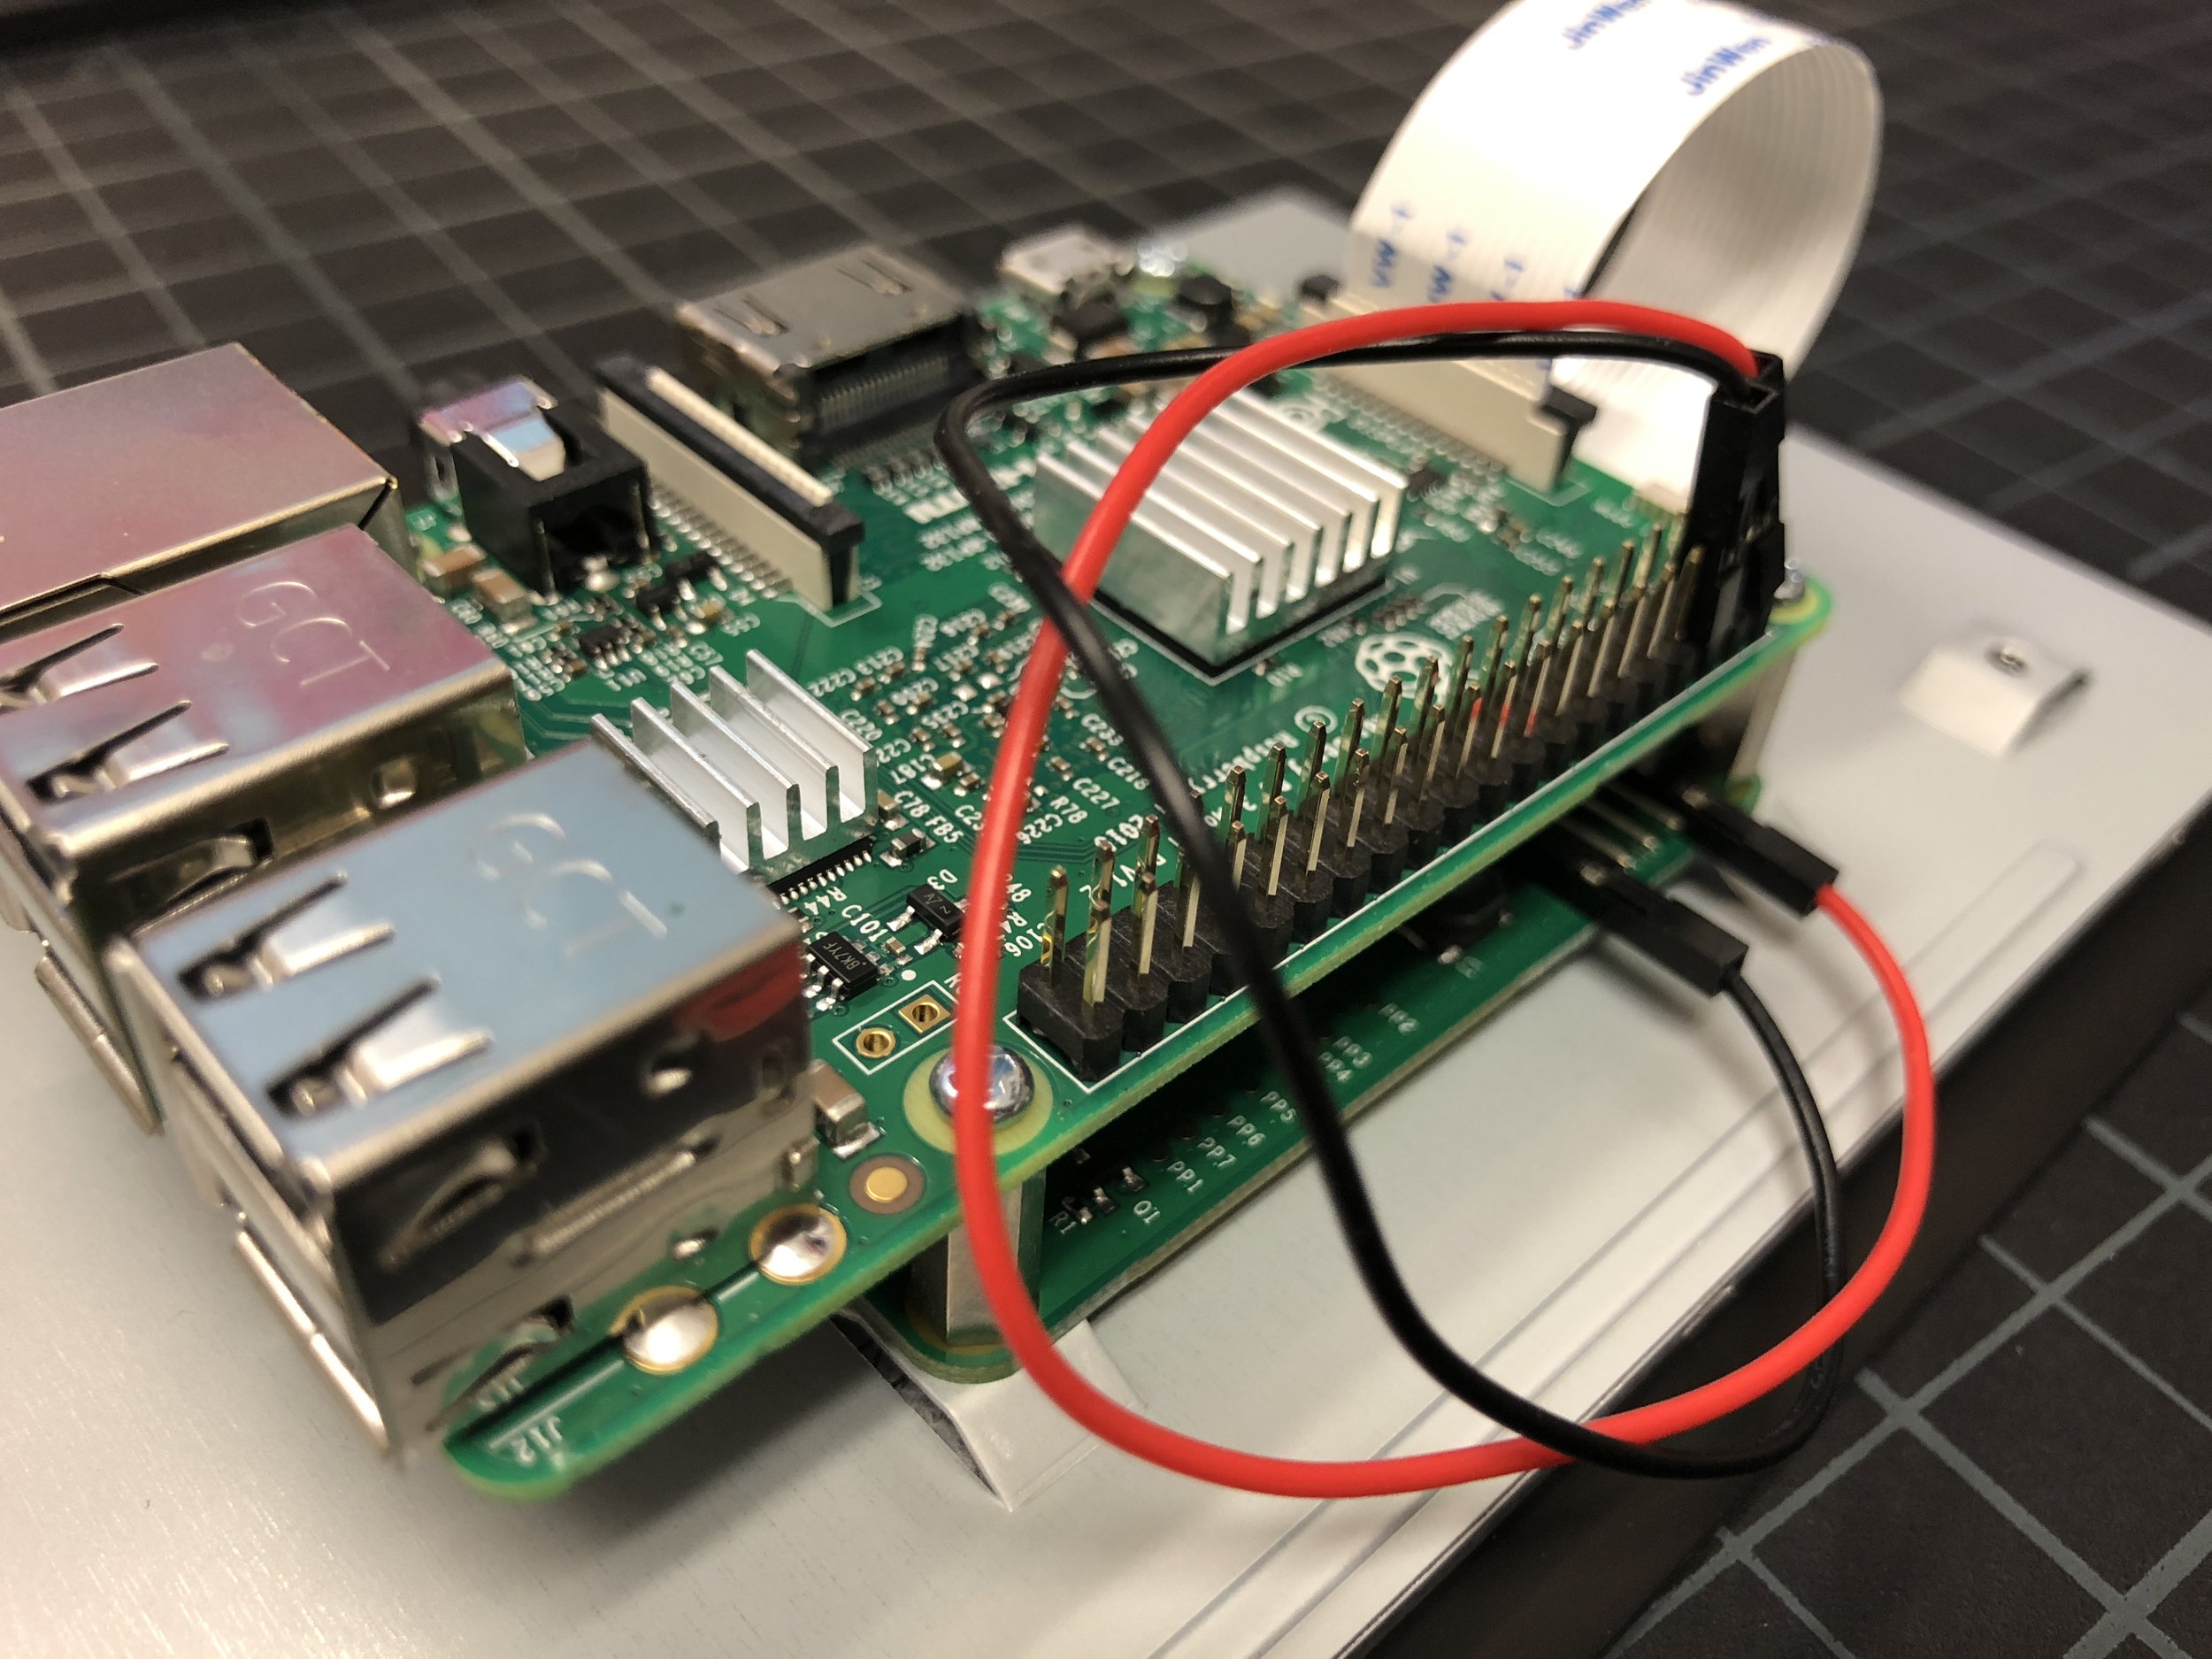
To build this project I turned to a rather quick "all-in-one" or kit solution rather than buying each component separately. You might pay a bit more per component in a kit, but when time is of the essence the cost of convenience is well worth the price. For this project I ordered four NeeGo Raspberry Pi Ultimate Starter Kits for $150/ea. This kit contains everything you need with the exception of a screwdriver and a few lines of code. Even though this kit uses a touchscreen and technically doesn't need a keyboard... I wanted to error on the side of caution and ensure I had a physical keyboard for each device as well in the event an end user is more comfortable with that setup. So I opted for a mini keyboard-touchpad combo with the Rii mini k12 Stainless keyboard for less than $25/ea.

Assembly

Putting the Raspberry Pi kits together was very simple and straight forward. There are no instructions that come with this kit, although you can look up everything you need online and see an almost endless tutorial stream on YouTube. I have been working with Raspberry Pi's for several years so in all honesty the longest part of this build was un-packaging all of the parts.

A few Terminal Commands to finish it off

Once the entire device was assembled and powered on there are a few more steps to get the device fully operational in the way intended. You can of course tackle these in any order, but for most the fist issue that needs to be addressed is the screen orientation. Out of the box the orientation of the screen in the screen case is upside down and needs to be flipped 180* degrees. To accomplish this, and the other adjustments we need to use the Terminal.

In the terminal we need to call up the config.txt file so we can make a couple of updates. To do this once, in the Terminal prompt type the command:

sudo nano /boot/config.txt

Scroll to the end of the text file and add the following command: (The number 2 refers to the degree of rotation. 1=90*, 2=180*, 3=270*) So for this project I needed to flip the screen 180 so I used the (lcd_rotate=2) command.

lcd_rotate=1
lcd_rotate=2
lcd_rotate=3

Once you have added this line you can exit the config file by hitting "Ctrl + X" on your keyboard, then Y at the prompt, then ENTER to save the updated config.txt file. Once this step is complete with the Terminal still open, you will need to restart the device for the change to take effect. you can restart the devive in Terminal with the command:

sudo reboot

When the Raspberry Pi reboots the screen should be rotated.  (Note: if you use the display_rotate=2 command instead of lcd_rotate=2 you might run into an issue where the image is rotated but not the touch sensor grid, so your touch input is off by 180 degrees)

The final few Terminal Commands are some general housekeeping, first we will update the system to ensure that it has the most up-to-date version of the drivers etc. for the touchscreen. To complete this you will first run the "Update" command followed by the "upgrade" command:

sudo apt-get update
sudo apt-get upgrade

sudo reboot 

Once your device has rebooted with the updates the last item is to install the touch screen keyboard. To install the keyboard run the following command in Terminal:

sudo apt-get install matchbox-keyboard

sudo reboot

For more information and ideas on the multitude of ways in which you might deploy a Raspberry Pi for educational applications, or just for fun visit the official Raspberry Pi Website.

NASA Space Apps Challenge 2017

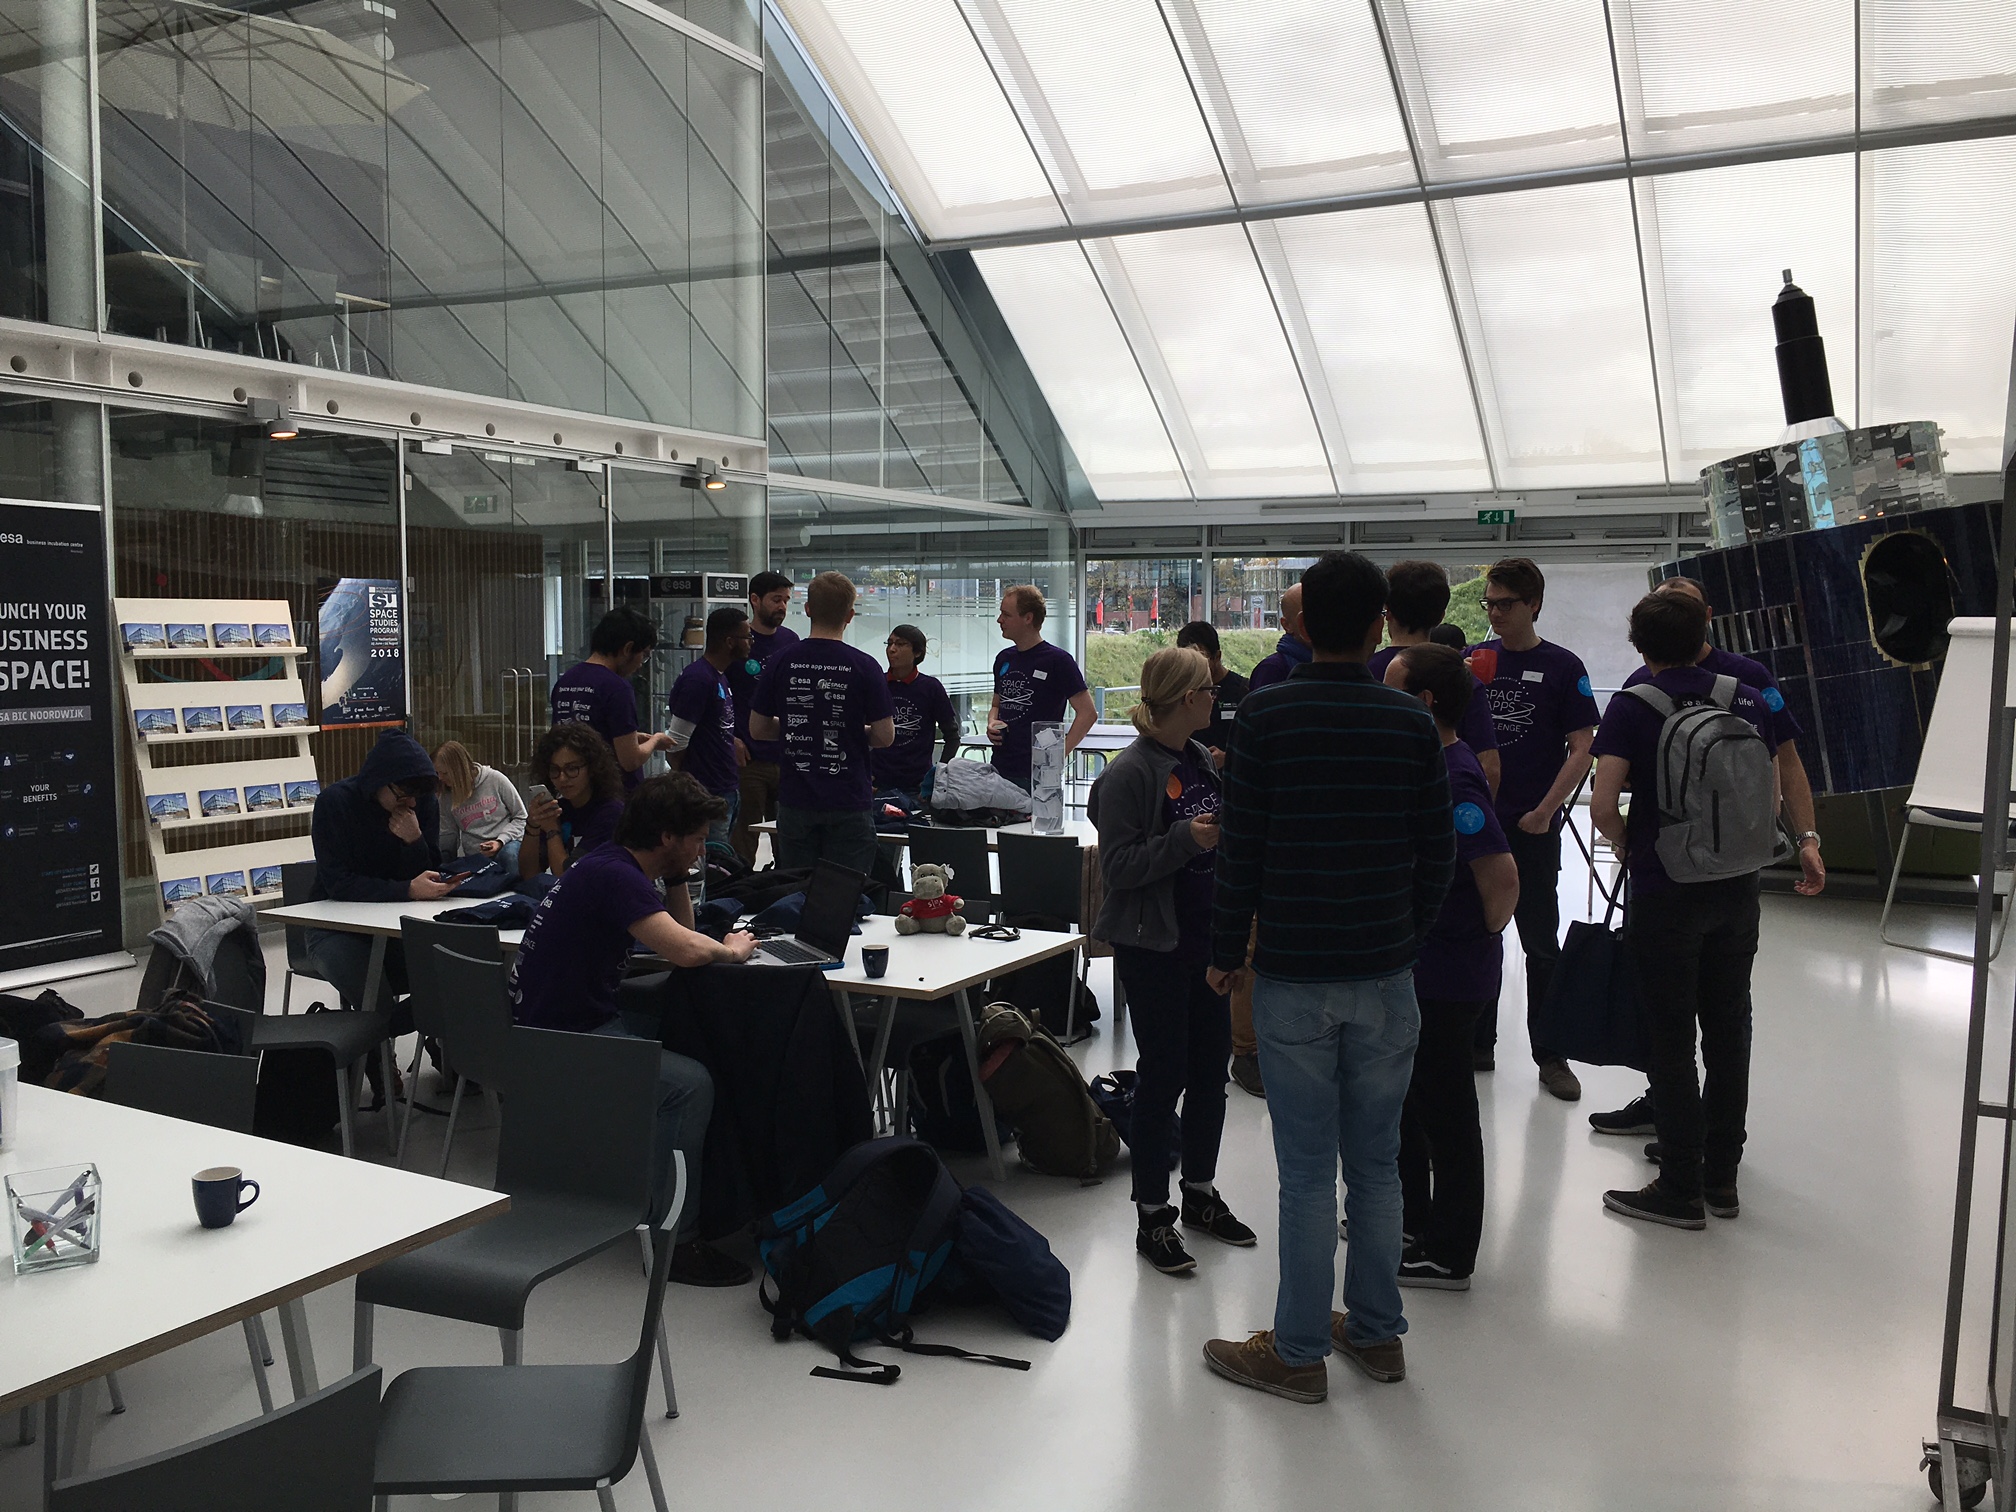
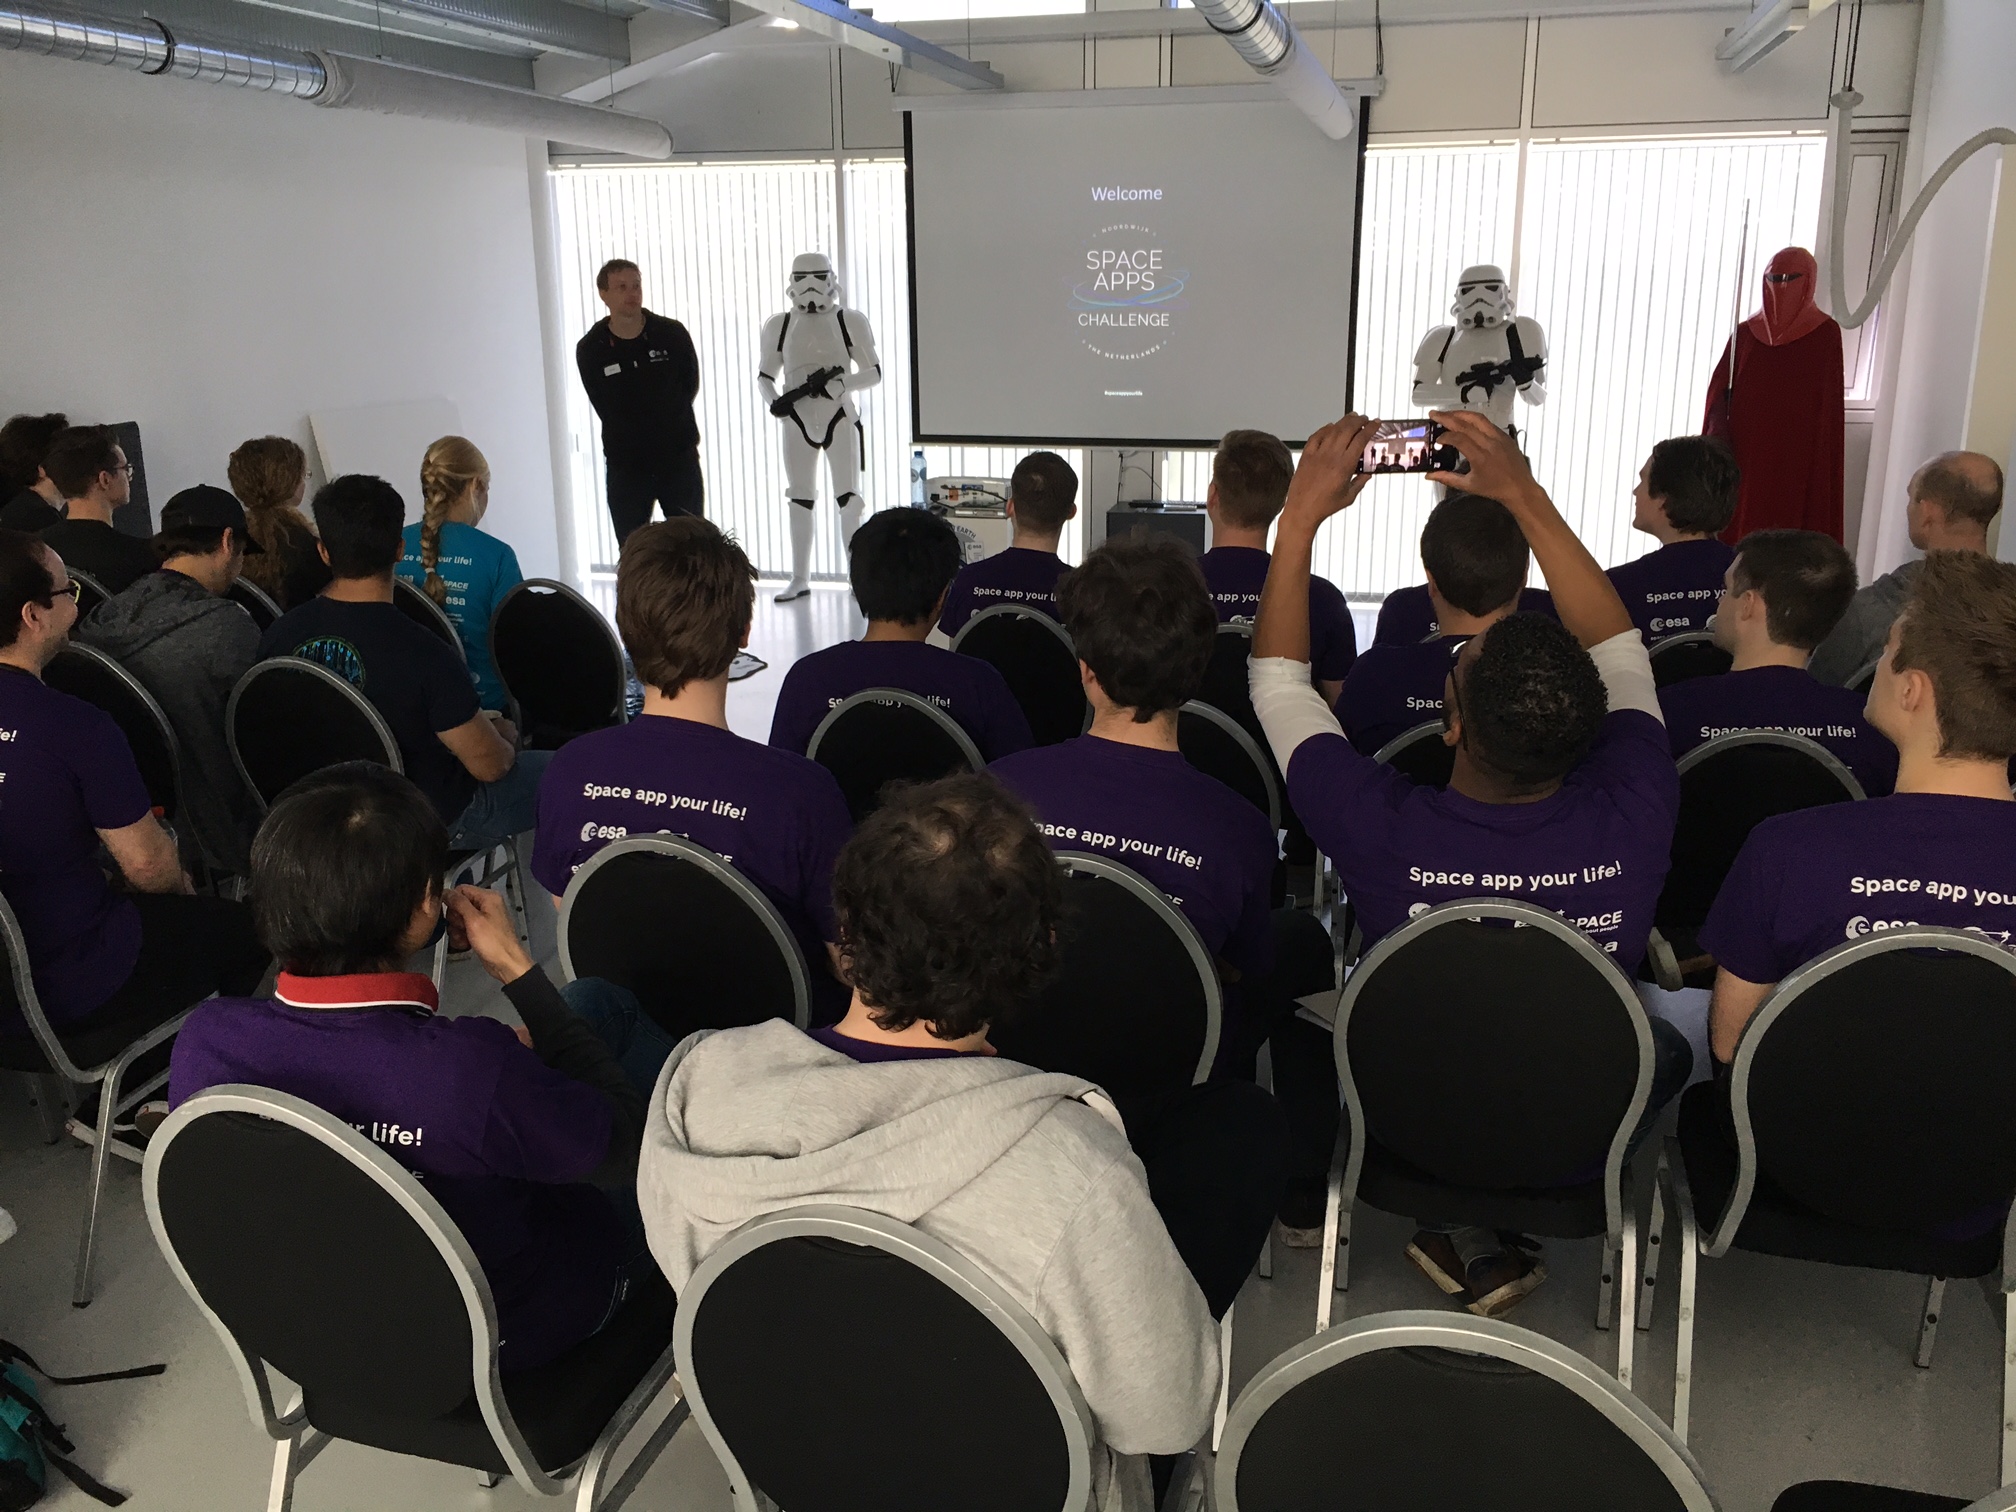
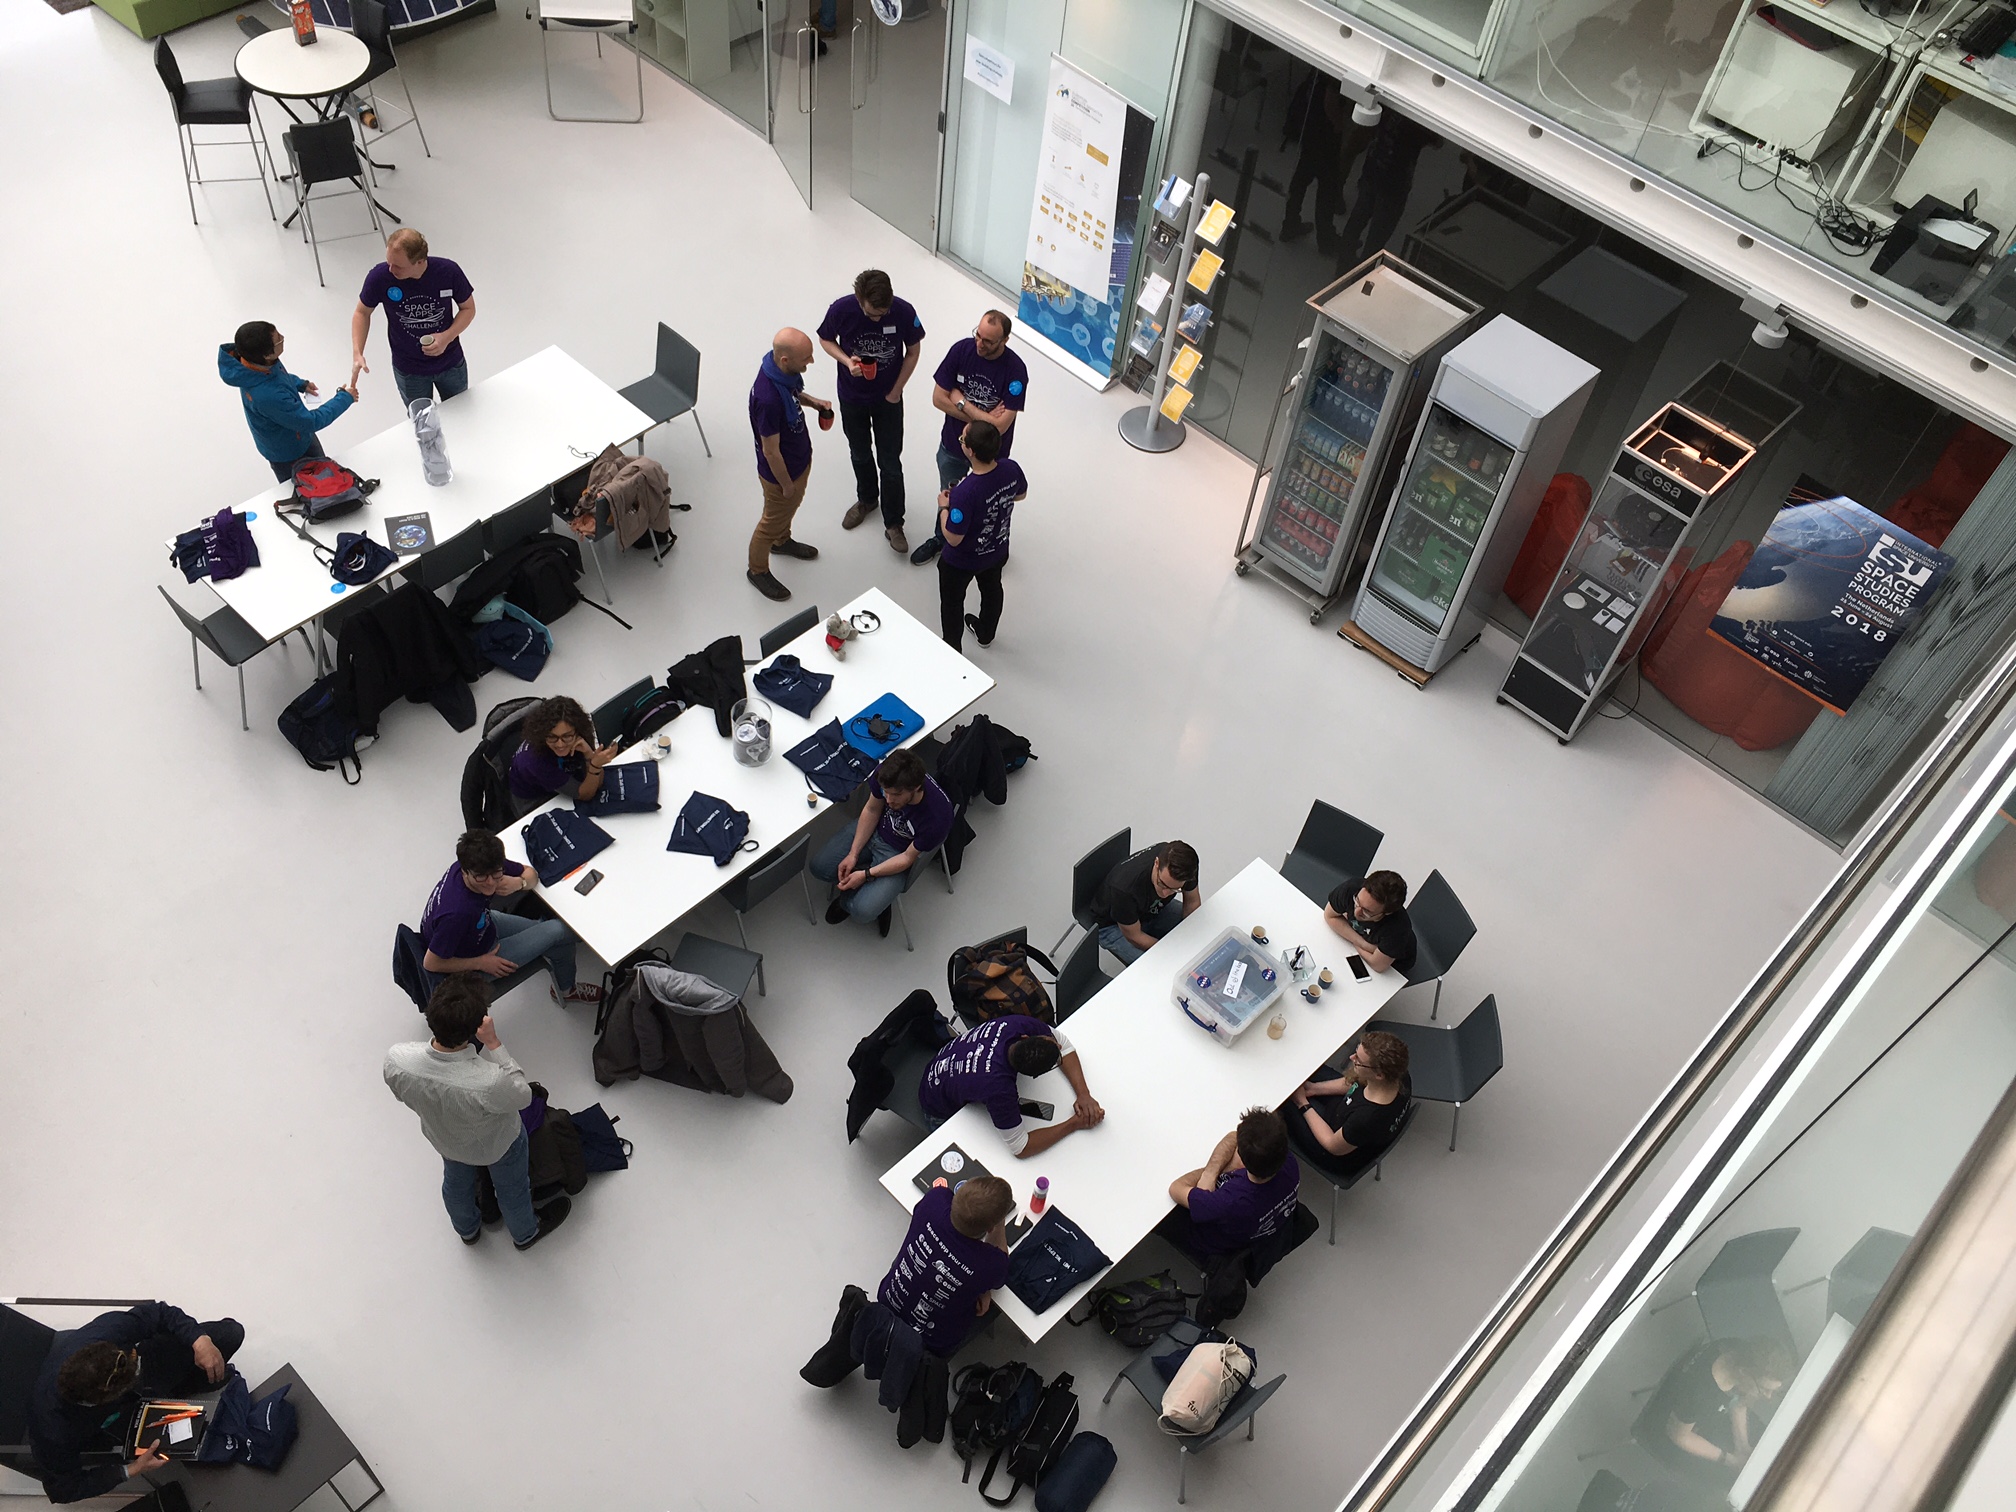
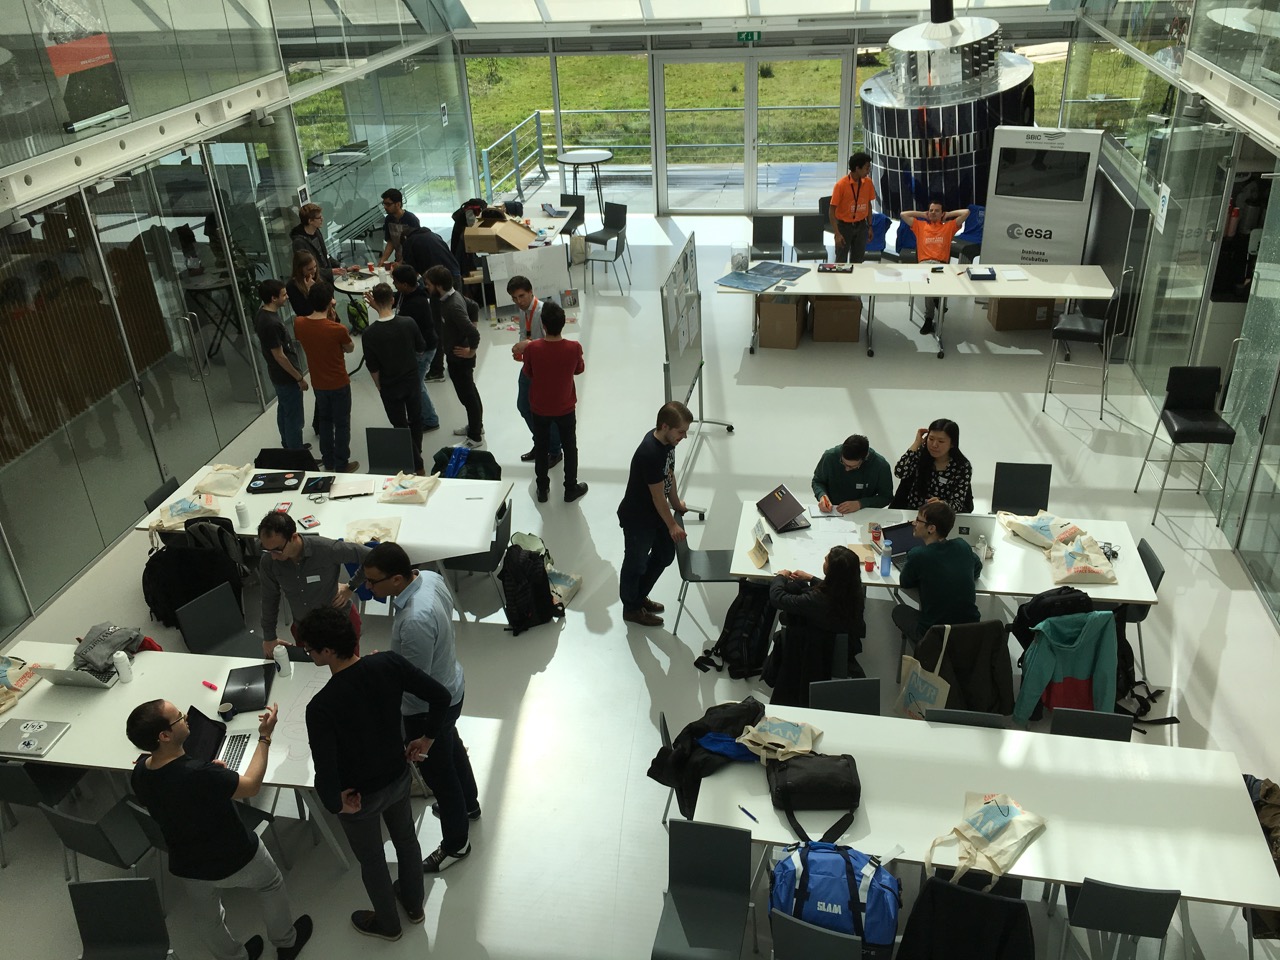
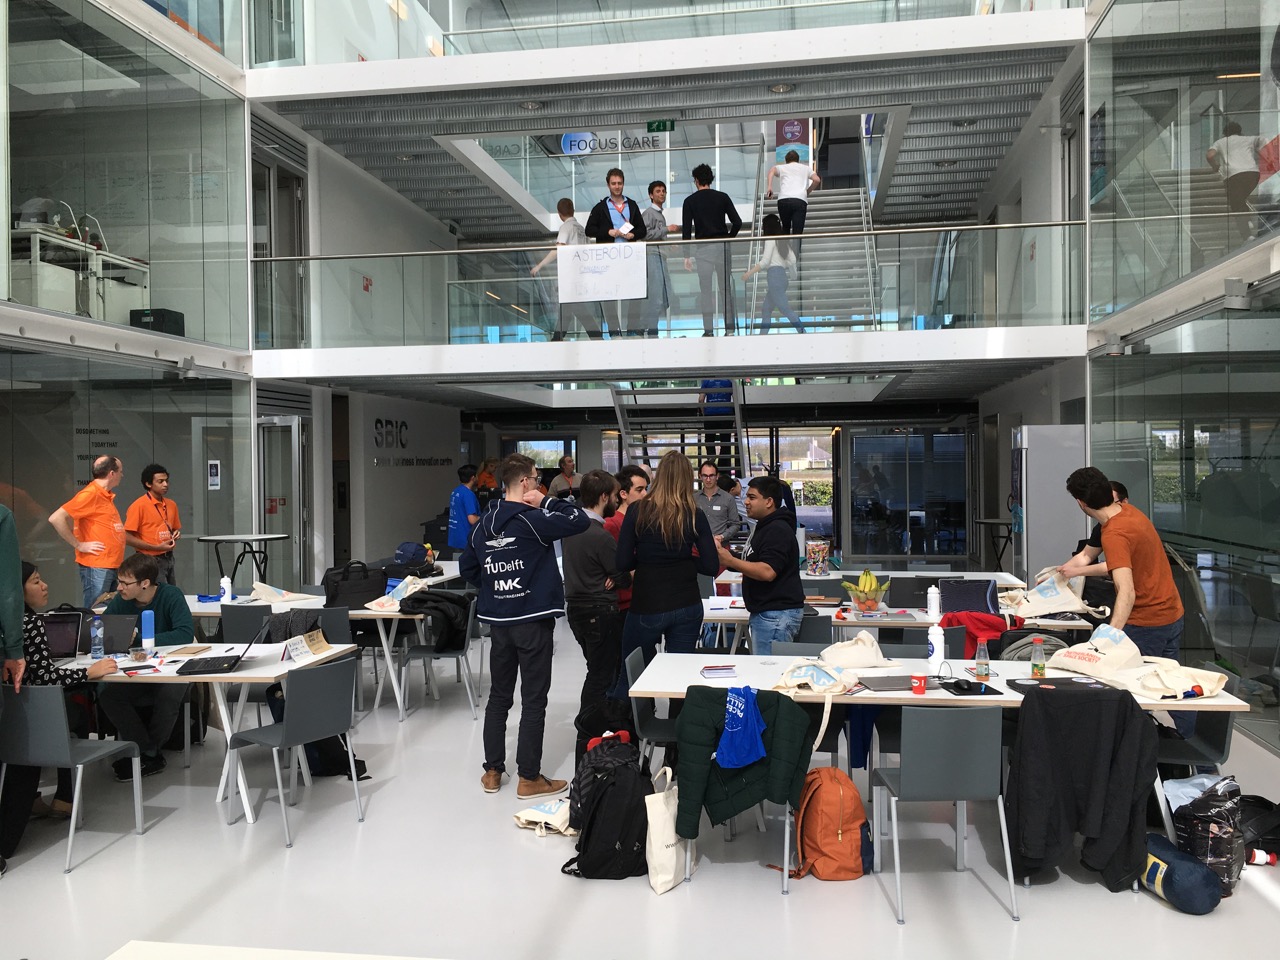
I recently (April 29 & 30th) had the opportunity to participate in the NASA Space Apps Challenge 2017 in Noordwijk at the European Space Agency's Space Business Incubation Center (ESA SBIC).  This was the second year in which I was able to participate as one of the jury members for the International Space Apps Challenge.  

nasa_space_app_jury.jpeg

Each year the participants present their project (solutions) to their respective challenges in an exciting, passionate, and creative way.  This year was no exception, and the level of competition made for a difficult task for the jury to only select two teams to move onto the next round of the competition.  For more information on the events of this years challenge, checkout the official website: NASA Space Apps Challenge 2017.

Students, professionals, engineers, artists, coders, storytellers makers, builders, technologist, beginners and veterans from all corners of the globe are welcome to join.

Tackle a challenge using robotics, data visualization, hardware, design and many other specialties! Inspire each other while you learn and create using stories, code, design and, most of all, YOUR ideas. Show us your problem-solving skills and share your talents with the world!
— NASA Space Apps Challenge 2017

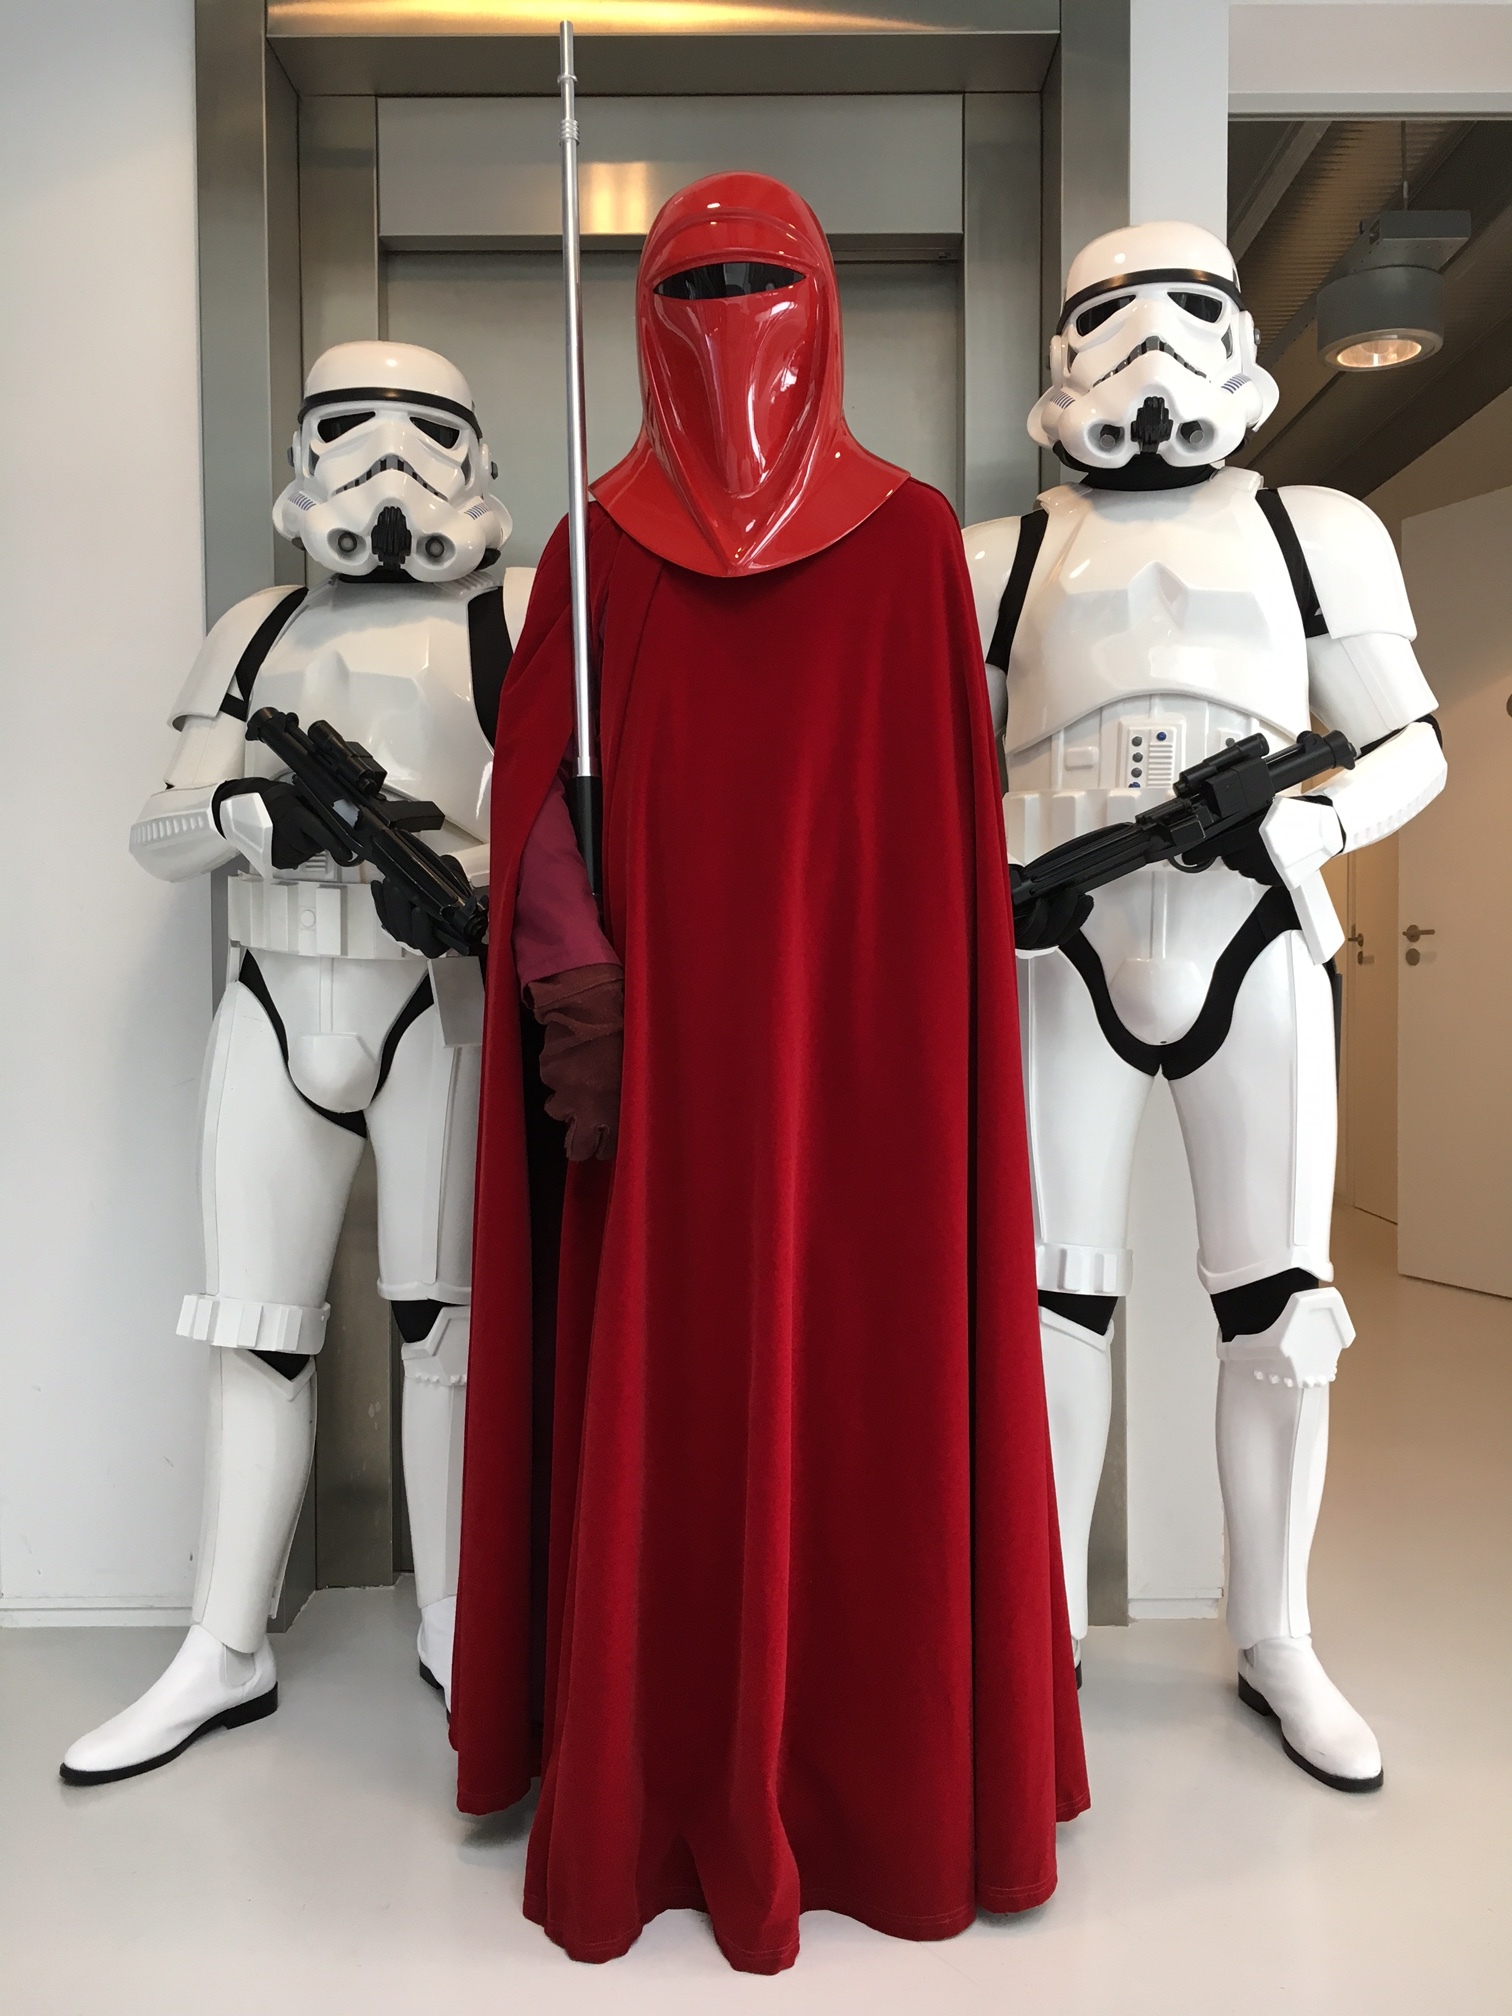
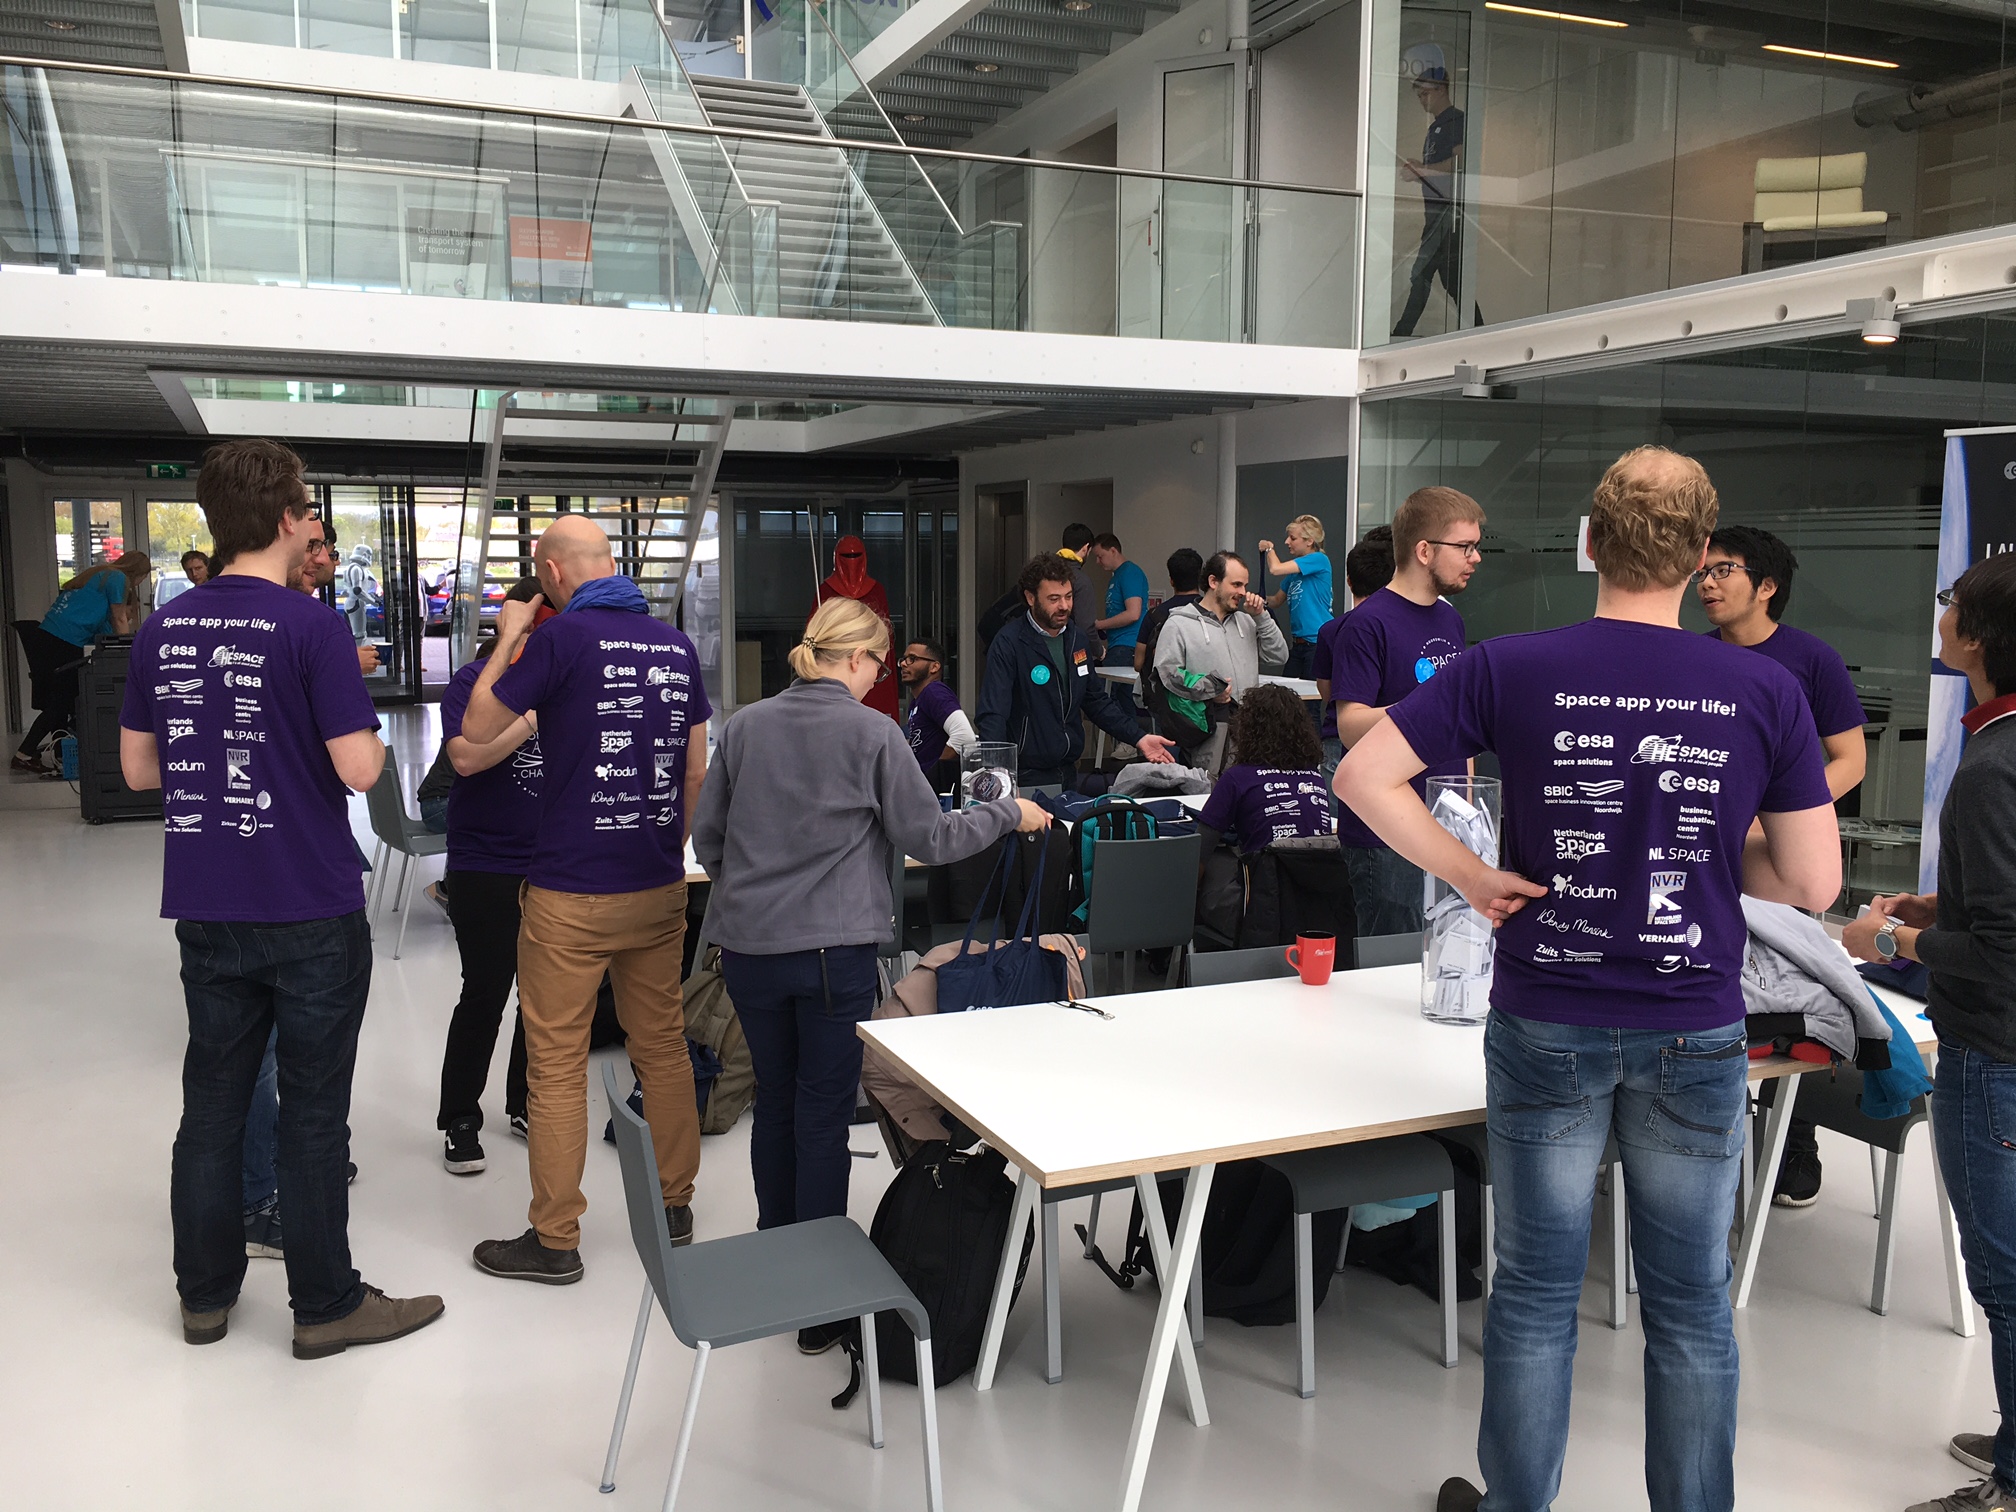
This year the participants were greeted on Saturday morning by members of the 501st Dutch Garrison for some interstellar inspiration.  Later in the day there was lots of food, music, entertainment, and even some relaxation time. 

After all the hard work and presentations there were three winners, two selected by the jury, and one people's choice award selected by the participants themselves.

And the winners are...

I wan to wish the winners of this years competion the best of luck in the next round, and I am already looking forward to next years set of challenges!

Disrupting the JPEG

I wanted to share a fun activity or in-class exercise I use when teaching advanced levels of digital imaging.  Most of us are very familiar with the JPEG file type. It is a staple commodity in our daily digital lives; we post, share, download, and save JPEG image files all the time without much thought.  However, we often forget that beyond the surface level obvious use for JPEG images, we can use this file format to rekindle the organic nature of randomly effecting change in the medium to produce unexpected and uncontrolled results. 

Original JPEG Image: Taj Mahal

Original JPEG Image: Taj Mahal

Disrupted JPEG Image

Disrupted JPEG Image

This exercise was originally based on the tutorial: "Breaking the JPEG - by Stephen Hislop of Computer Arts Magazine" before the magazine's web presence changed CMS's and lost the imagery from the post.  Please feel free to follow this exercise yourself and have some fun, or to re-purpose it to fit your needs (assuming you are teaching a class or course on digital images or compression etc.) I included a short video tutorial so you can see the steps below in action.

Purpose

The Purpose of this activity is to give participants a chance to take a closer look at the code that is generated by the JPEG image compression format, and to gain an understanding of what happens when we change that code in random, arbitrary ways.   This activity also provides each participant the tools to create unique and "organic" works of art that defy the original code structure of the JPEG file by disrupting the source code. 

You might be asking how are we going to do this?  Well, we’re going to tear an image apart from the inside out and then put it back together.

Step 1: Source image

To begin with, select an image file (*.jpg, *.jpeg) that you would like to use.  This activity works better if you choose a lower resolution image (web-sized) since the amount of code will be reduced in the file.  I personally recommend an image around 800-1,500px in the longest dimension at a resolution of 72ppi.  You can of course experiment with all kinds of sizes and resolutions once you have the process down. For this tutorial I'll show you the image I used along the way.  Due to the trial and error approach to this activity, it's a good idea to use a source image, and them make copies from it to experiment with.

Source Image JPEG file (1500 x 787 px @72ppi)

Source Image JPEG file (1500 x 787 px @72ppi)

Step 2: Convert JPEG to Text

Once you have your source image you will convert the image to text by renaming the file extension. 

  1. Right click your image file and select "Rename"
  2. Replace the ".jpg" file extension with ".txt" to convert the image file type to a text file.
  3. You may get a pop-up warning dialog box asking if you want to replace the file extension - select the option to use the new ".txt" extension.
  4. Your image file thumbnail image may have already changed to a text icon.  Now select your image text file and open the file with a text editor (TextEdit on Mac or Notepad on PC etc.).
Rename file: change extension to ".txt"

Rename file: change extension to ".txt"

Yes - we are sure we want to ruin the file ;)

Yes - we are sure we want to ruin the file ;)

Step 3: Get your hands dirty

  1. With the file open you will see that the image has been converted to a mess of tortured looking text, what you are actually seeing is the ASCII representation of the file code.  All of those lovely 1's and 0's are still there of course, but since we used the ".txt" extension we see what those bytes look like as text characters.
  2. Now comes the fun part - scroll down through the image roughly to the top 1/8th of the document.
  3. Make a selection of the code and copy/cut the code (big or small does not matter, you can vary the size as much as you like).
  4. Scroll down a ways (roughly another 1/8th of the way) and paste the code.
  5. Now try and grab another section and copy it (but leave in place).
  6. Now scroll to a new location and paste it in.
  7. Repeat these steps (3-6) a few times until you have jumbled up some of the code.
Grab random sections of code and copy/cut/paste the code to new locations

Grab random sections of code and copy/cut/paste the code to new locations

***Hint: When you are first trying this out, I would start off by making only a few changes maybe 3-4 changes and then see how it turns out.  There is no "rule" for this, so you will need to experiment with different amounts of code and whether you are copying or cutting etc.

The main thing to keep in mind during this stage is that all of this code represents corresponding parts of the image, so the bigger chunks of code you take the bigger (or more pixels) you will be disrupting.  Another tip would be to stay away from altering the very top 1/8th or very bottom 1/8th of the code, that seems to corrupt the image more often than not.  But again, you are free to experiment.

Step 4: Return from whence we came

Now that you have changed up the code its time to put this file back to an image file type.

  1. Save your work in the current form of the text document to lock in your code changes.
  2. Now reverse our file naming process from Step 2 -
    1. Right click the file and select "Rename"
    2. Change the file extension to ".jpg"
    3. Confirm you want to use the "jpg" file extension if prompted by a warning dialog box.
  3. You will now have a disrupted JPEG image file.  You can preview your file and see the wondrous "random" effects your copying and pasting had on the image. 
  4. If you are unsatisfied with your first try, try again, or choose a different image.  The point is to keep experimenting.  Once you've learned the process it only takes a few minutes to go through the entire image transformation.  Below I included a few results from the source image used in this tutorial. 

If your image is completely broken (which happens a fair amount) you might have broken parts of the code near the top or bottom of the file resulting in an image so disrupted it is no longer recognizable as an image.  In this case don't sweat it, just grab another copy of the source image and try again, but use less aggressive changes, and try and stick to the middle of the image where the code is "safer". 

You might have a scenario where you can preview the image fine, but it wont open in an image editing program like Photoshop.  Again, no sweat, just grab a screen shot of the preview and now you have a "clean" image file of the disrupted one. 

Step 5: Turn it up to 11 (optional)

  1. Now that you have a fun disrupted image you can further the enhancements to this by opening the file in Adobe Photoshop or whatever image editing application you like.
  2. You might look to enhance colors - make custom selections on the broken segments and alter them to your hearts content.
  3. Have fun! :D

Like what you created? Share it! Feel free to tweet your creations at me, or share via Instagram - @seanthenerd #DisruptedJpeg


NASA Space Apps Challenge 2016

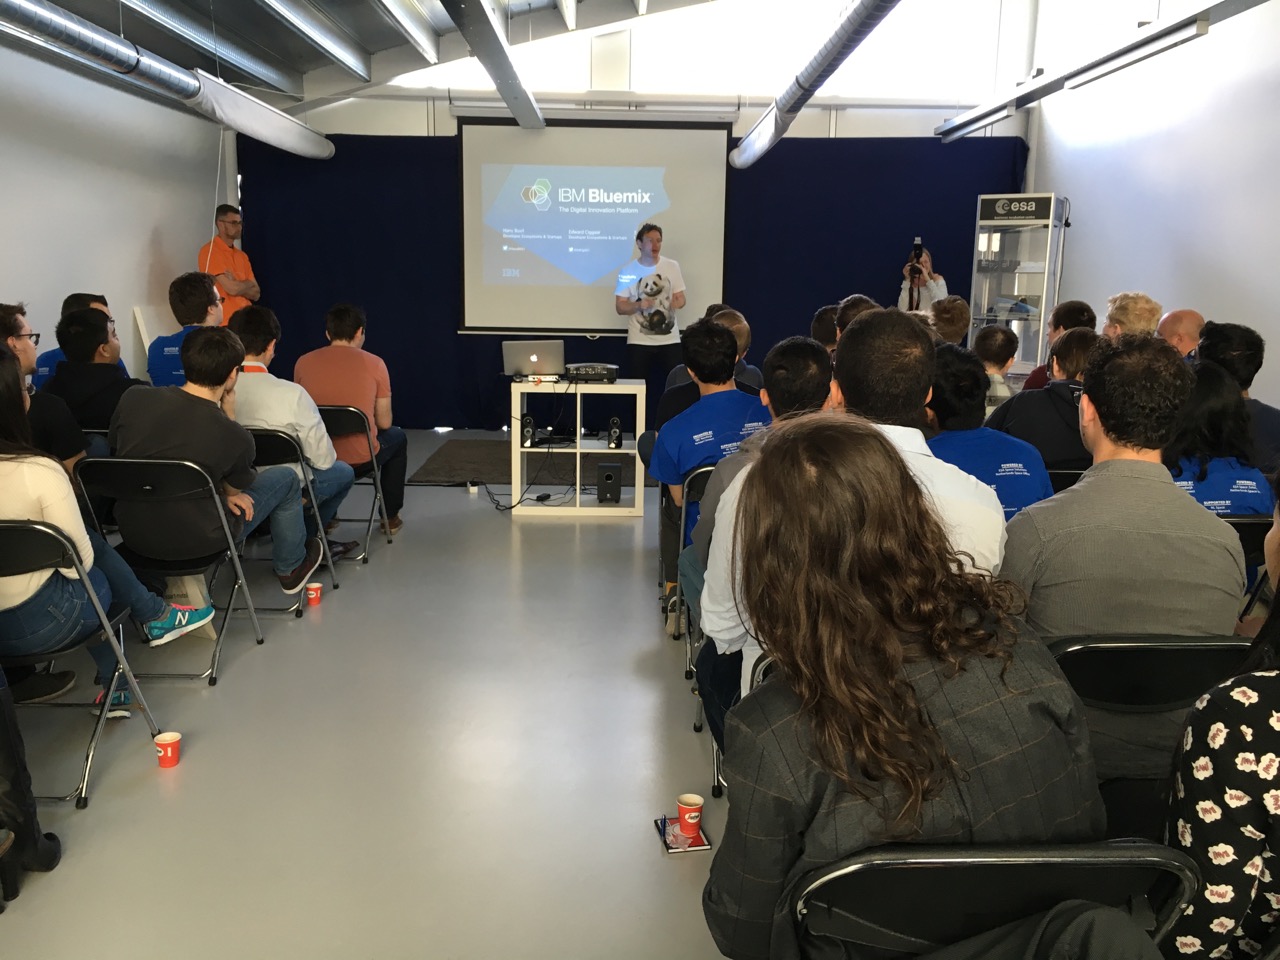
I recently had a wonderful opportunity to participate in this years NASA SPACE APPS CHALLENGE hackathon as a jury member for the ESA SBIC location in Noordwijk, the Netherlands.  I was already familiar with the event from the previous year, but this was the first time I was able to officially participate.  I had a wonderful time meeting the fellow jury members, and most of all meeting all of the participants and getting to see all of the creative and innovative proposed solutions to this years set of NASA challenges.

NASA SPACE APPS CHALLENGE 2016

NASA SPACE APPS CHALLENGE 2016

To better understand how this event works, NASA releases a set of challenges that range in scope and complexity for a community of "thinkers or hackers" to work together and come up with creative solutions. 

Global Community, Out-of-this-World Innovation
For 48-72 hours across the world, problem solvers like you join us for NASA’s International Space Apps Challenge, one of the largest hackathons in the universe. Empowered by open data, you collaborate with strangers, colleagues, friends, and family to solve perplexing challenges in new and unexpected ways — from designing an interactive space glove to natural language processing to clean water mapping. Join us on our open data mission, and show us how you innovate.
— NASA Space Apps Challenge 2016

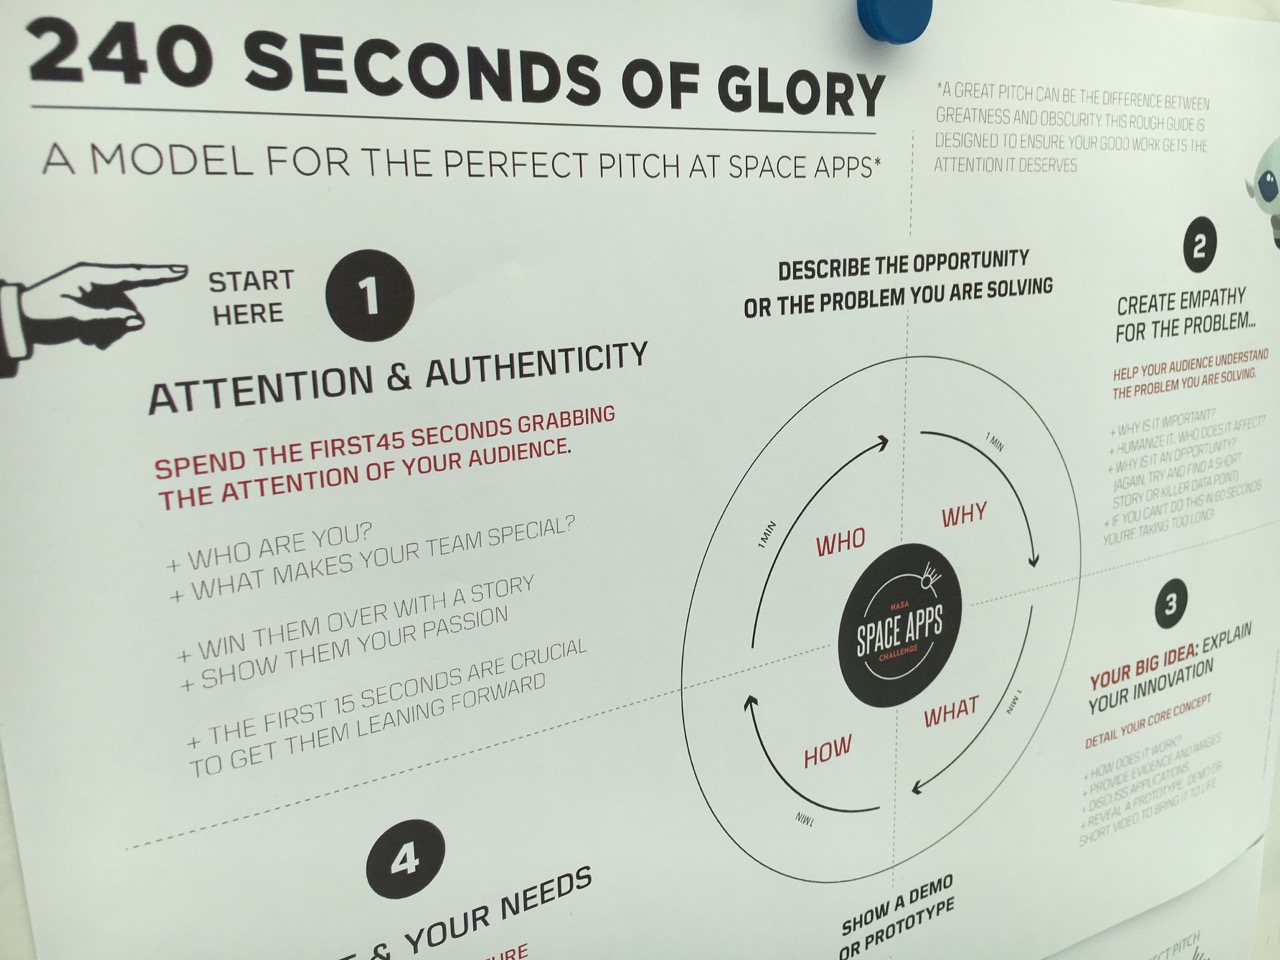
The participants gave their 4-minute presentations to the jury and peers after 48 hours of hard work, collaboration, and I'm sure many energy drinks. It was a hard group to judge since there were so many strong ideas.  In the end three groups were selected to move to the next round of the global competition. 

  • Toilettronic - a project aimed at simplifying the toilet experiences of space flight and stay at the ISS through wearable technology and gamification.  This group impressed the crowd with their "in-the-box" thinking on how to reduce the stress of toilet experiences in space.
  • Leaky Rivers - a mobile application focused on the use of public data and geographical information systems to inform the public on dangers of floods, with the aim of providing real-time warning systems for those who may be in or near areas of flood waters.
  • SenseAIR - a mobile platform using public data that helps inform individuals of their exposure to pollutants by using real-time spatial information. This group was chosen as the "People's Choice Award"

For a full look at all of the groups and their projects please visit the Noordwijk Location NASA SPACE APPS CHALLENGE 2016 page.  Currently the SenseAIR group is a semifinalist in the People's Choice Award category and is in 7th place overall.  With a little luck and some voting they have a good chance to make the finals. 

I am looking forward to next years competition and to see what the new challenges will be.  Hopefully I'll see you there.

Chalkboard Art - a creative muse

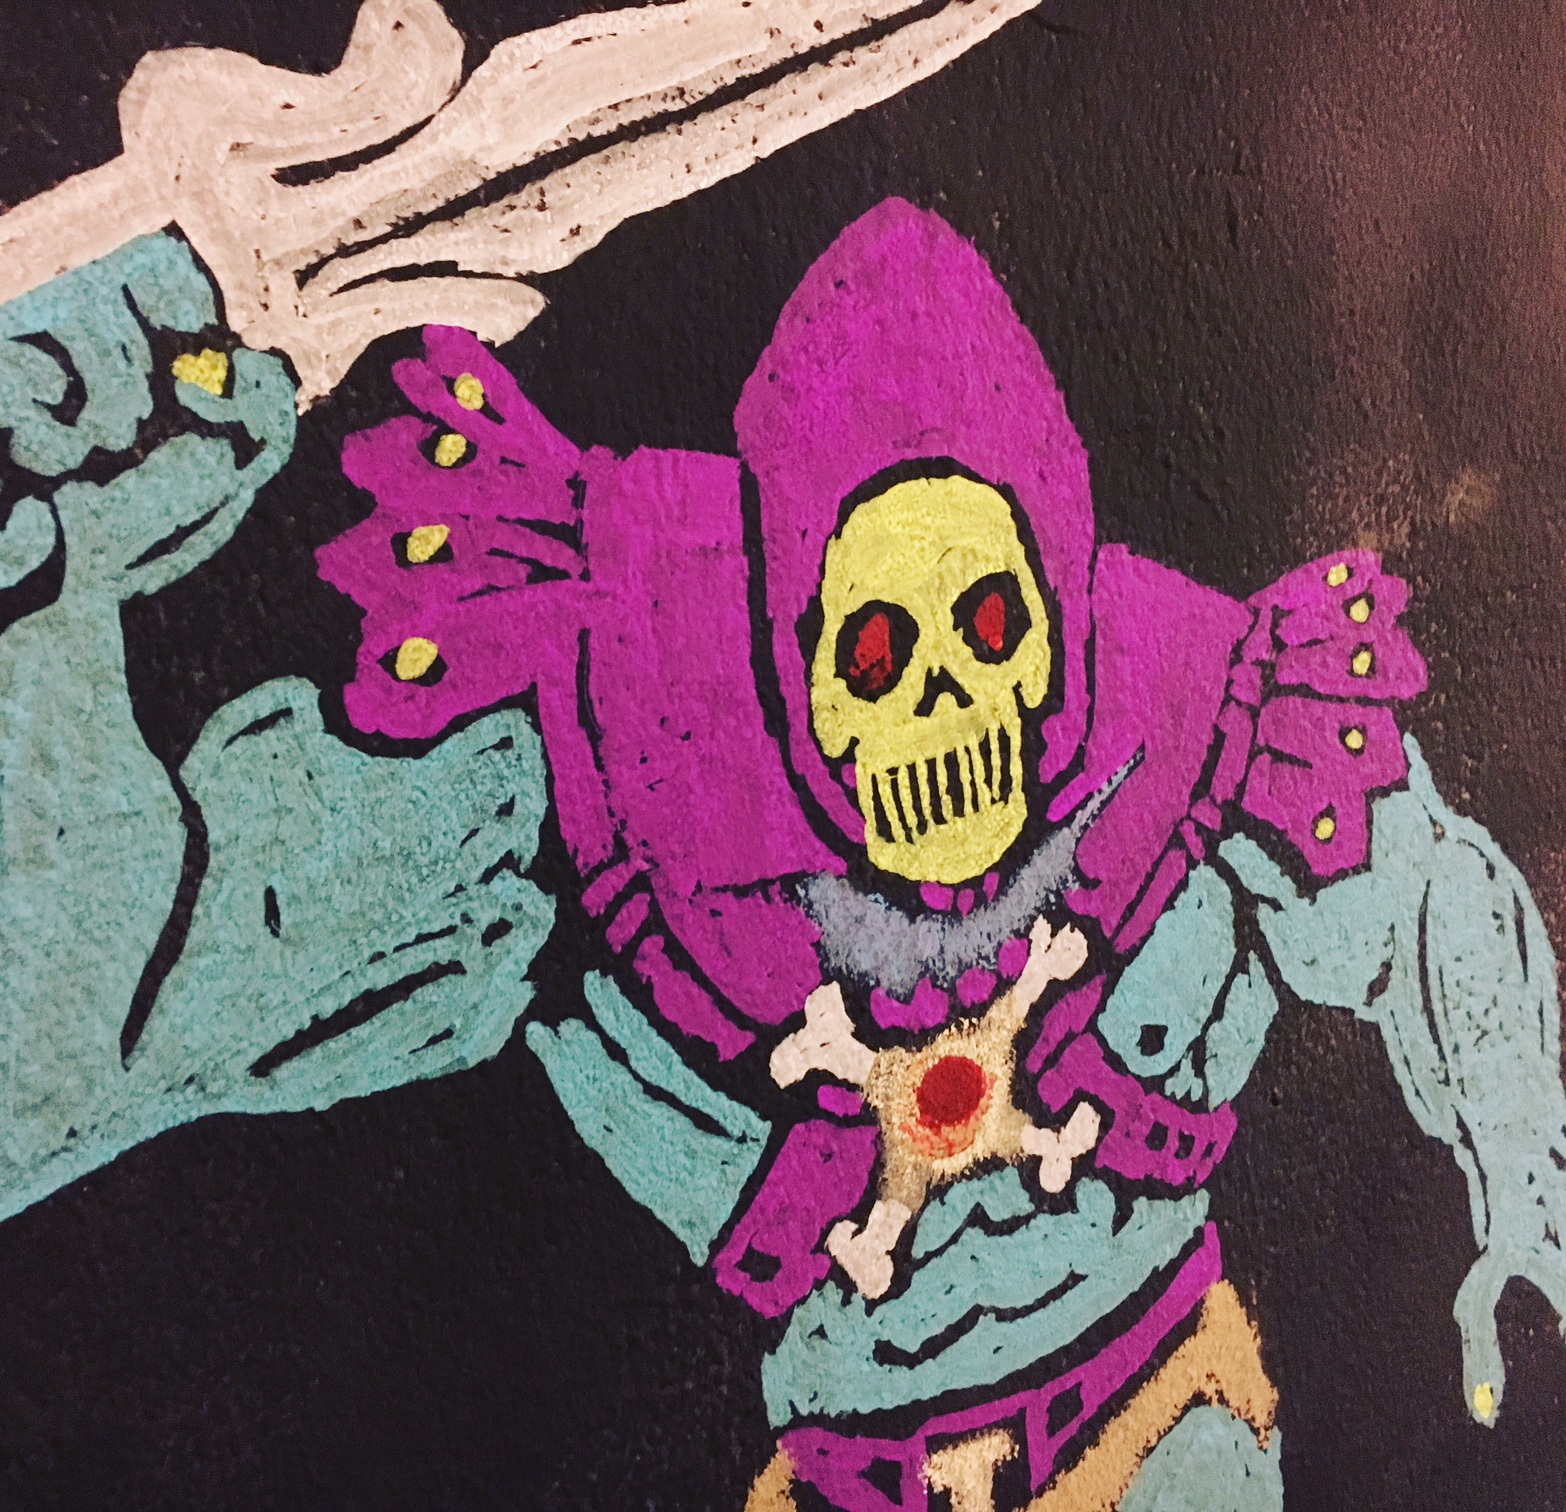
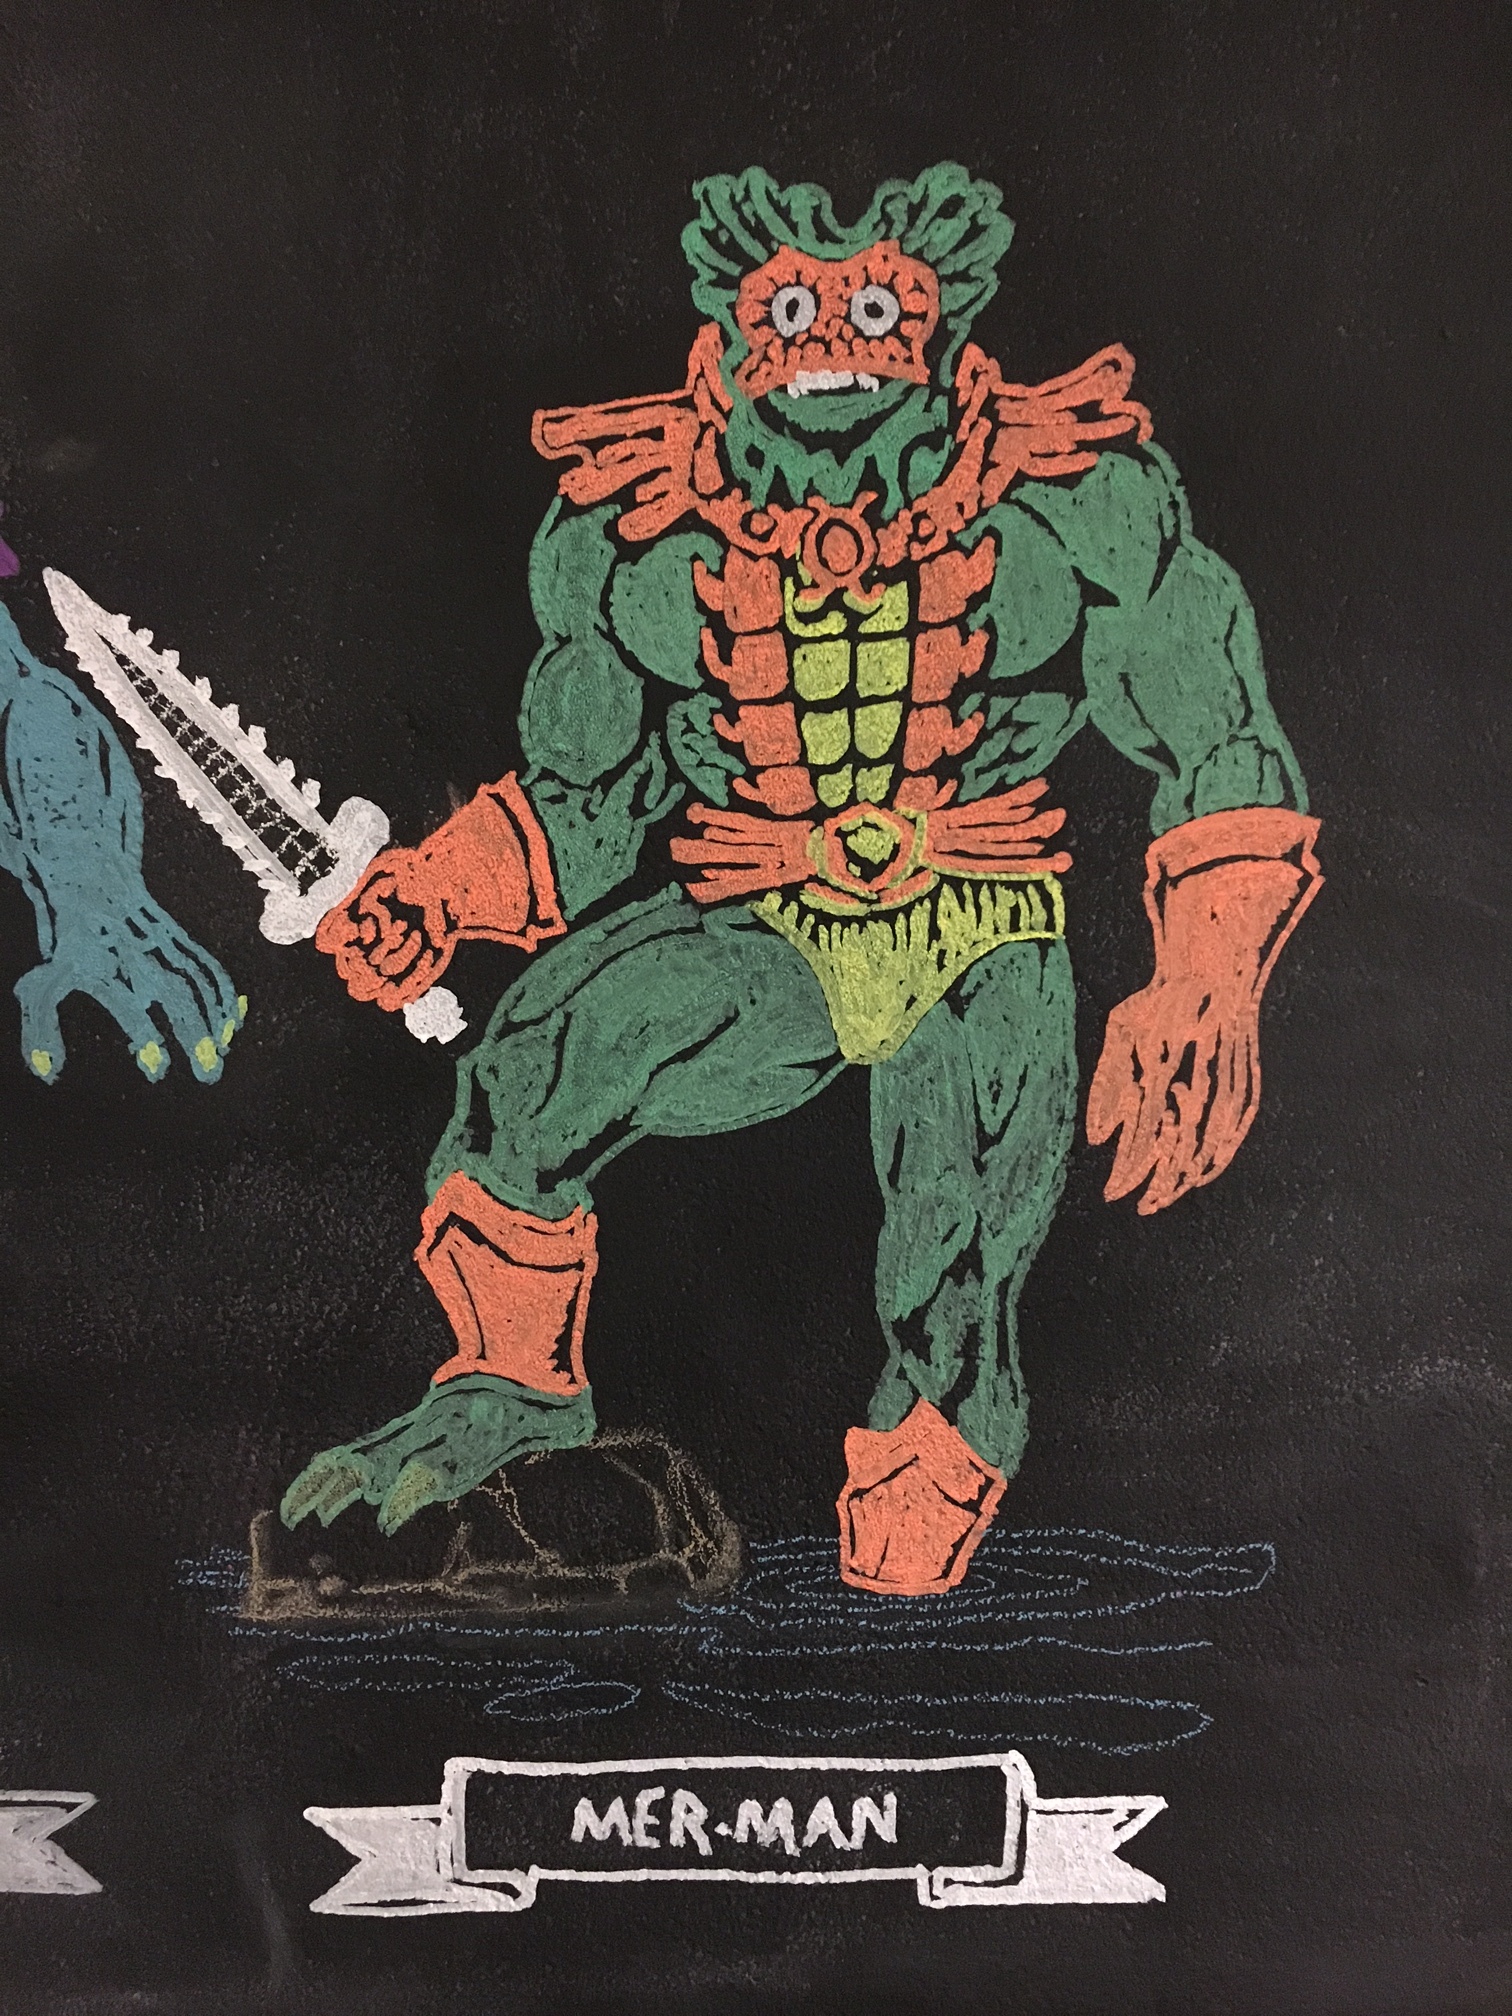
In an attempt to drum up some creative inspiration I began playing around with an idea of creating some fun chalk drawings in my Media Studio.  The idea came to me shortly after installing a "chalkboard" wall in the studio.  It is a very simple setup really; I used two coats of the chalkboard paint from a local hardware store to create the chalkboard wall measuring 1 meter by 1.5 meters or roughly (3 ft x 5ft).

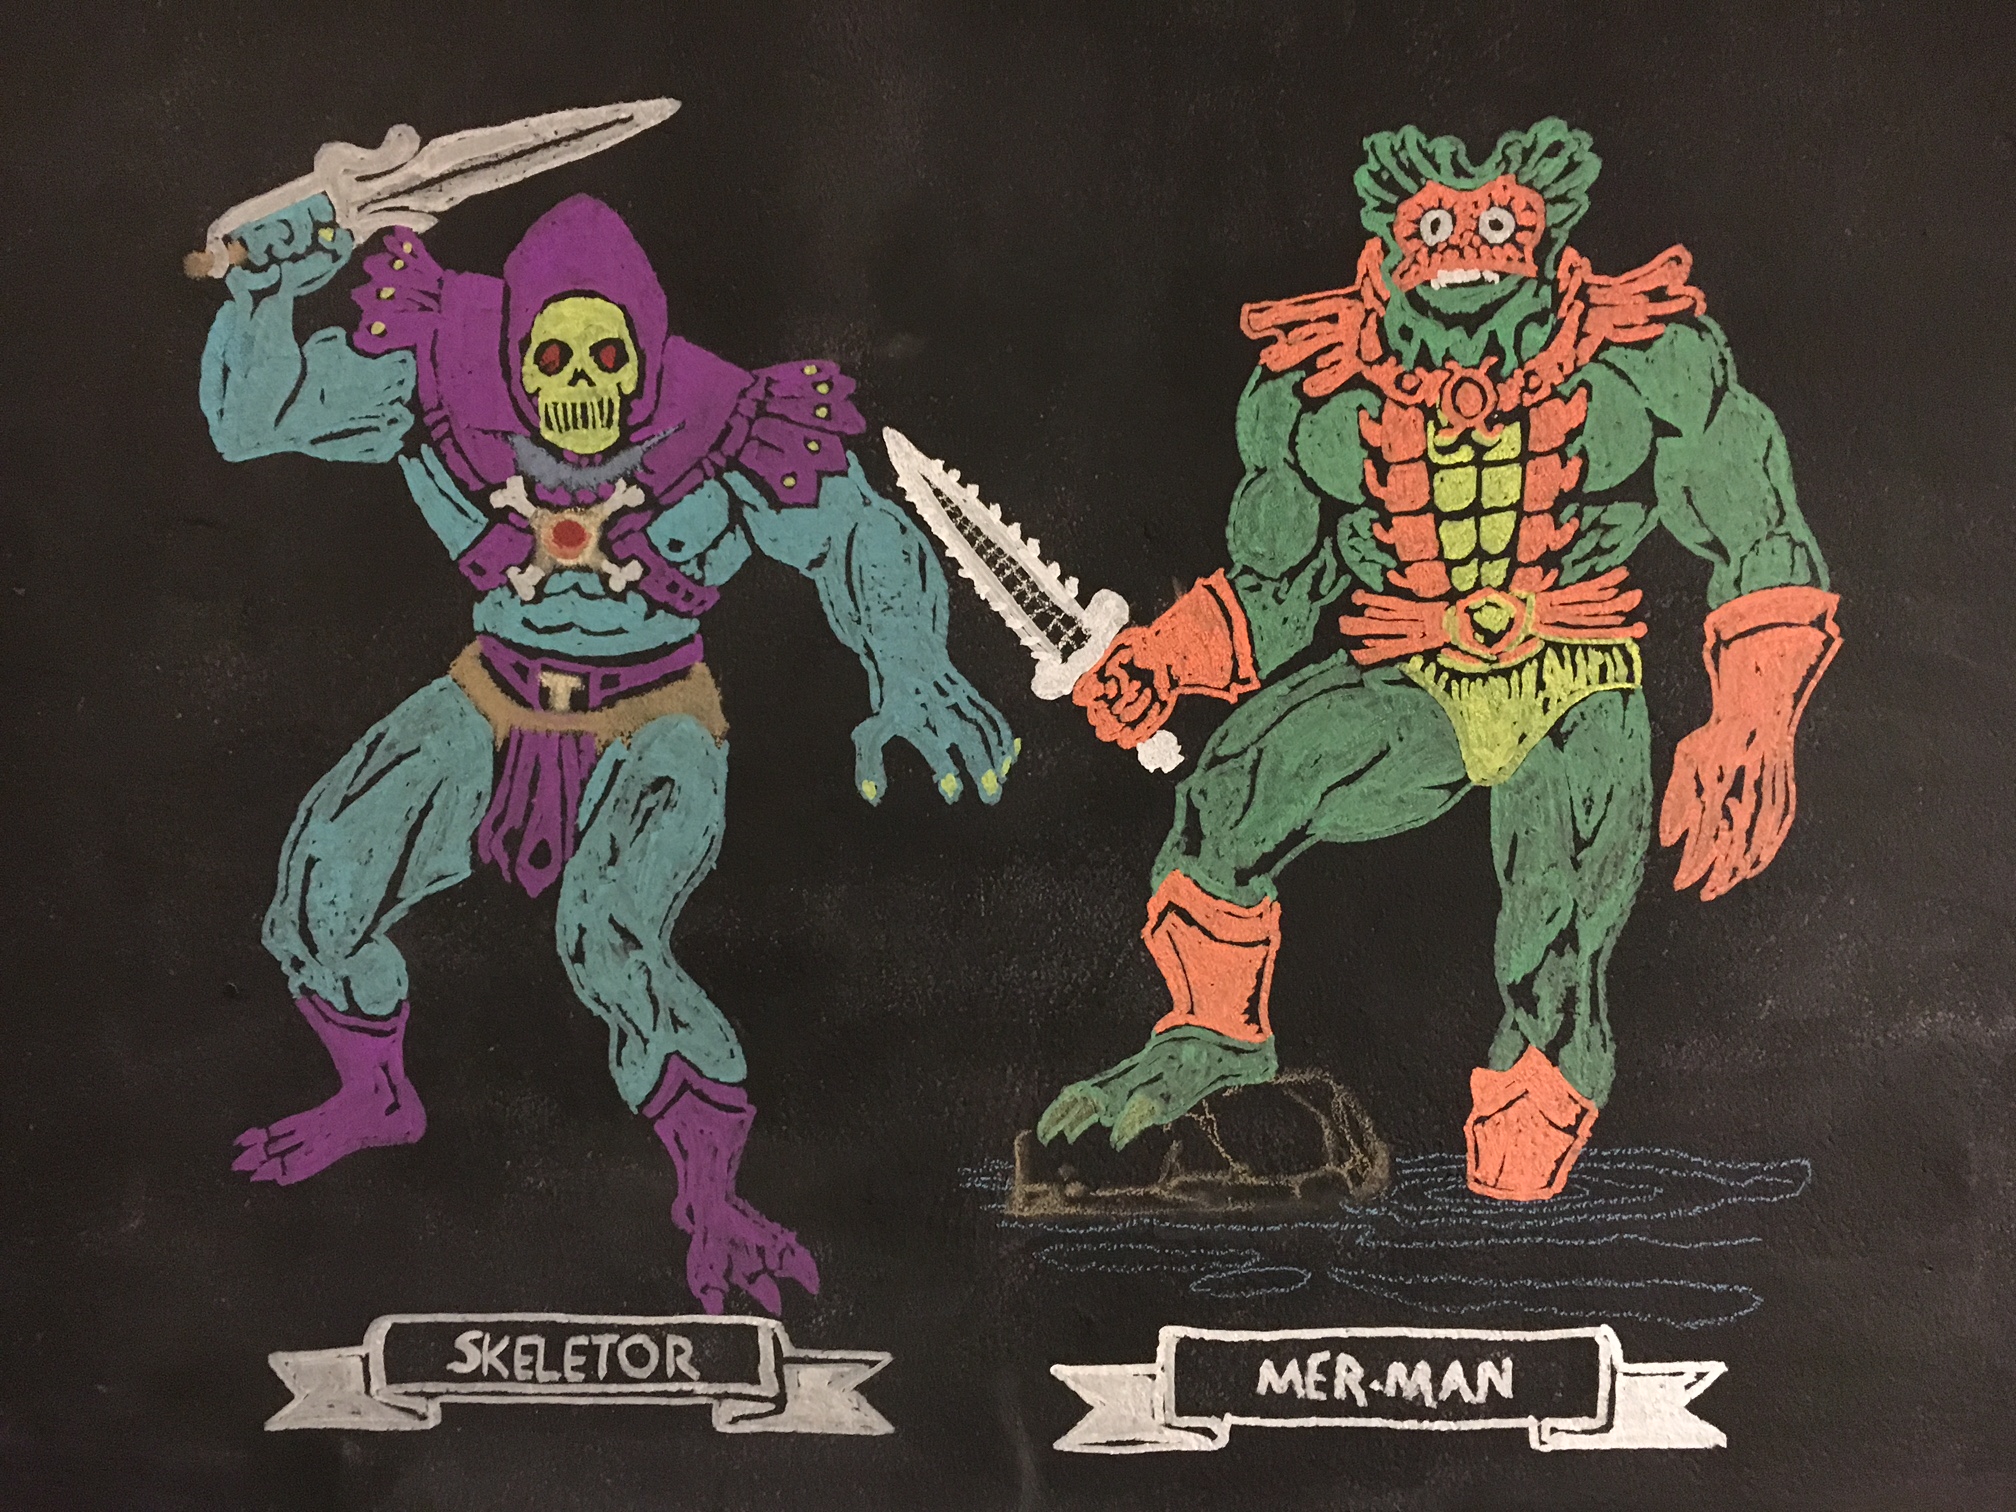
After purchasing a selection of chalk, both the traditional classroom stuff and the amazingly fun liquid chalk markers I started looking for something fun to put on the wall to demonstrate how the wall can be used for fun, diagrams, or storyboarding etc. but to also show that the various types of chalk can be used for a variety of purposes.  The liquid chalk is great, but it requires water to be removed. The chalk pens came in two sizes and I opted for the larger (16mm) so now it's on my list to get the smaller (8mm) size for drawings/tracings etc. with finer details. When I started looking through the chalk and started to play around with them they reminded me of crayons as a kid, then the idea struck me, "for fun, why not put up images from an old coloring book"?.

The Process: Its super easy

Interested to make your own? It's super easy and this could be a great activity for a classroom, or with kids (of all ages) at home.  You could easily transfer this process to a "real" wall for some cool murals.  The materials needed: an image, chalk, a place to put it (chalkboard), and a projector.

The Art - What will you draw/trace?

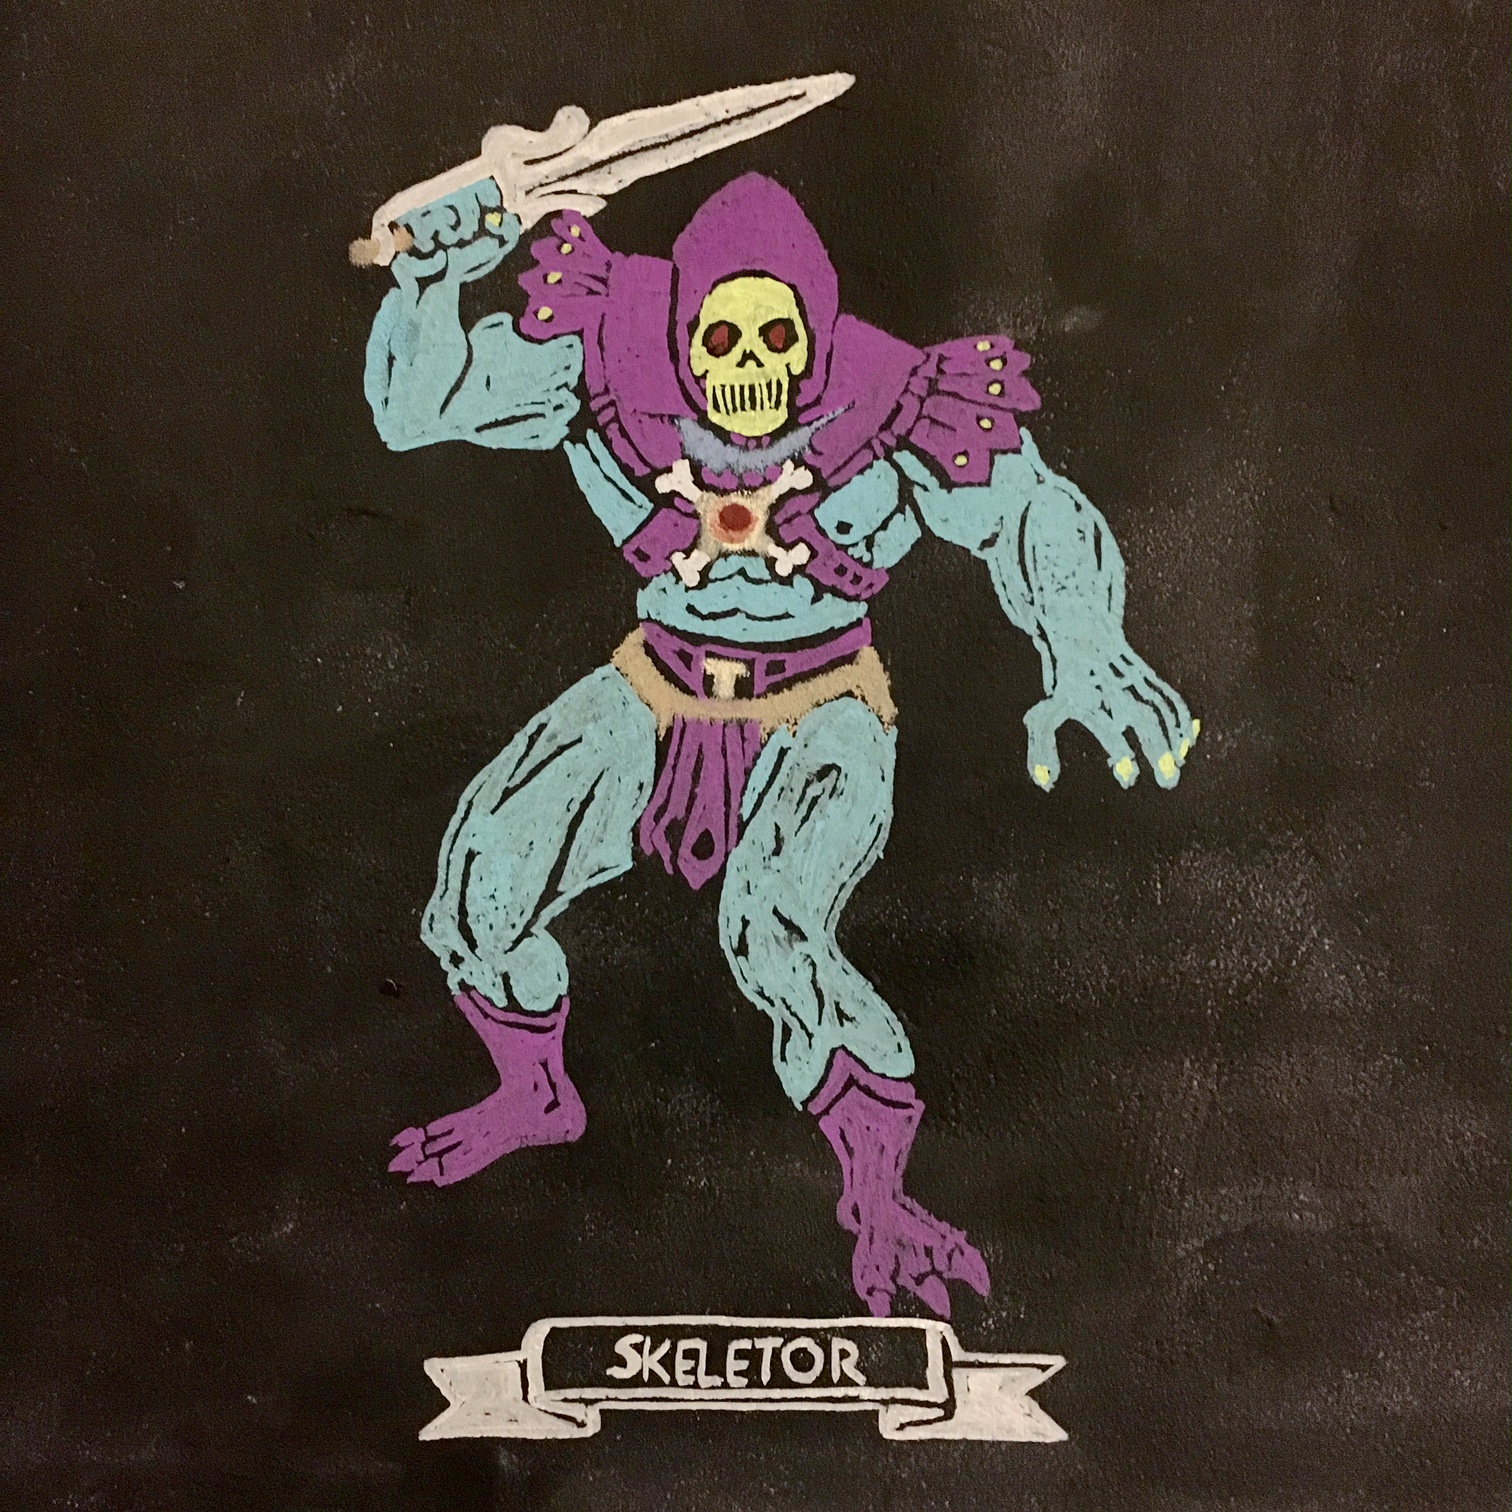
To start with, you will need some art of course, I used a scanned image from an old HE-MAN coloring book from 1984 that I colored in digitally with Adobe Photoshop (which is totally optional, but it took the decisions out of which color to use). You can do an image search for coloring pages etc. to get a sense of whats out there.  Keep in mind your availability of colors etc. and I would suggest choosing something that is fairly simple (less details) to start with to get the process down.  Once you've made your selection get it into an image format that you can use with your projector and get ready to draw.

Setup the space

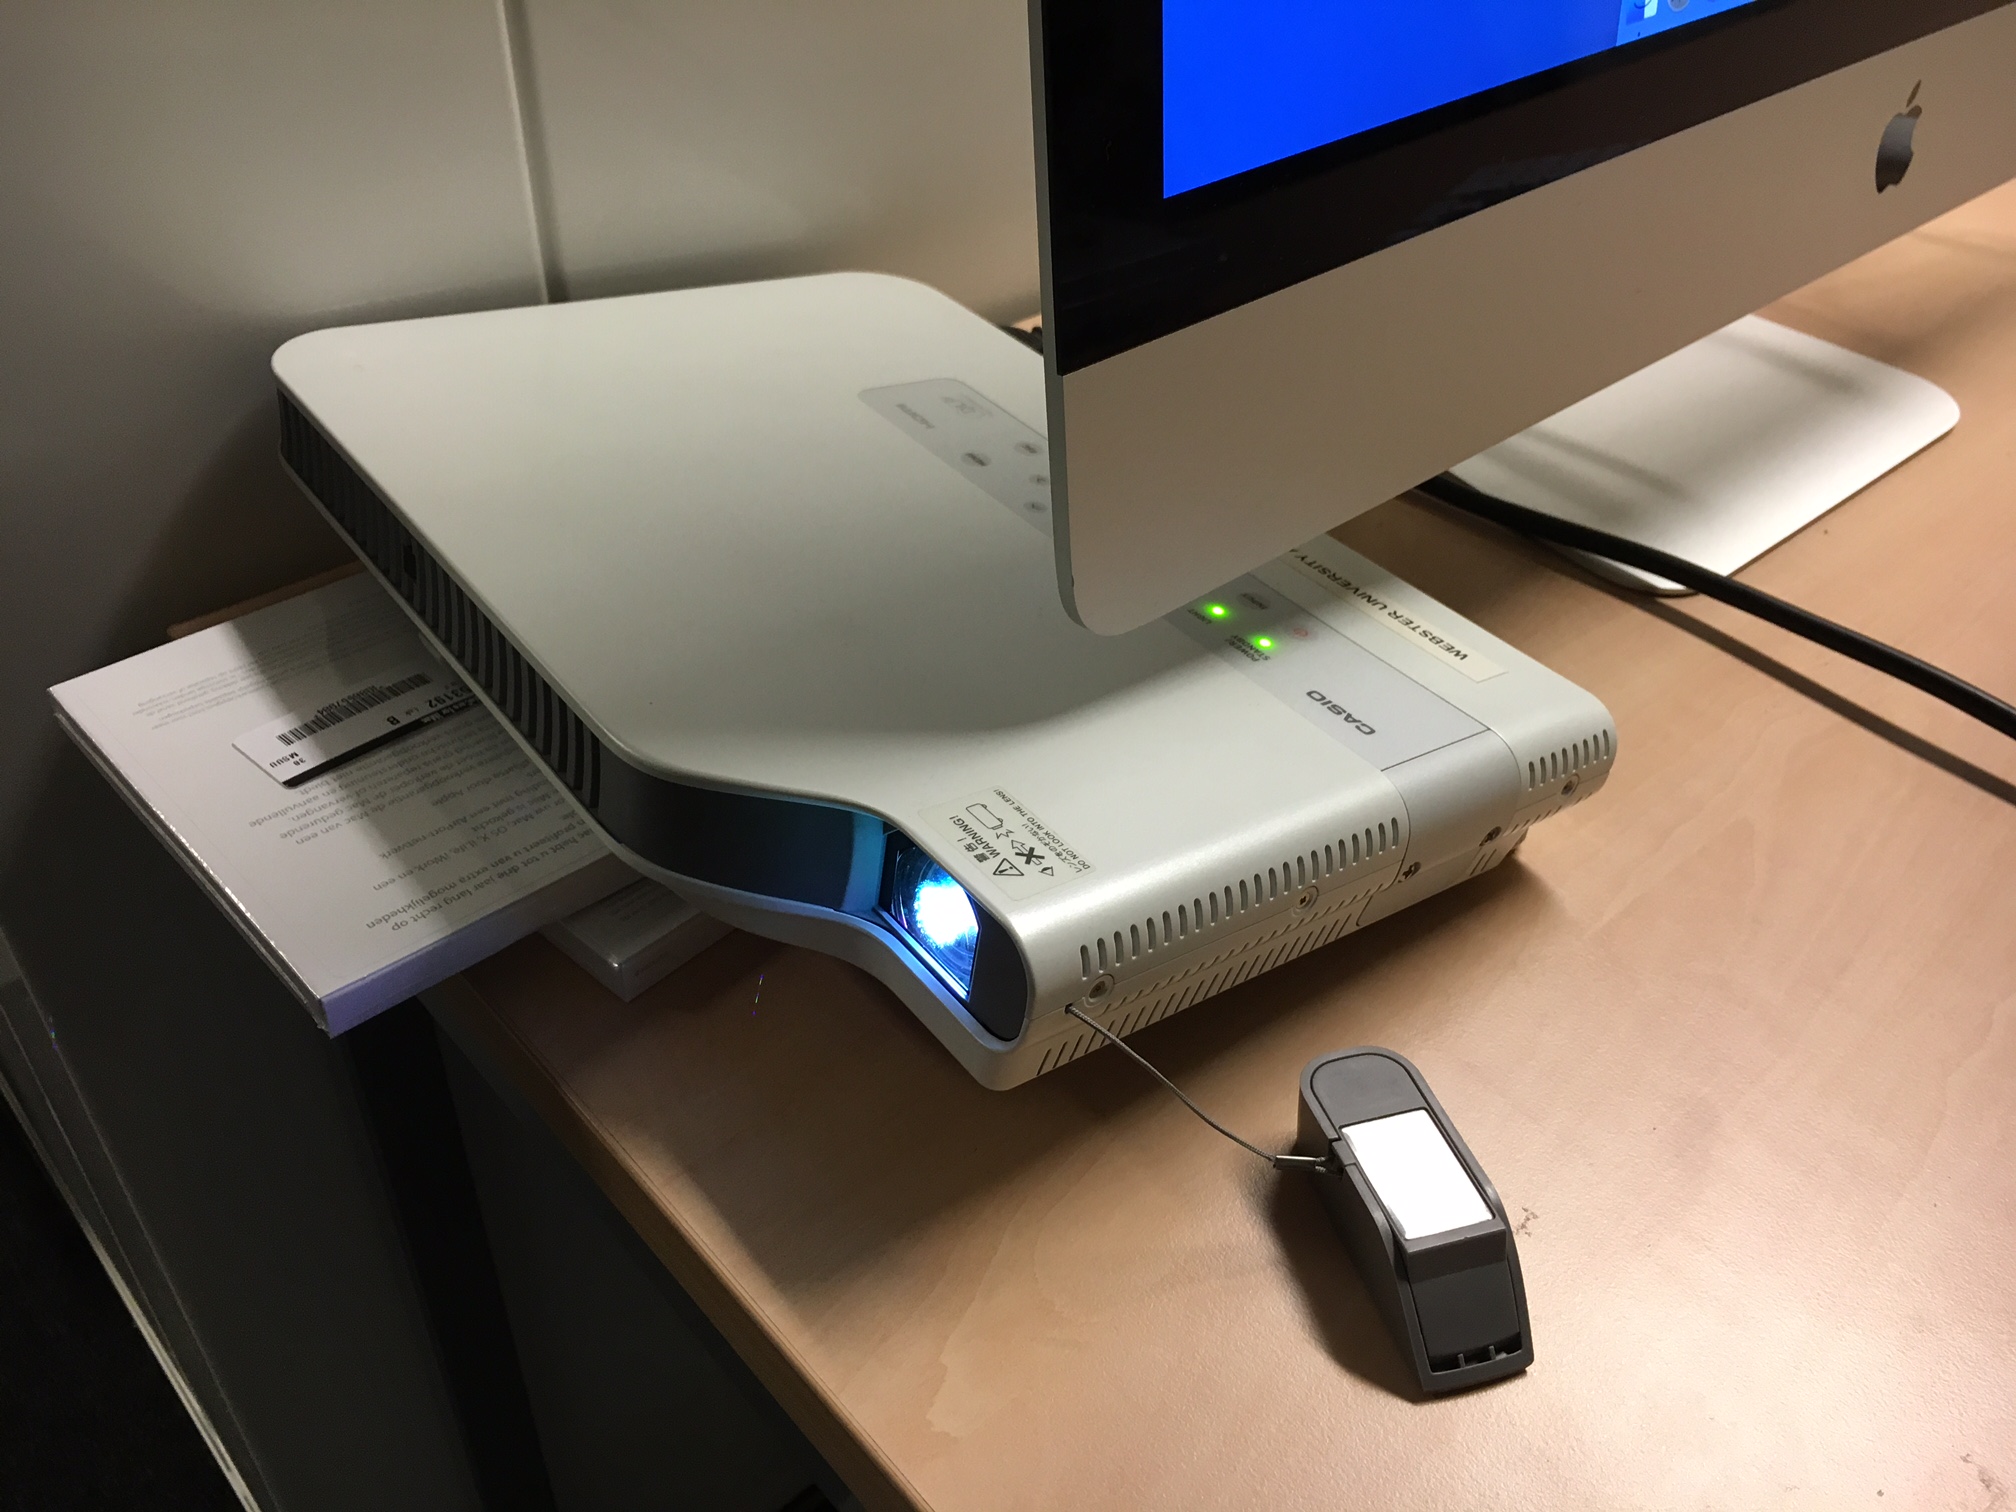
The key here is to align the image on the chalkboard just how you like it, and to lock the projector down to ensure that it won't move on you, since you will trace the image stability is key.  Tip: the fancier your projector the more flexible it can be based on distance, keystone, and scale.  See the image below of my setup, just had a projector on a nearby table and scaled the image to fit the right size.

Projector setup: note the technical use of old CD cases to get the angle "just right".

Projector setup: note the technical use of old CD cases to get the angle "just right".

Aligning the 2nd image next to the first character.

Aligning the 2nd image next to the first character.

Trace the image

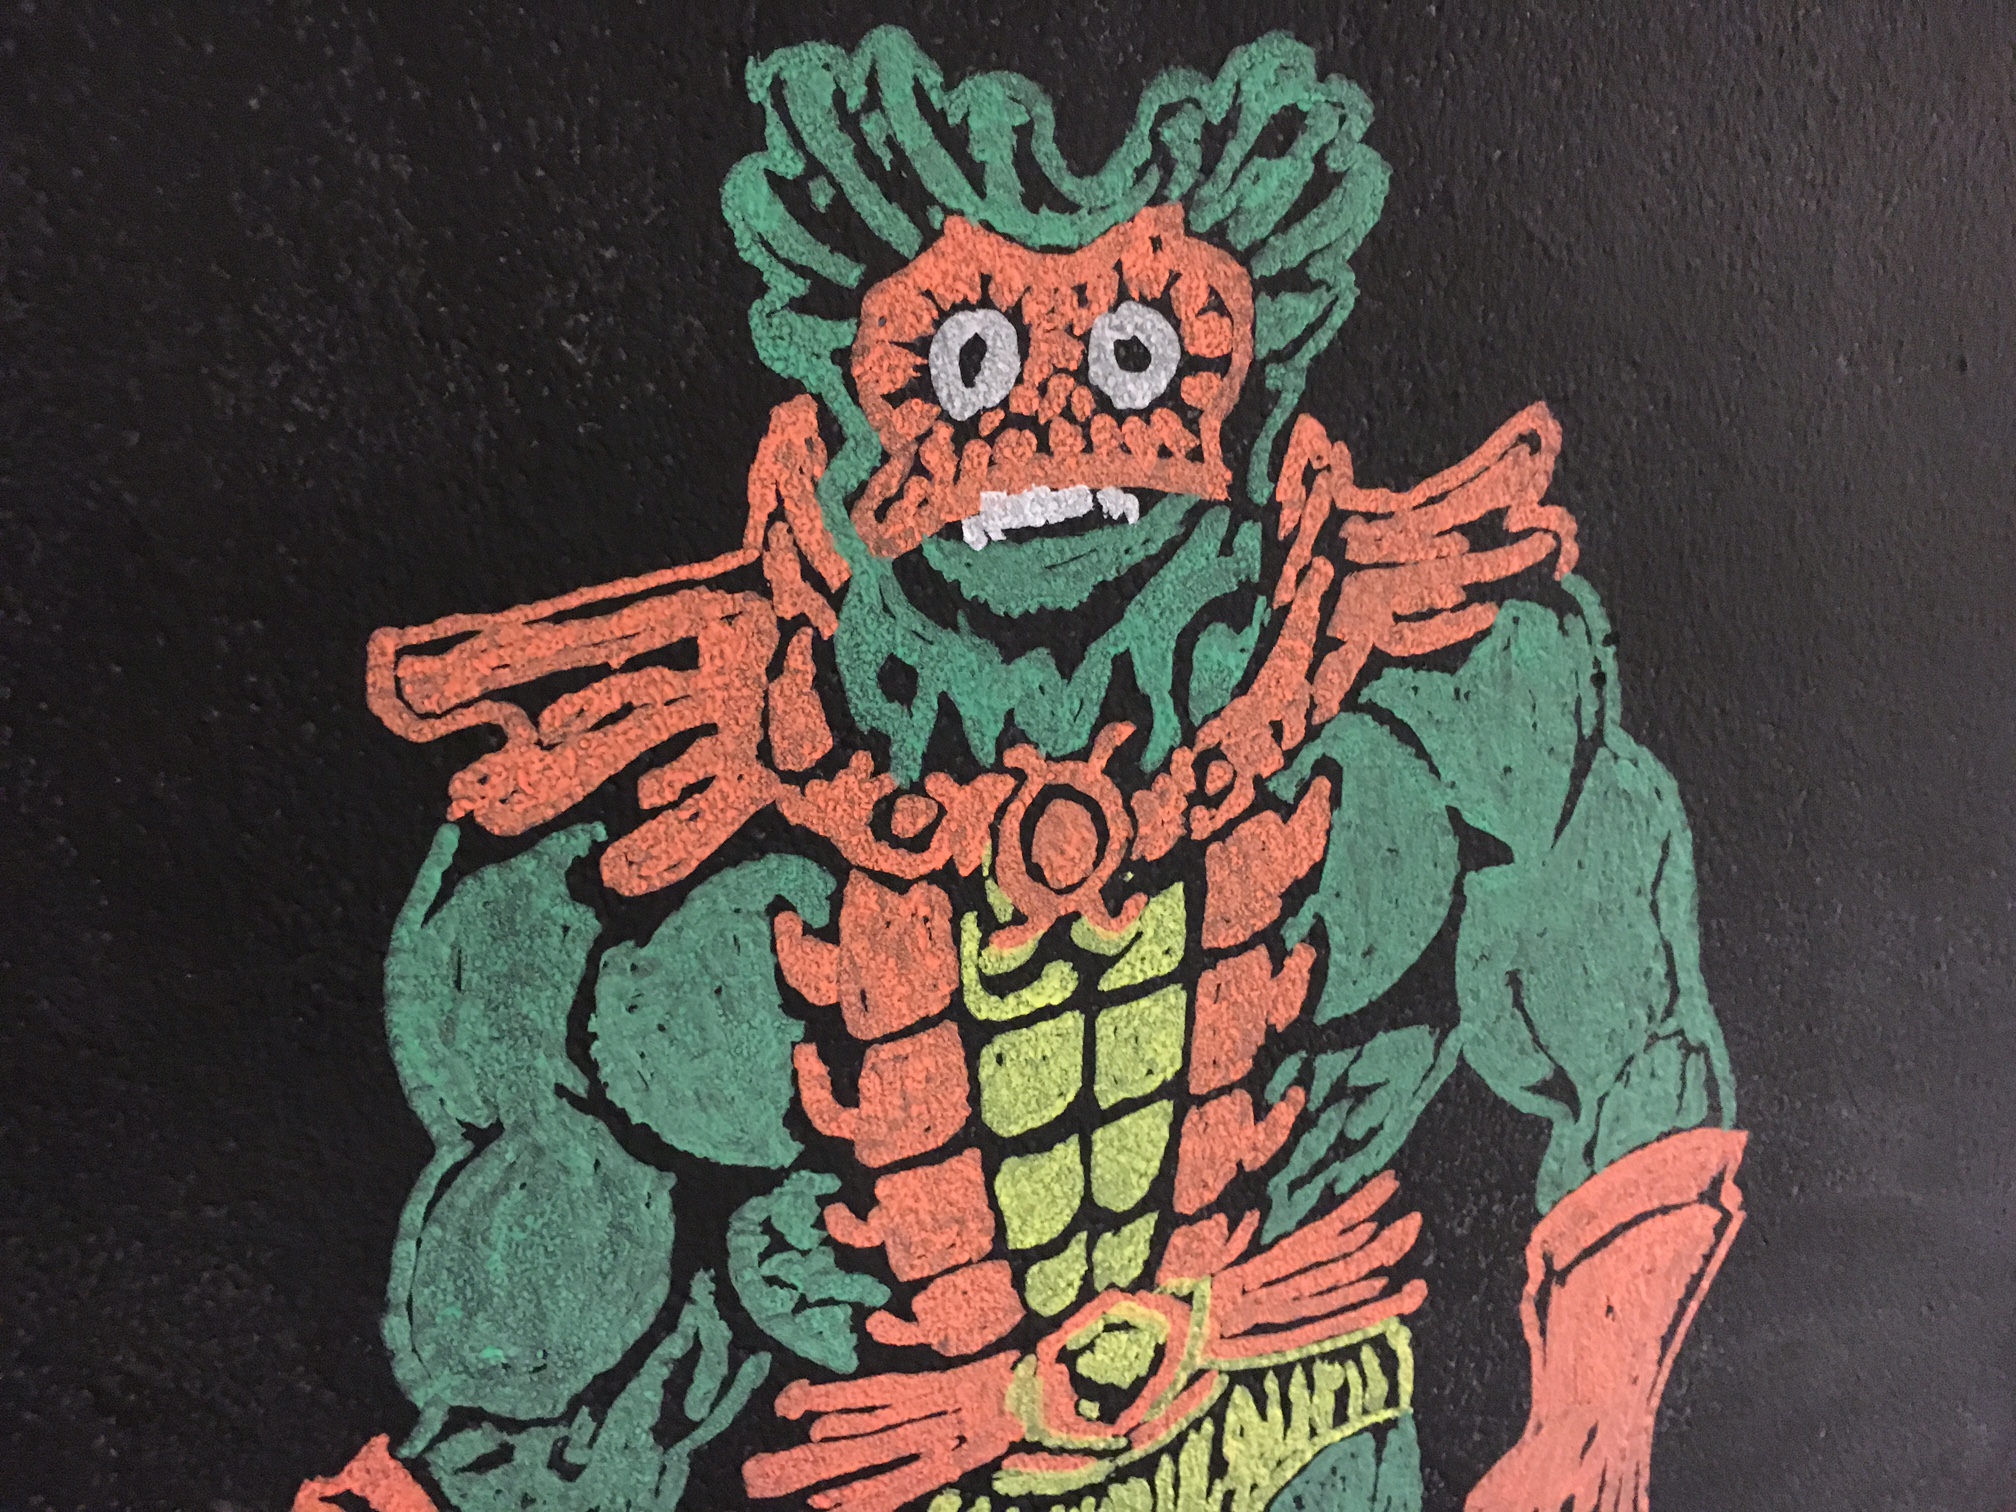
Once you have the image projected, it really just becomes an easy job of tracing the image and coloring it in.  As you can see from the image above, you can get really creative by overlapping and mixing different images onto your "canvas". One trick with the coloring book style is to use negative space for the black lines in the drawing. You can see the image below for another closeup to see how the effect works. 

Notice the details are made from negative space - leaving the canvas clear of chalk

Notice the details are made from negative space - leaving the canvas clear of chalk

So as you can see, it's nothing difficult or tricky and yet you can get some really fun results.  In total, the time it took me to trace these coloring book images was about 20 minutes for each one.  An additional benefit to this being all done in chalk is when you are done, some water and a sponge and it's all gone, back to fresh canvas. I think my next version will be some 8-bit inspired video game characters. 

NASA & JPL Visions of the Future

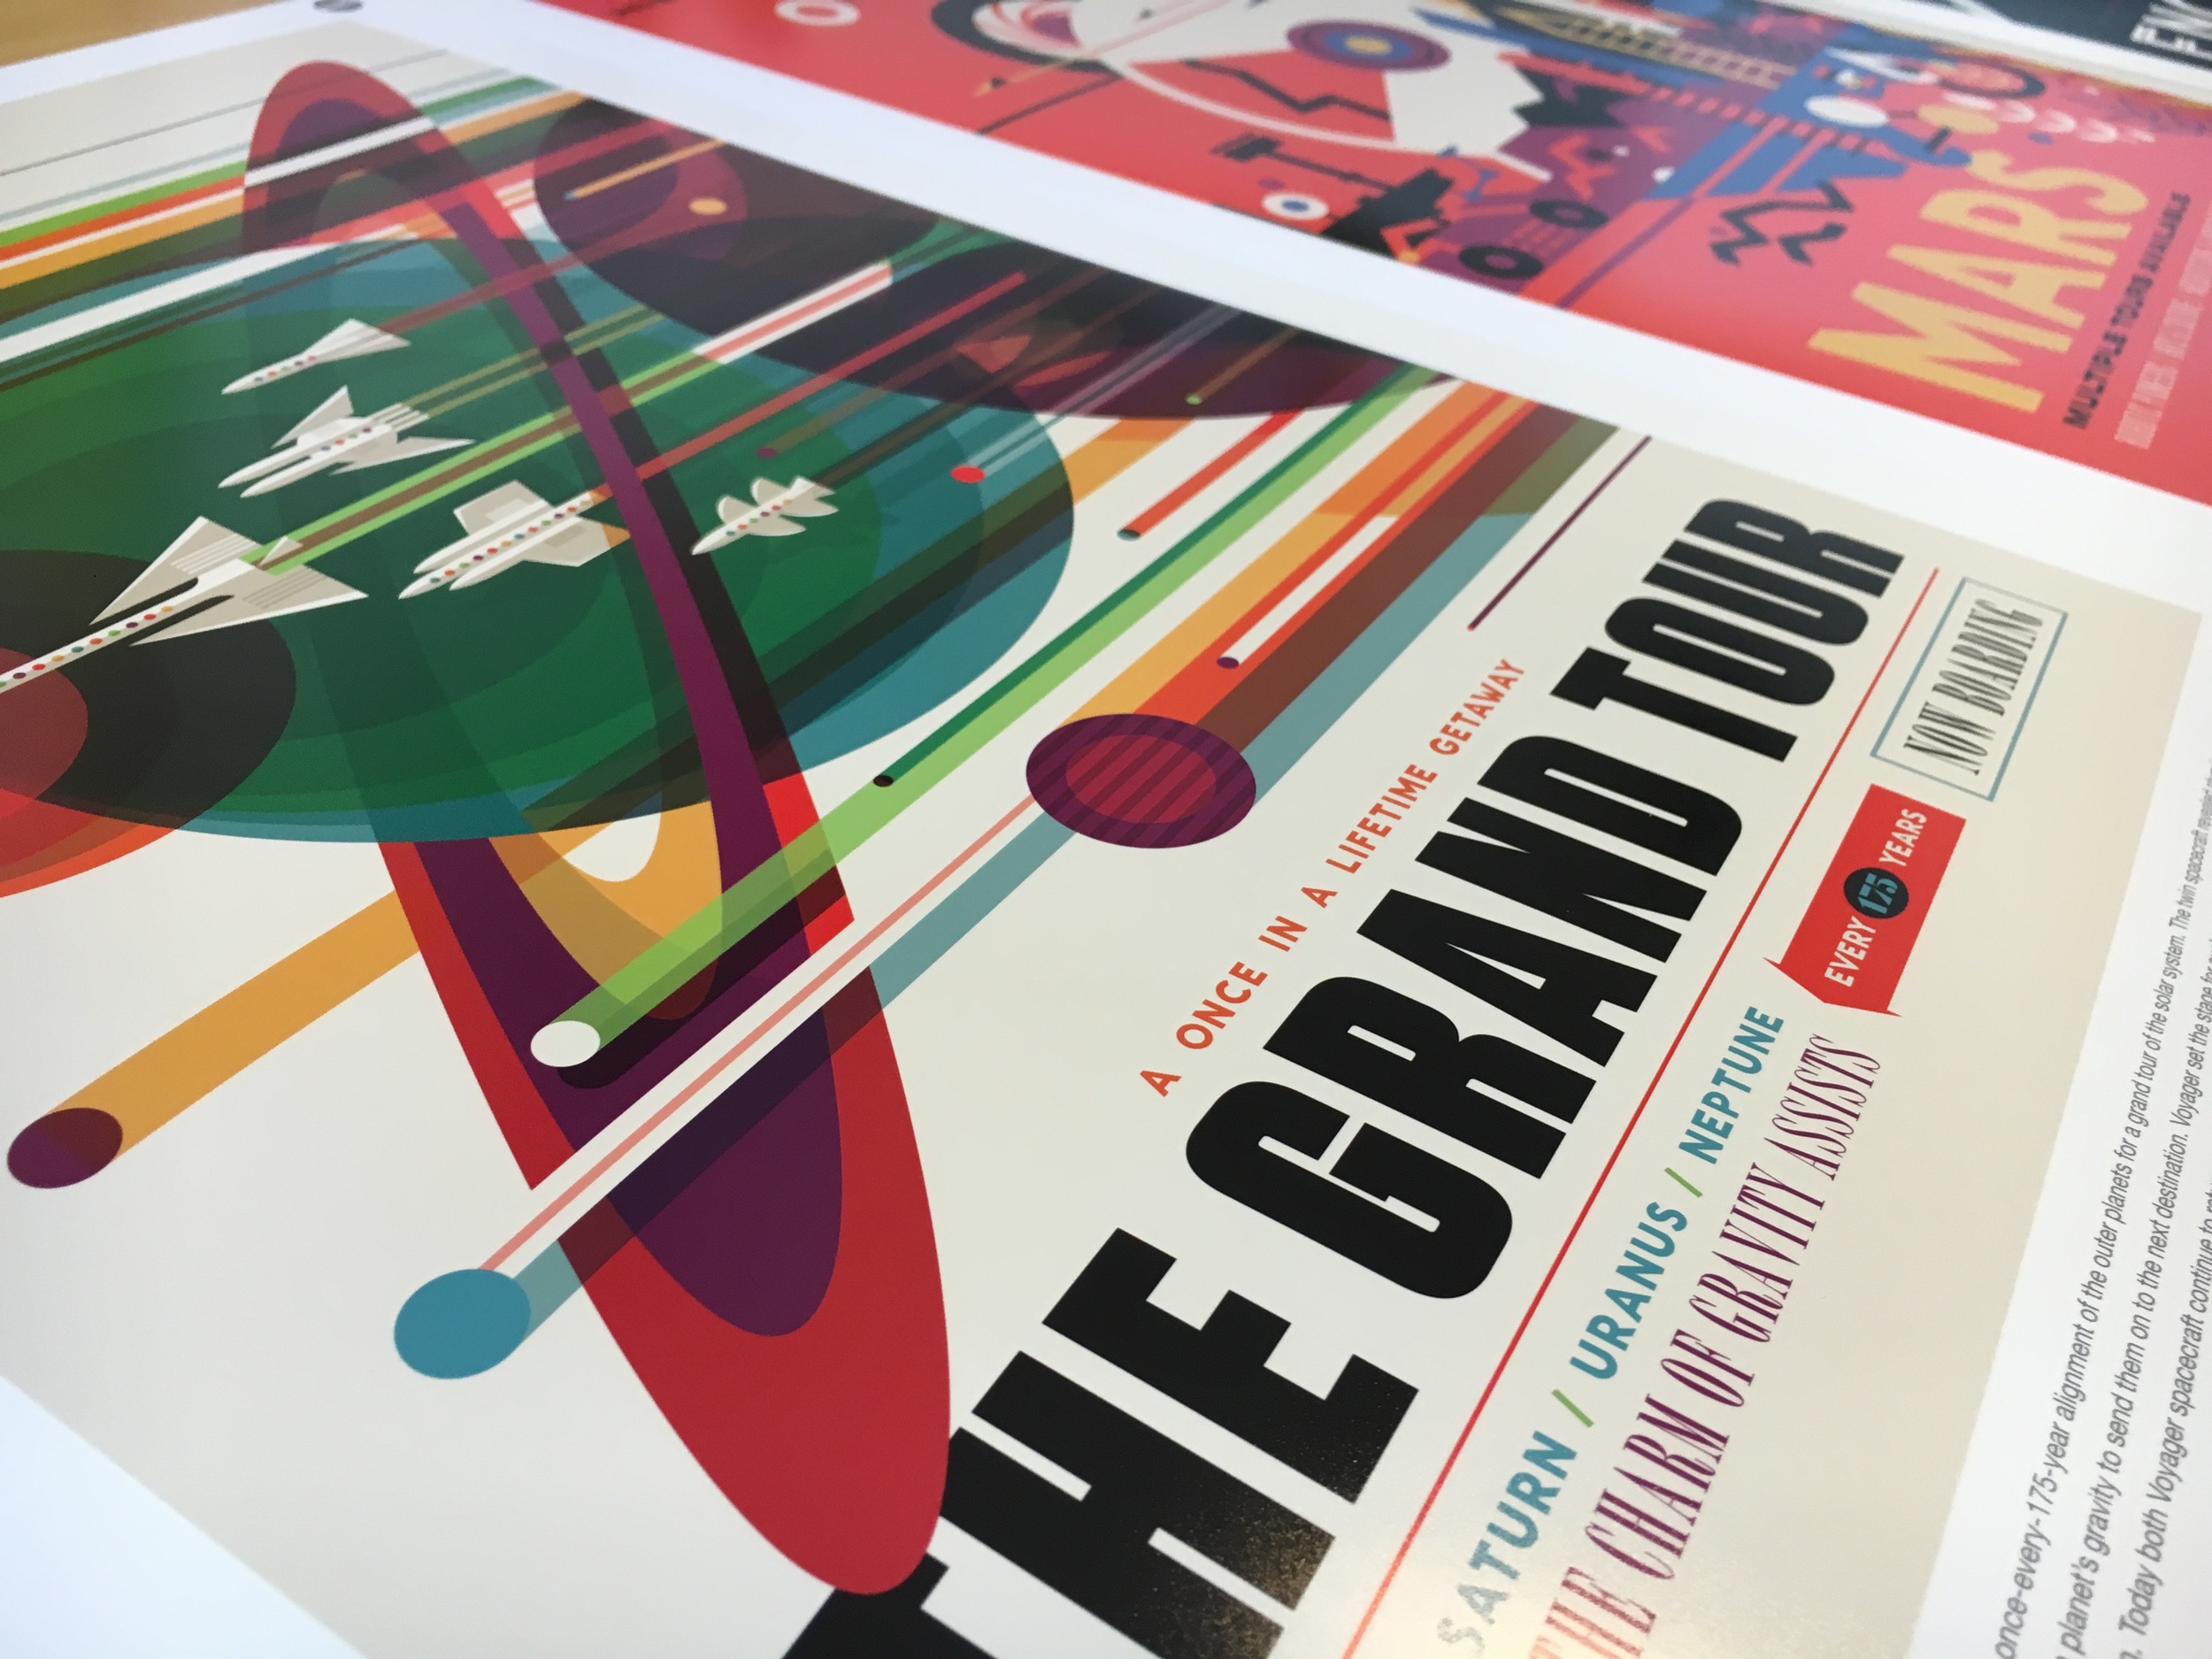
Recently, NASA and JPL released a series of graphic design posters that illustrate some of the possible space explorations entitled Visions of the Future.  JPL has released these posters for download, they are high resolution and can be printed in full resolution up to poster size.  These posters not only showcase the imagination of a new generation of innovators and explores, but also serves as a visual inspiration to anyone interested in graphic design, or the genre of space science.  One of the attributes of this series I enjoyed the most was the style of the posters, they mimic the science fiction imagery we are used to seeing on fictional books, games, and movies, yet each of these posters depicts real world "moon shot" exploration projects into our own solar system, and beyond. 

So if you are wanting to print off your own copy, you might ask "how do I print these big"? To help answer that I've included some tips below on printing theses off at the small poster size of 13x19" (also known as Super A3).   

For printing, I used Adobe Photoshop CC 2015 and an Epson Stylus Pro 3880 Printer on Epson Premium Semigloss Photopaper.  So as mentioned above the full resolution (300 dpi) these images can be printed in full poster size of 20x30" which is rather large, and for the wall space I have in mind for these prints, far too large.  So I decided to print on Super A3 (13x19") so I could print a selected series of three images to be wall mounted side by side.  To ensure proper printing (color, resolution, and size) I used the following settings in Photoshop to print.

NASA Image Opened in Photoshop

NASA Image Opened in Photoshop

To ensure the proper print settings I used the following (see image below for more details):

  • Paper size: ensure the paper size is correct - in this case Super A3
  • Color Management: Here I chose to have Photoshop handled the color profile that was embedded in the image to match it to the preferred printer profile.
  • Printer Profile: For best results I matched the printer profile to the Epson Stylus Pro 3880 and the exact paper I was printing on (Epson Premium Semigloss Paper).
  • Size and Resolution: Here I opted to "Scale to fit Media" so I would still retain the full border less printing of the entire image on Super A3 paper.  As a result of this the final print resolution is 463 PPI which is far more than needed (300 PPI) for a great result.  
Print Selection Dialog Box - Photoshop & Epson 3880 Settings

Print Selection Dialog Box - Photoshop & Epson 3880 Settings

The result is a sharp, fun, and inspirational graphic art poster. These would look great in your home/office or classroom.  I plan to hang these above an editing station in the Media Studio to help inspire some creativity from my students.

8-bit Cinema: Star Wars Original Trilogy

I have long been a fan of the 8-bit (well technically 16-bit) recreations of popular movies and delivered in this suede game-play format. These creative videos are the work of David Dutton and crew from CineFX.  

One of the reasons I enjoy these is the creative process involved to distill a movie down to its core story (or essence) and then retell that story through a new medium.  To achieve this, the crew at CineFX need to draw new pixel-art for all the characters and backgrounds etc. as well as remix the familiar soundtracks into the MIDI styled sound of old video games. 

Like what you've seen so far? Checkout the behind the scenes video on how new 8-bit Cinema videos are created, from pixel drawing, to animation, and sound production. 

For more 8-bit Cinema check out the YouTube channel and see if one of your favorite movies has been given the 8-bit treatment. 8-Bit Cinema Playlist by CineFX.

General Relativity Explained

One hundred years ago, Albert Einstein completed his general theory of relativity, which explains how the gravitational force works. This made Einstein an international celebrity during his time, and the theory is widely recognized as one of the greatest achievements in the history of science.

I recently discovered this great video from Fusion featuring biographer Walter Issacson, in which he narrates a concise explanation of Albert Einstein's general theory of relativity in 3 minutes.  

One hundred years ago, Albert Einstein completed his general theory of relativity, which explains how the gravitational force works. This made Einstein an international celebrity during his time, and the theory is widely recognized as one of the greatest achievements in the history of science.
— Fusion