Moving forward with Web Accessibility

Web-Access-2011-MSU1.png

MSU Web Accessibility Website Screenshot of homepage On May 2nd, 2011 MSU officially released the second coming of the Web Accessibility website which has been the central resource for MSU and the official Web Accessibility Policy since 2009.

The MSU Web Accessibility site is the forward facing public portal to the MSU Web Accessibility Policy that covers all University Web pages used to conduct core University business or academic activities.

What's New you ask?

In this second version of the site one of the top priorities was to include an entirely new section devoted to tutorials and how-to's on many of the most common accessibility issues when dealing with web pages, or other digital content, like pdf's, Microsoft Word documents, and video to name a few.

More content including video tutorials and example templates are currently in the works to be added to the site in the near future. Big Step Forward

The launch and revamp of this site is a big step forward in accessibility,  there are many issues and obstacles associated with creating accessible websites from lack of knowledge to limited resources.  The new Web Accessibility site offers a great resource for the MSU community and beyond to begin (or hopefully continue) to move towards making web content more accessible.

As one of the contributors and content authors of this site, it is a continued goal of mine to contribute valuable resources and tutorials on how to make content accessible.

Giving new life to an old Apple G4 Cube

IMG_02491.jpg

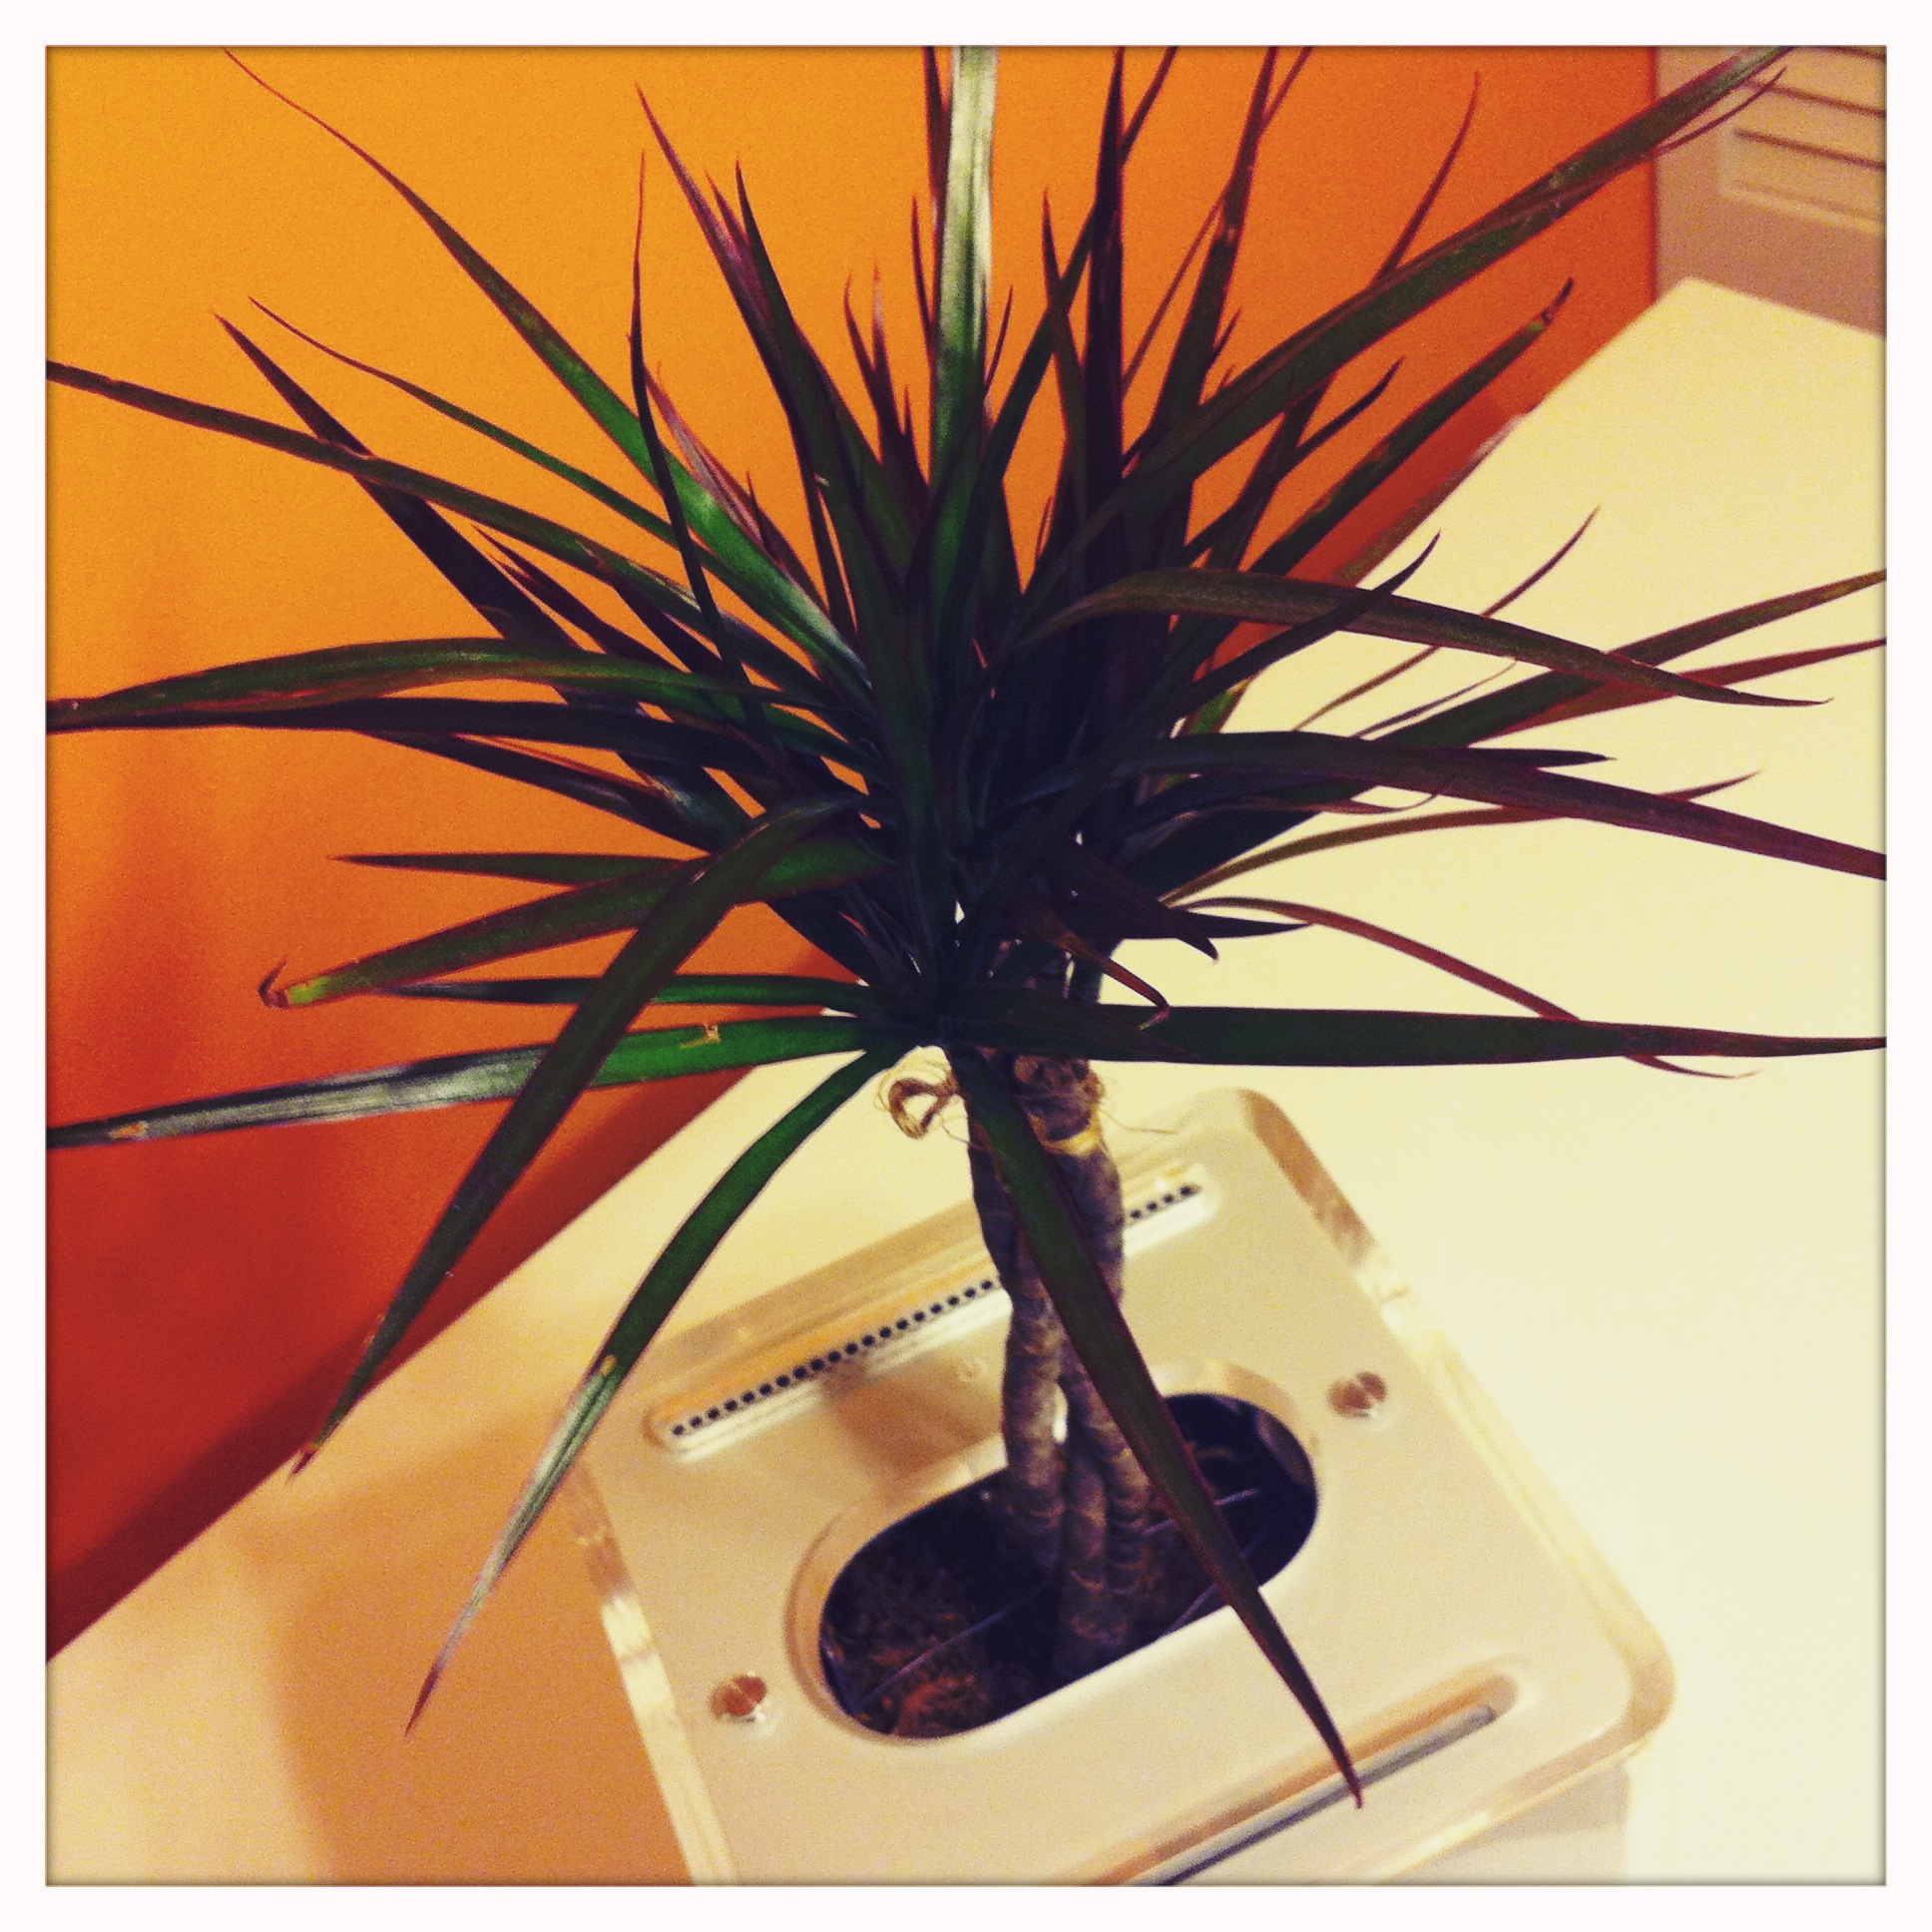
I have always liked the look the Apple G4 Cube desktop computer case.  Thanks to my colleague Frank T. I was given an opportunity to recycle this once fairly iconic computer into something still useful in my office - a plant holder.  I was looking for a new little art project and this gave me the perfect little springboard to do something creative.

Frank had found this old G4 Cube and removed all the electrical components, circuit boards, cables etc.  It sat on his desk for a while and I always thought how neat it might be to re-purpose this piece of computer equipment into something more green, like a plant holder.  When Frank retired he tossed this little case my way, and well, I went right to work re-purposing it.

This was a really quick little art project, in total it only took about 15 minutes to do.  It only required simple hand tools (Phillips screwdriver, pliers and some wire). I had thought for a while how I liked the juxtaposition of the cold high-tech (well, once upon a time that is) computer case with the warm softness of a living plant growing from it.  To me, this little plant holder represents the possibilities of recycling old computer equipment into something useful again, and the reclaiming of life by nature over man-made obstructions.

Going back to basics: shooting with 35mm film

From time to time it is important to reflect on the advancements of the technology, craft, and skill used in generations past and how the development of those areas led us to what we have today.  One of the drawbacks of the advancements in digital photography is the degradation of diminishing (or limited) resources.  What I mean by this is, as digital photography has allowed us to shoot without pause, as with each press of the shutter we are not using any film, but an endlessly reusable and configurable memory card.  While this advancement allows great advancement in technology it comes at a cost for those who are learning the art and craft of photography.  All too often in the digital realm "we" don't slow down enough, we speed through the composition, we experience less through the lens before we fire off that burst of digital captures.  So from time to time I like to go back to the basics to find that feeling of shooting with film, a volition, short lived medium by comparison to our digital cameras.  Getting absorbed in my viewfinder, working the composition and framing to satisfaction before even thinking of pressing the shutter release is a zen-like experience.  Using film helps me to slow down, and live in the moment I am trying to capture, and enjoy the surroundings in a way I often let slip by when shooting digital. 

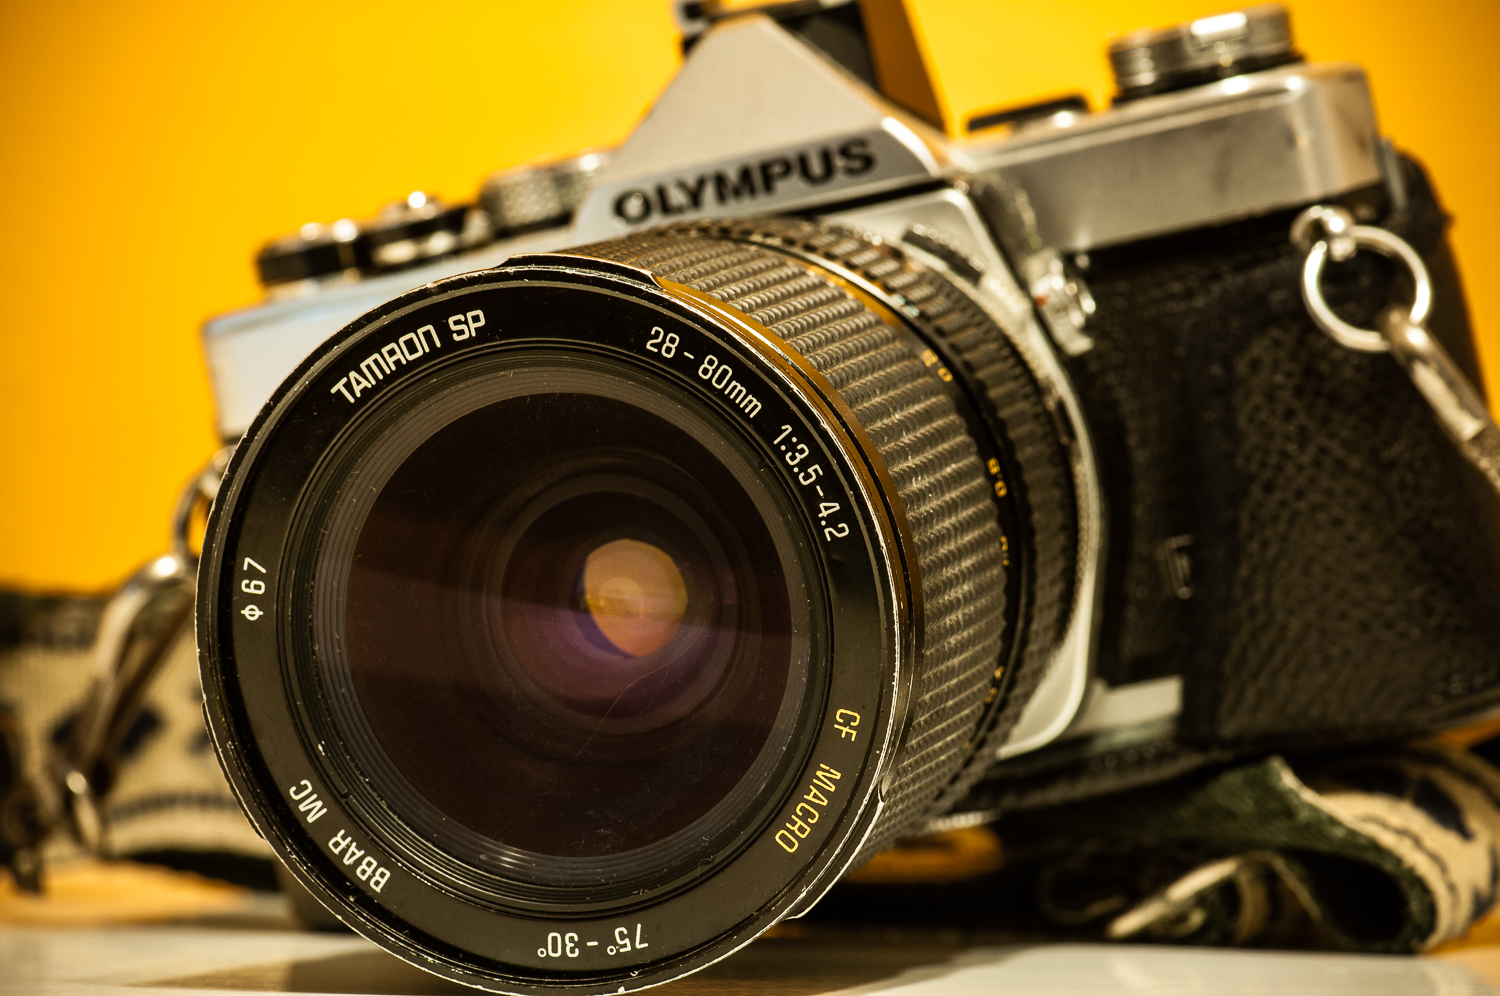
A short time after the holidays I decided to try something a little different for a change, instead of grabbing my trusty old Nikon D300s and heading out to grab some shots, I thought I would dust off my old 35mm camera and go shoot a roll of film.  So that’s exactly what I did. I grabbed my Olympus OM-1 35mm camera (circa 1974) cleaned it up and set out to have some fun.

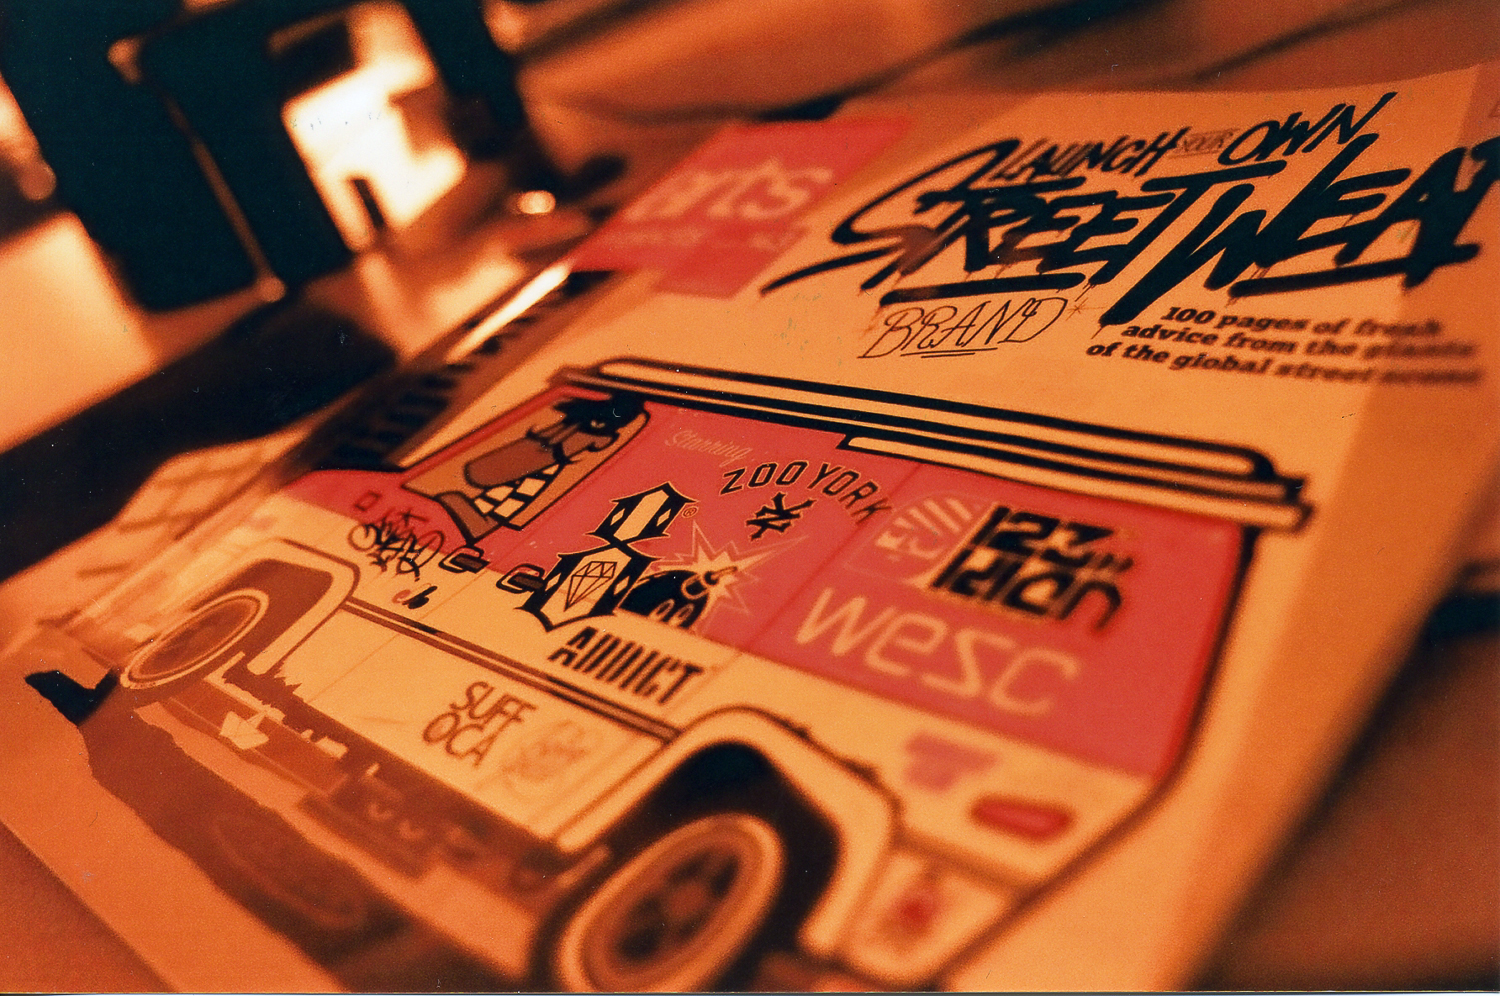
Of course as soon as I got it out and was getting all excited to start firing away I realized I needed a few things like film, and of course a new battery.  As luck would have it there is still quite a bit of film out there, and the folks over at lomography have quite a selection.  You can get a nice variety of 35mm or 120 size film from them, and they sell local in many retail stores (Urban Outfitters is where I found mine).  Just for fun I went with the redscale 100 speed film.  I ended up having to order a replacement battery online through Amazon since none of the local stores near me carried the right size, so if you are planning to take out your old camera, might want to think ahead on that one and get your batteries and film now.

Once I had my film loaded I was ready to set off and shoot some frames.  It was so much fun yet simultaneously torturous to shoot a frame and not be able to look at a viewfinder and check to see if its properly exposed or sharp.  Knowing I only had 36 exposures to a roll I found I became really stingy with my shots.  I passed alot of shots that I normally would take and found that I played it safe many of the times by bracketing my images of the things I was really interested in.

One of the things I loved most about this fun little exercise was that it was so refreshing to revert back to the basics, and rely on my own ability to expose an image correctly, knowing I would have to wait to get my film developed to see if I had missed the mark or not.  I was about a third of the way through my roll of film when I remembered that there was not going to be any exif data on my finished images, which prompted me to drag out an old notebook so I could write down my shutter speed and f-stops manually…as fun as that is, boy does it make me love my digital SLR all the more.

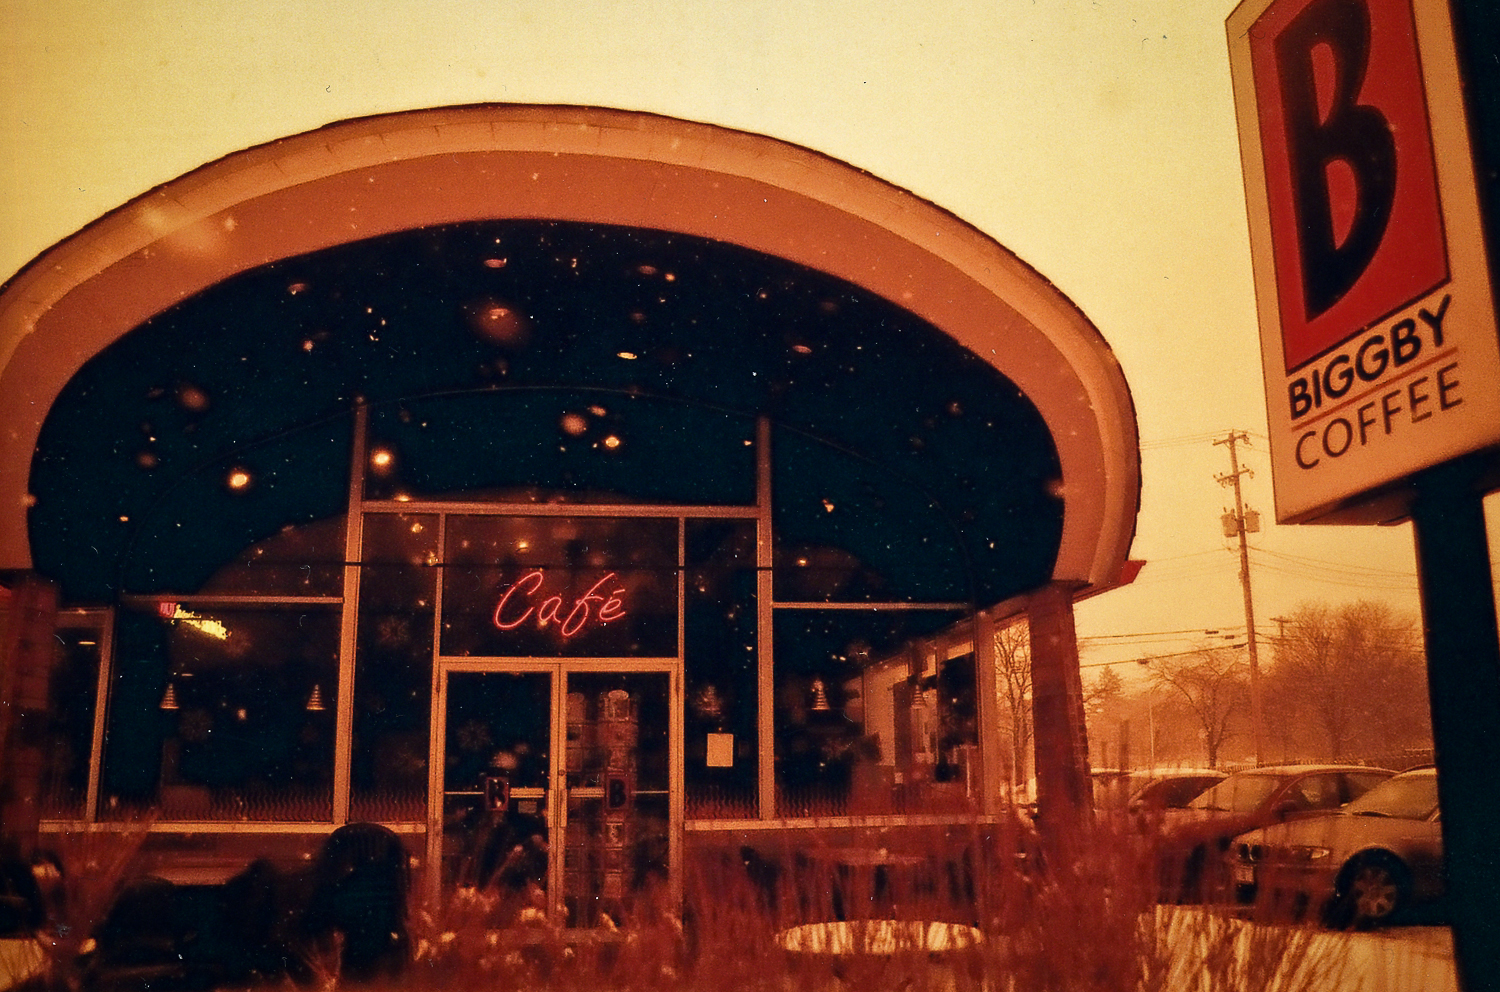
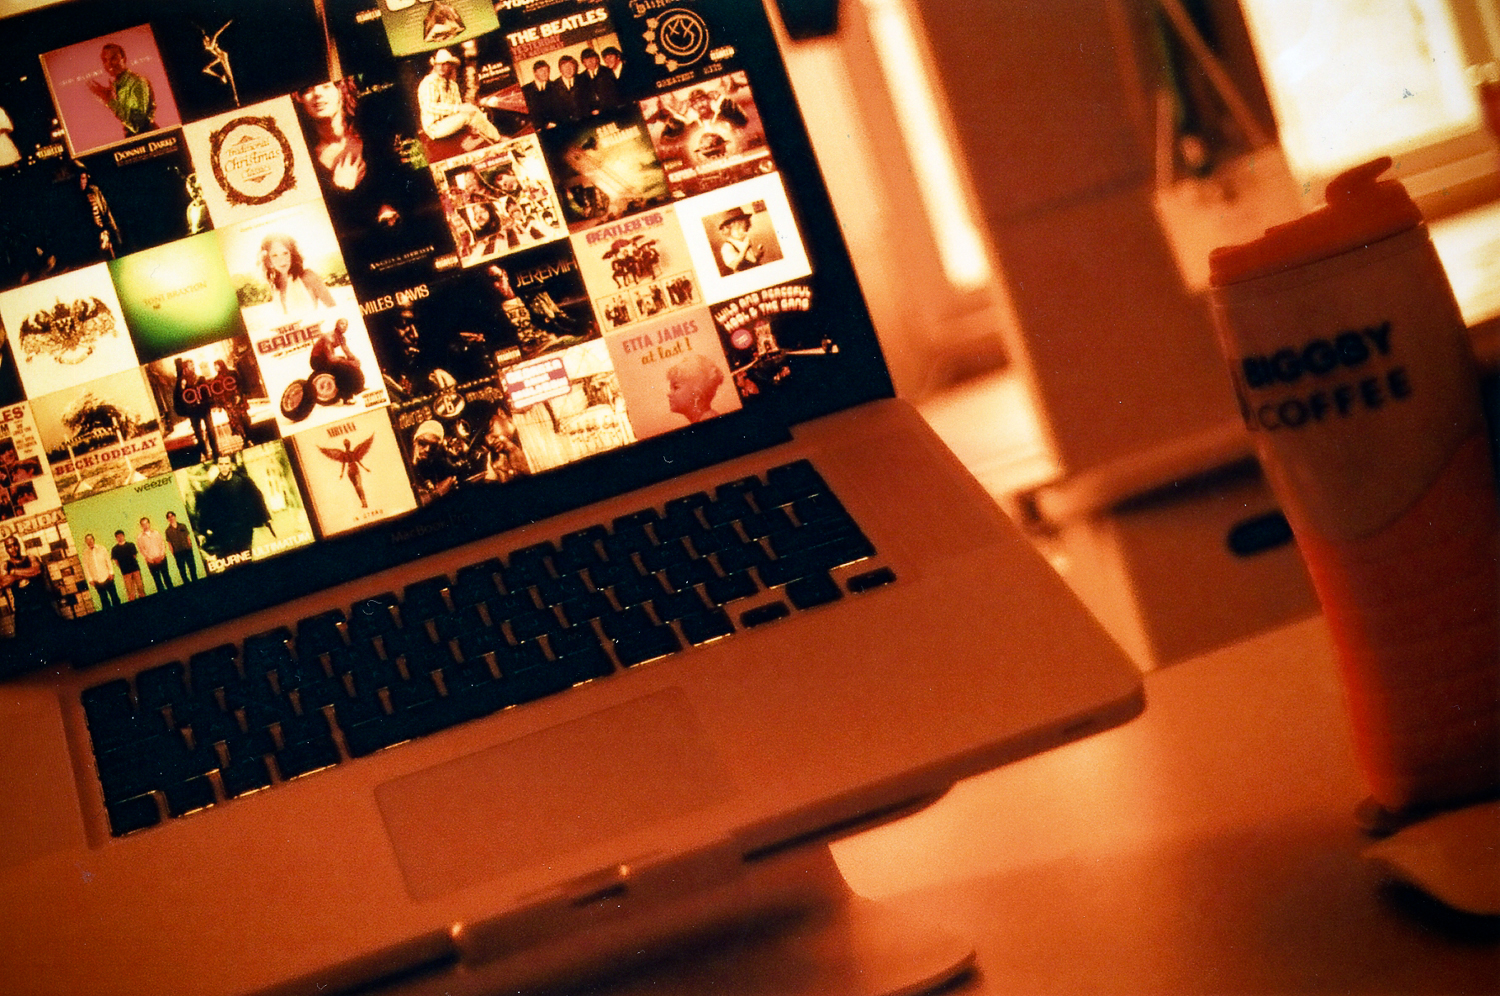
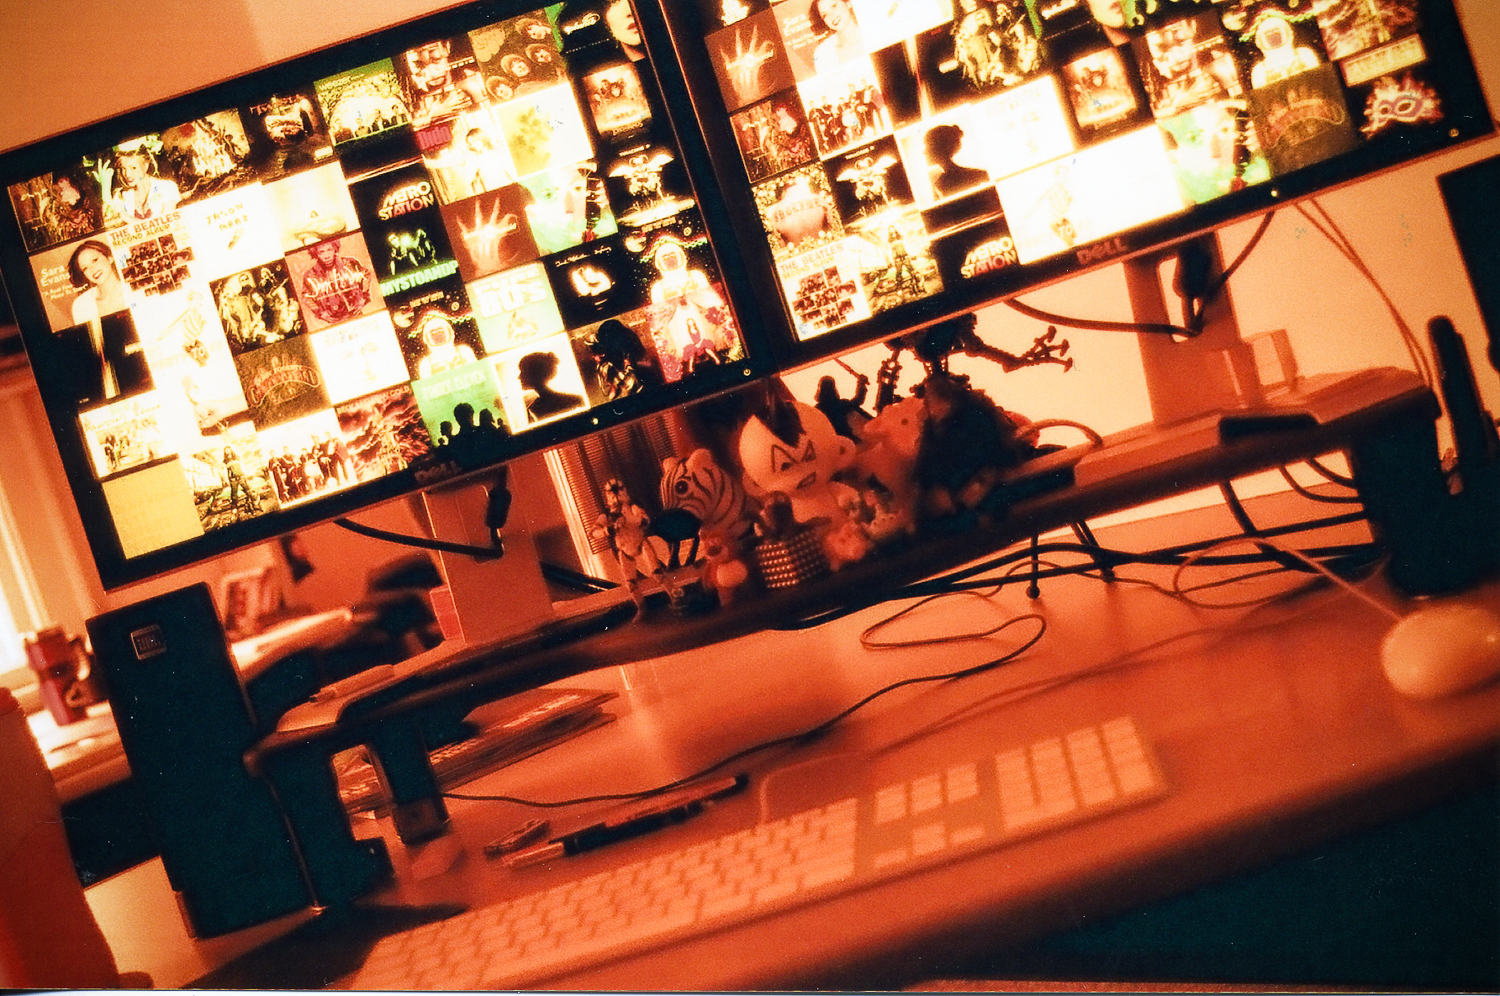
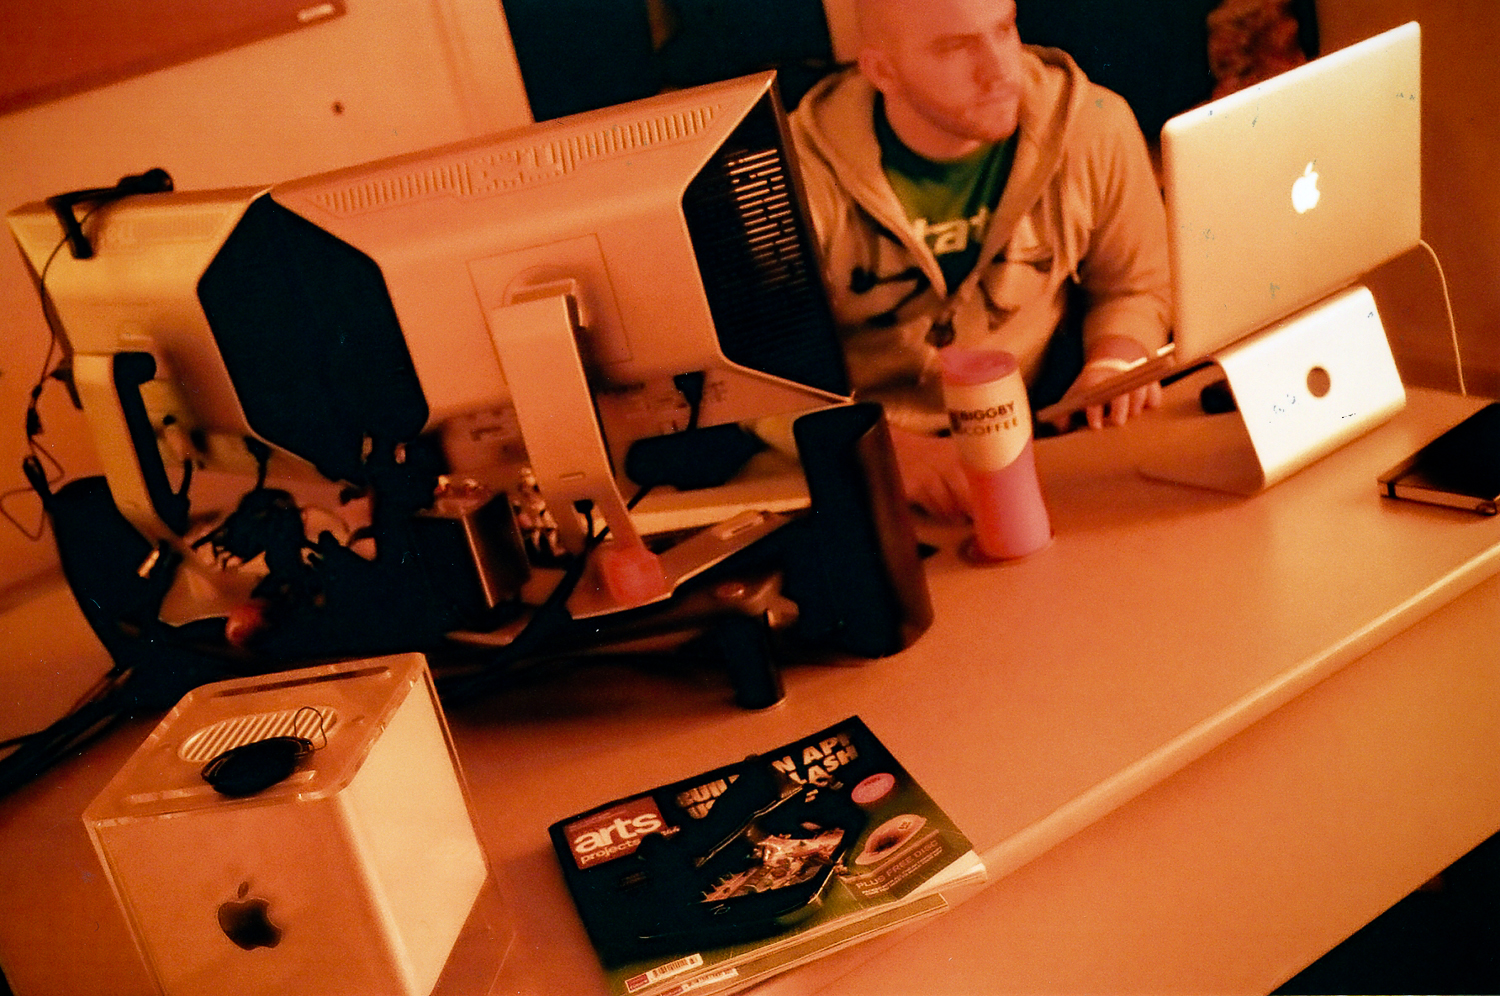
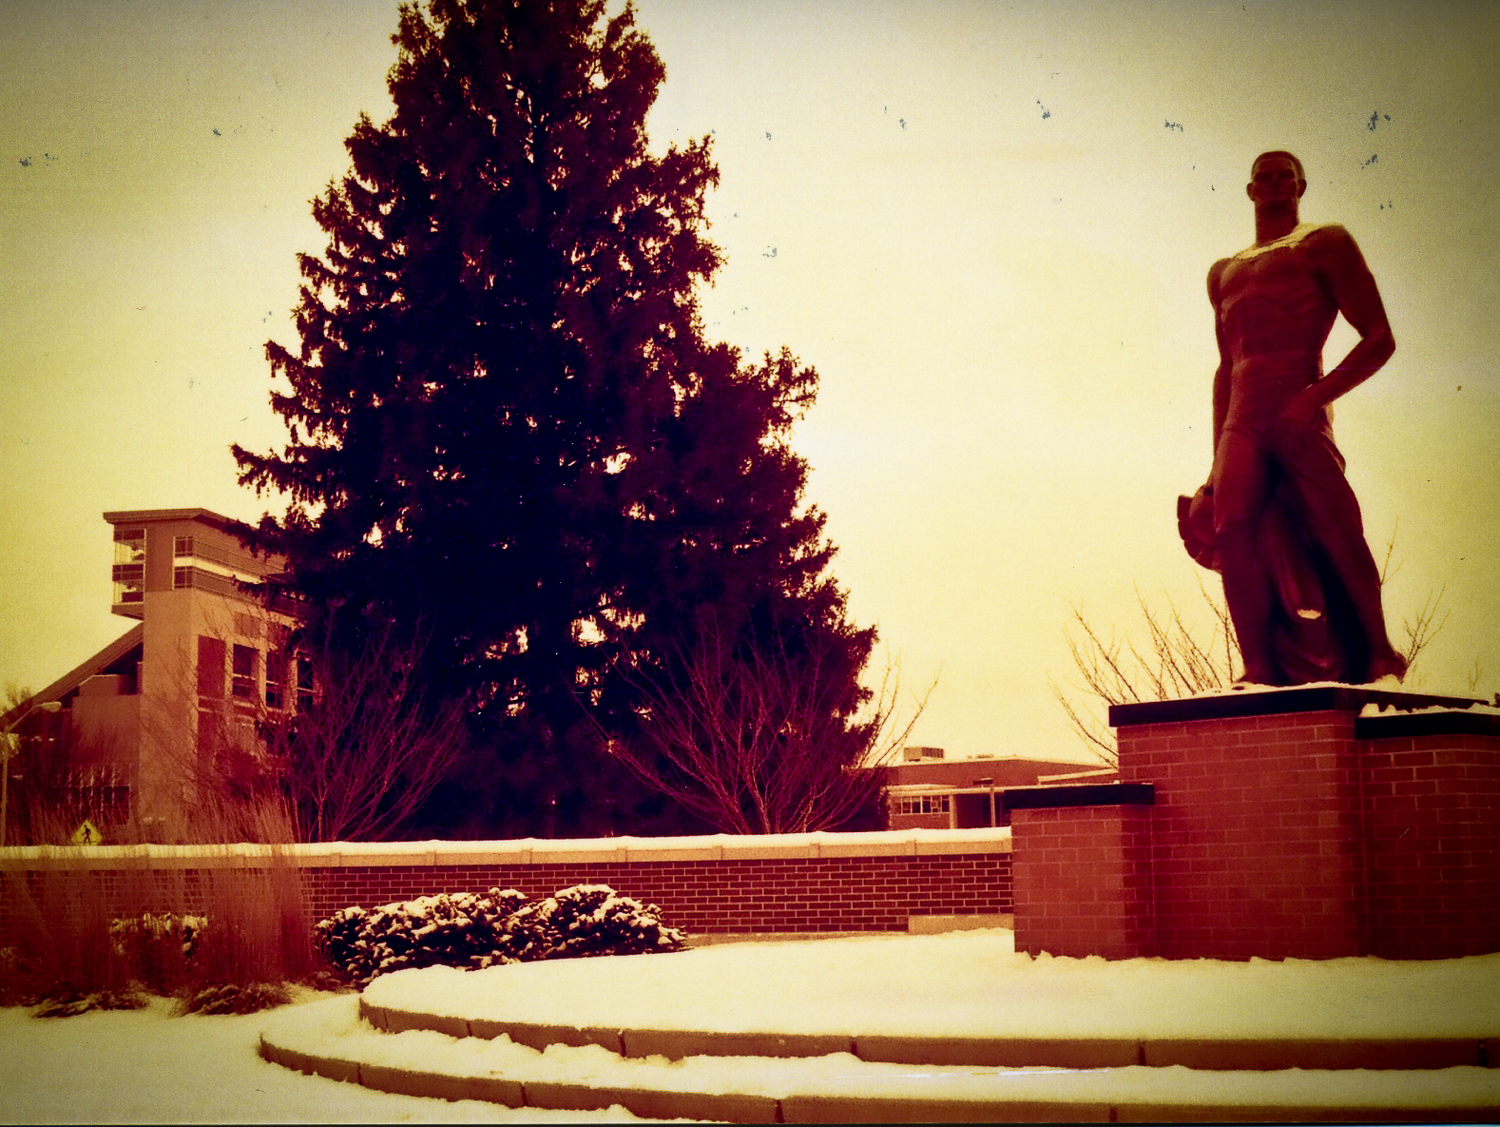
After shooting through a roll I found that I got better and better as the exposures went on, at first I overexposed my images quite a bit, but by the end of the roll I was getting some good results.  The redscale film gave a nice vintage look to the images, unfortunately I did have some trouble keeping the snow or other white surfaces from washing out.  I found that for an ISO of 100 the film was sure noisy, but after all it was pretty inexpensive film so I just made the most of it.  One thing I did like about this film, was shooting more colorful things like vivid LCD screens as the vivid colors I feel look pretty interesting in a juxtaposition with the old styled film.  Of course I was also reminded how costly those bad images can get, not only wasting the film, but without my own dark room sending these off to be developed cost another $12 or so costing me about $0.30 every time I clicked the shutter. 

Knowing the unused frames each came at a cost, it really helps to slow down and work over the entire frame before committing to a photograph.

My challenge to all my fellow photographers is to take an afternoon or a weekend, and as a great challenge for yourself and for some inspiration grab an old 35mm and head out and shoot a roll the good old fashioned way…its a fun way to get back to the basics and to step away from all the fancy tools and equipment we have in our bags if just for few hours.  I suppose if you don’t have a 35mm handy you could always tape over your LCD and only let yourself shoot 36 images at a time before you load them to see how they turned out.

Shanghai China: Travel Images

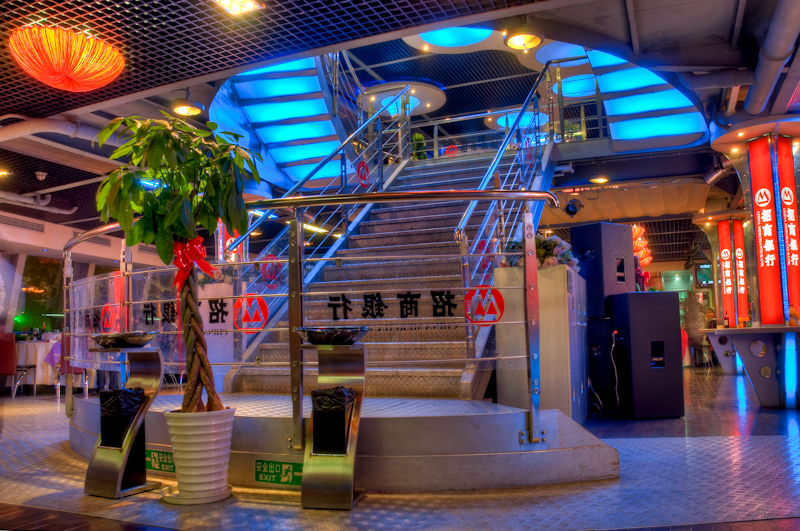
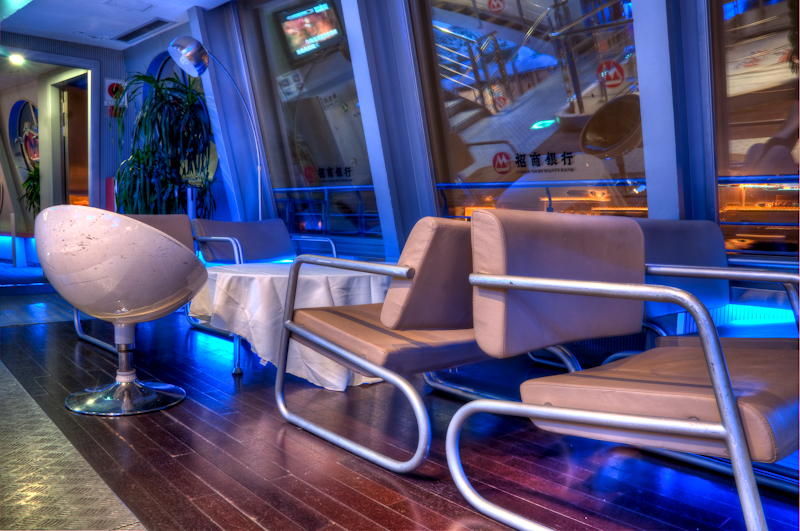
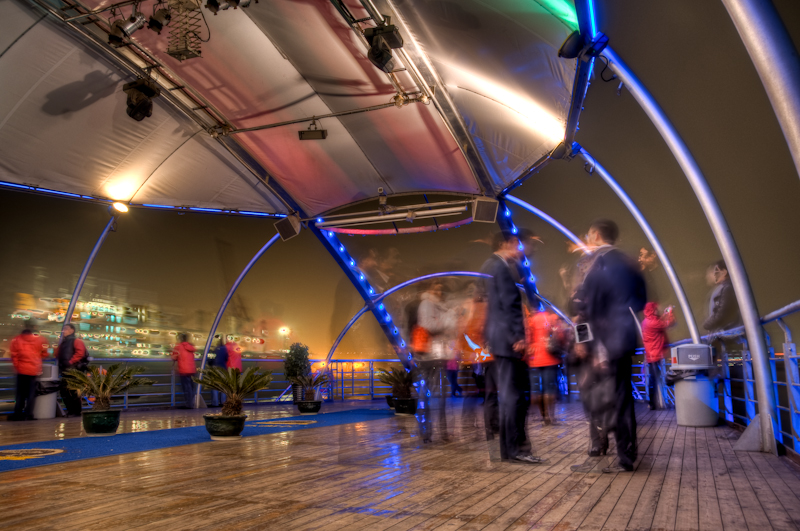
This past December I was fortunate enough to find myself on a trip to Shanghai China for work.  I was sent to China to capture a workshop being put on in partnership with Michigan State University and the Coca-Cola Company.  While in China I was only able to grab a few shots while out and about.

The video production project was organized around the Coca-Cola Food Safety Workshop in which we were recording the presentations to be developed into training material for proper food safety instructions and industry knowledge. Below you can see a quick "behind the scenes" video of some of the production process and planning.

Mobile Lecture Capture - Presentation

mobile-cap-pres1.jpg

This is a video recording of my presentation to the Web Development Group at Michigan State University on February 19th, 2010. Presentation Part 1 of 2.

Presentation Part 2 of 2

Here is the original presentation, feel free to explore as you like.  I used Prezi to create and share this presentation.

Honorable Mention - 2010 MSU Global Focus Competition

SML1782-Edit1.jpg

Recently I discovered that I have received an honorable mention in the 2010 MSU Global Focus Photography Contest this year.  It is a thrill to have any of my images recognized, and I'd like to thank all the people involved for giving one of my images the nod of honorable mention.  I would alos like to thank all the people that voted for the People's Choice winner which was taken by Leigh Wolf

This image was taken in Tours France in July of 2010.  I traveled to Tours France with Bran and Leigh this summer as we went through parts of the French wine country.  I snapped this shot quickly as we walked through the city center and saw this street performing couple entertain a young girl while her mother watches intently in the background.

You can view the official winning image:

http://isp.msu.edu/awards/photocontest/byyear/2010/photos.php?i=11

You can also view all the other winners by vititing the contest page :

http://isp.msu.edu/awards/photocontest/byyear/2010/

Online Course Enrollment at MSU College of Education

ColEd-Enroll1.png

In 2008 my colleague Rob Malinowski and I took it upon ourselves to conduct an informal investigation into the trend of online course enrollment within the College of Education at Michigan State University.  What we found was a trend that supported our initial hypothesis that online course enrollments have increased in the last 5 years. Data Collection:

The data we collected was from the online course scheduling website provided by Michigan State University.  At the time of this study (Spring of 2008) we only had data that went back to fall of 2003.

Graphical Representation:

Once we had the data we were able to construct a series of graphs that showed the overall enrollment as well as the semester and course breakdown.  When viewed on the original site, the user can click through the various semesters to see a more detialed makeup of the enrollment per semester.

Results:

We found that:

Using the data collected we were able to build a detailed graph of enrollment broken down by semester, and then further identified by department offerings within the college. As seen in the graph below there is distinctive trend of increasing online course enrollments within the College of Education. Of the varying departments within the college, it appears as though the Teacher Education program is growing at the largest rate.

Future Study?

It is my intention to revisit this research in the coming year to further investigate the trend.  It would also be beneficial to broaden the scope to include more colleges across the university to get a more generalizable result to the university setting as a whole.

Original Website as presented in 2008:

MSU College of Education: Online Course Enrollment Trend

Cribs Video - MAET Style

Cribs-MAET1.png

CRIBS - This past summer during our summer Masters in Educational Technology (MAET) program we (the instructors) decided to shoot a quick MTV style cribs video for our participation in the last installment of the student run weekly news.  It has been a tradition for the instructors to contribute a small segment in the last week of the news, and since we weren't about to disappoint we grabbed my camera and started filming.

One of the challenges that our students face consistently in their professional capacities is making the most of the equipment they can get their hands on.  In many public schools this means doing what you can on a shoestring budget.  So in the spirit of leading by example we used an minimalist kit to shoot this video.  While we didn't go super low-tech we did keep it very simple, no lighting kits, only one camera, one lens and some creativity.  This video was shot entirely on a Nikon D300s DSLR with the 18-200mm VR Nikor Lens and a single Sony wireless lapel mic.  The video was all hand held, with the occasional shot being held steady by attaching the camera to a tripod and holding the legs of the tripod against out bodies.

Overall, the shoot took us about 1 1/2 hours to film (including all the goofing around) and then a quick overnight editing job.  Given the fact that we started filming around 7pm the night before the video was due we were very pleased with the final result.

If you are interested in the MAET Program at all check us out... Masters in Educational Technology

Or follow us on Twitter - MAET

Capture this! - behind the scenes

Lecture Capture?

What is a lecture capture you ask? Well, its exactly what you might guess, capturing a lecture. Now the trick is to capture the lecture professionally so you can use that information at a later time.

I recently returned from a lecture capture trip in Shanghai China for the 2009 Coca-Cola Food Safety Conference. I figure what better way to share the information about what lecture capturing is than to share my experiences first hand. Here are a few videos that will help explain what a lecture capture is.

Equipment Overview:

Behind the Scenes in Shanghai

There are many different ways you can capture a lecture or presentation. Typically the "low-end" consists of just a screen capture of the presentations with audio. Normally I am required to capture at a high production value so that includes the presentation slides, audio and external video that are then edited together to create a digital asset that can be used for sharing, dropped into online learning environments, or burned to DVD as training materials.

Typically to capture a lecture you need the following items

  • Screen capture software (Screenflow, Camtasia, etc.)
  • Audio recording device (hard line, wireless mic, built-in laptop mic, etc.)
  • Video camera (stand alone camera, web cam, etc)
  • Still camera (optional)

When on location, there is really only one rule...everything ALWAYS goes wrong. Your laptop will crash, your camera will freeze, your batteries will die, you will lose power, your tapes will jam, your hard drive will tear itself apart. So to prepare for the certain uncertantity of equipment failure I can offer three suggestions, all learned the hard way.

  1. Use the high quality professional equipment where possible. This seems like a no-brainier but seriously, spend the money for high end gear, its expensive for a reason...it works, and it works better than the cheap stuff. This is especially true with microphones and cameras, do not skimp on those, buy the best your budget can afford.
  2. Test your equipment and setup thoroughly, again this seems like an obvious statement, but in the heat of the moment when you are supposed to capture a once-in-a-lifetime speech or presentation and something goes wonky you better know how to set that white balance, or fix that audio level on the fly quickly without having to "figure it out".
  3. Have a backup plan. I can promise you this, at some point something will go wrong, so plan ahead. You should have a plan in case each component fails. If your camera fails what will you do? If the laptop freezes up, what will you do? If your batteries drop on you half way through a presentation and they were supposed to be fully charged what do you do? You should have answers to all of these so WHEN they happen you will be prepared to handle it right there on the spot and you can minimize the "damage" of losing footage.

More and more often grants for workshops and conferences are coming with stipulations that the information given at these events be shared openly for the greater good. This is where a lecture capture comes in, with the lecture capture you can preserve the information presented so participants can get access to the information again, and so those who were unable to attend the actual event can still benefit from the information presented.

For this event, the content created will go directly on a website used for food safety training for industry professionals. You can see the agenda, pdf versions of the presentations at www.fskntraining.org once the produced lecture capture videos are finished they will be posted to that site.

If you are interested in learning more about these types of captures drop me a comment and I'll get back to ya.

-SML